Cairo Beige – Blackout Vertical Blinds

Cairo Beige – Blackout Vertical Blinds

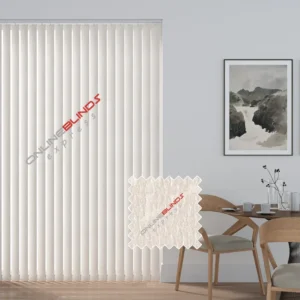
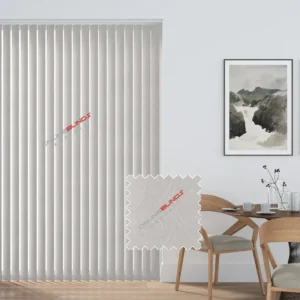
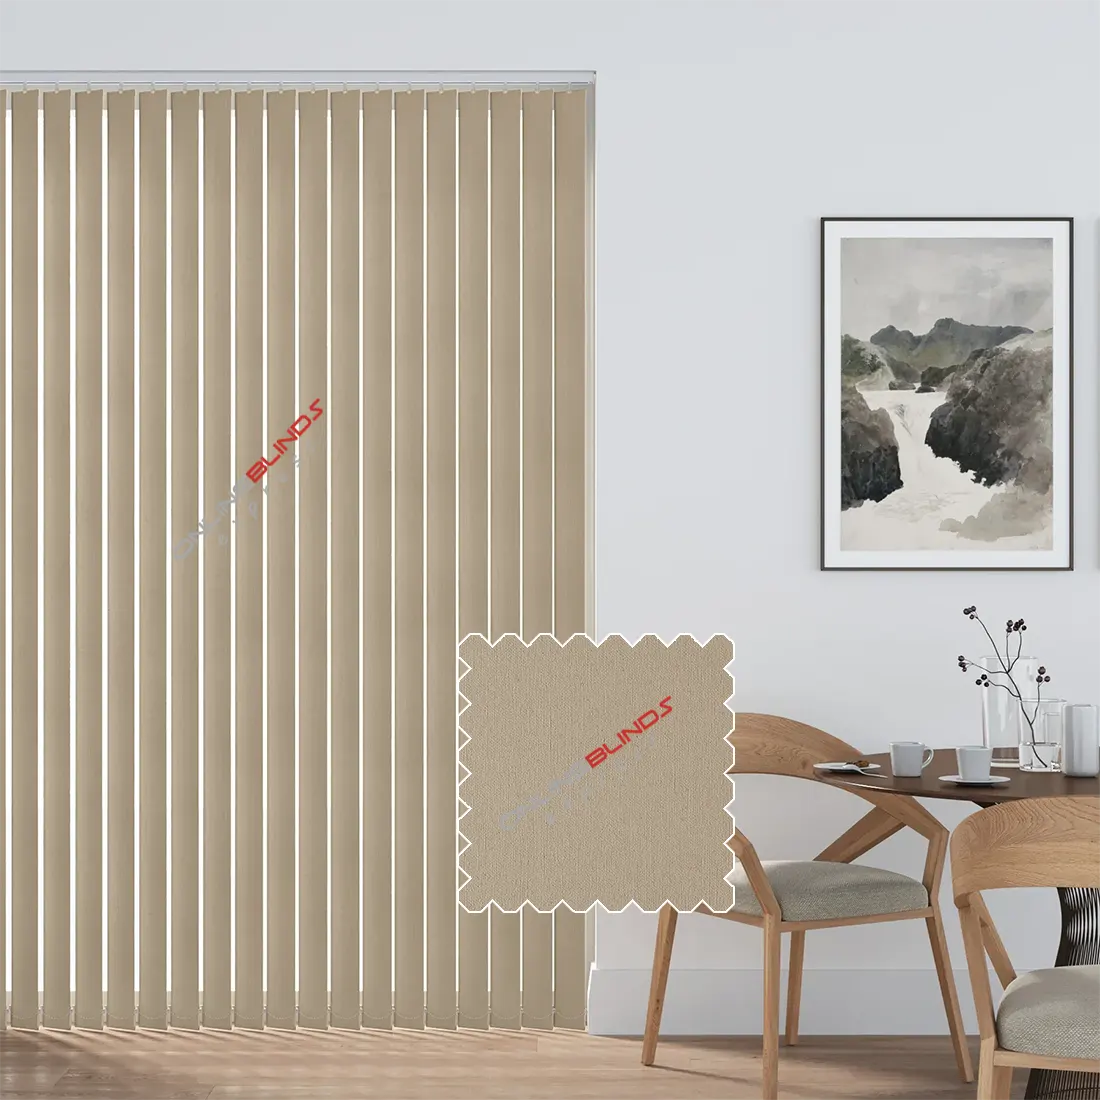
Experience both style and practicality with our vertical blinds, a modern choice that can enhance the look of any room. These blinds are designed with neat, vertical slats available in a wide selection of colours, textures, and materials, giving you the freedom to match them perfectly with your existing interior décor.

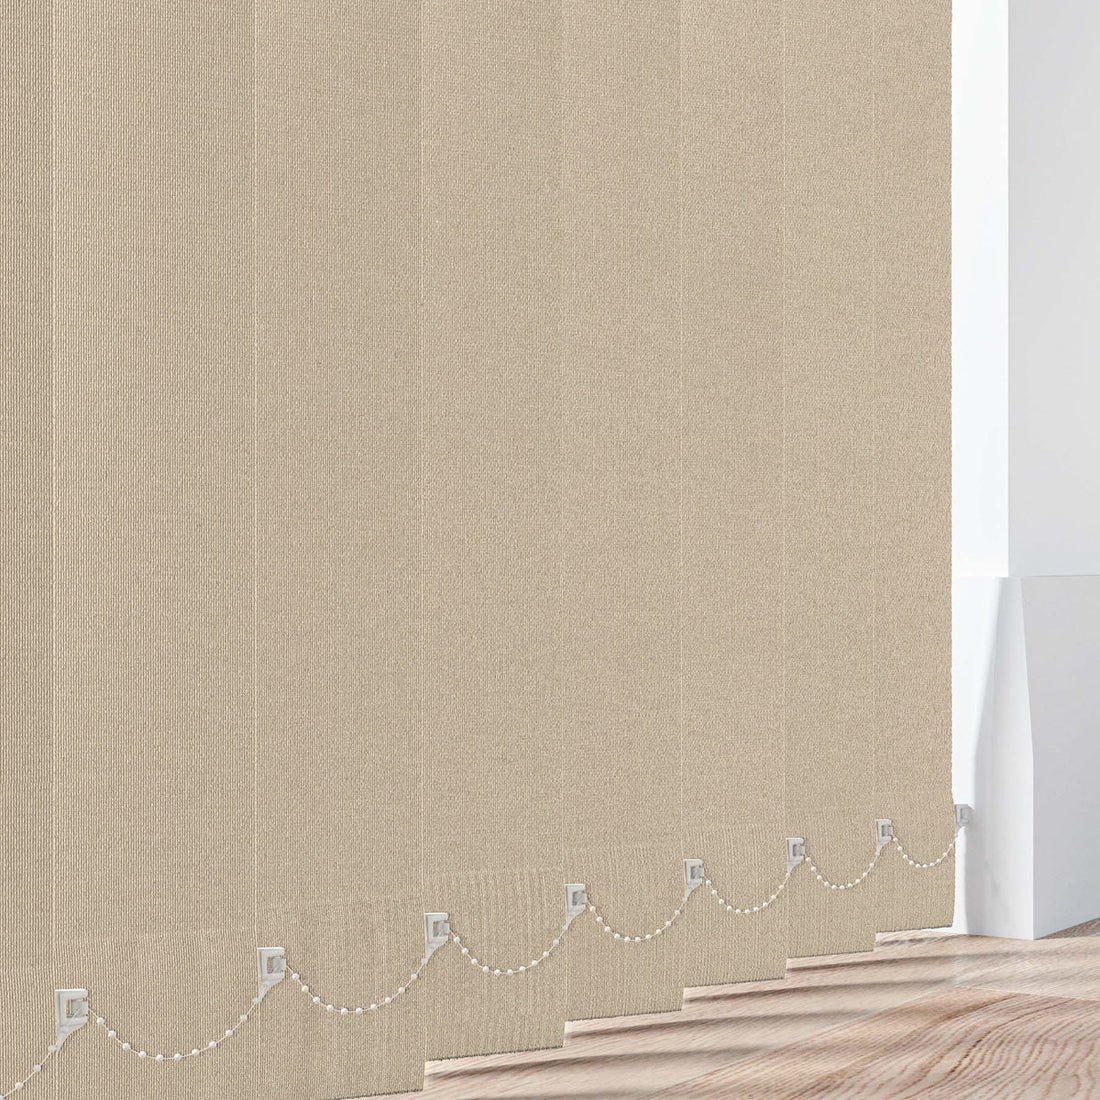
Our vertical blinds are made for easy operation, offering full control over light and privacy. By using the simple tilt mechanism, you can quickly adjust the slats to achieve the exact level of sunlight or shade you prefer.

Built from strong, high-quality materials, these blinds are long-lasting and simple to maintain. They are resistant to wear and damage, making them a smart option for both homes and business spaces. Their classic appearance and reliable function make them a stylish and useful addition to any setting.

  • Slim white aluminium headrail
  • Fully made-to-measure design
  • Cord pull control
  • Made from 100% polyester
  • Smooth ‘Easy Glide’ system for effortless use
  • Strong, high-grade internal components
  • Welded hems with precision (no glue used)
  • Slimline aluminium headrail in white
  • Universal brackets for top or face fitting
  • Bottom weights and stabilising chains offered in a choice of colours

All of our vertical blind replacement slats measure 89mm in width and are supplied with the top hanger already fixed in place. This hanger includes a single slot so that you can easily attach each slat to your existing headrail.

 42.75


Total Price:  42.75

Tools you will need for measuring vertical blinds:

  • A steel tape measure
  • A pencil for marking and noting down sizes
  • A worksheet or paper to record your results
  • A ladder if you are measuring tall windows

Tips for achieving accurate measurements:

  • Be careful not to confuse width with height when recording measurements, as this can lead to blinds that do not fit.
  • When measuring more than one window, never assume they are identical. Measure each window individually, as even small differences can affect the fit of the blinds.
  • For outside recess fitting, measure the full area you want the blind to cover. To minimise light gaps, we suggest the blind overlaps the window recess by at least 70mm at the top and 50mm on each side. The overlap at the bottom is a personal choice, but remember to consider obstacles such as radiators.
  • Always use a steel tape measure instead of a cloth one, as cloth can stretch and give inaccurate readings.

Inside recess measurement:

  • If you want the blind to fit inside the window recess, measure the full width and height of the recess opening. We will then make the required allowances for a neat fit.
  • Take three measurements for both width and drop, and use the smallest figure.
  • Do not make your own deductions — we will take care of that to ensure the blind fits perfectly.
  • Again, use a steel tape measure to avoid errors caused by stretching or bending.

Please make sure you have all the parts supplied with your vertical blind before fitting.

Extra tools and parts you will need:

  • Two top fix brackets
  • Two face fix brackets
  • One set of hangers
  • One Allen key
  • Two stabilising chains
  • One safety hook
  • Four wood screws
  • One weight
  • A pencil
  • Additional screws
  • A drill with the correct drill bits
  • A cross-head screwdriver
  • A metal tape measure

Face fix fitting:

  • Position the brackets roughly 5cm from each end of the headrail position. If more than two brackets are supplied, space the extras evenly along the length of the blind. Make sure the fixings are suitable for the type of wall or surface you are attaching them to.
  • To fit, hook the back of the headrail into the bracket, rotate it into place, and then secure it by tightening the small screw at the front of the bracket.

Top fix fitting:

  • When measuring for top fix, allow for any obstructions such as handles that extend into the recess. Brackets should be fixed about 10cm from each end of the headrail to ensure clearance for window handles. If more than two brackets are supplied, position the others at equal distances along the rail. Always check that the fixings are right for the surface being used.
  • To fit, tilt the headrail into the bracket and rotate it into place until it clicks. To remove the headrail, simply push the release point on the bracket.