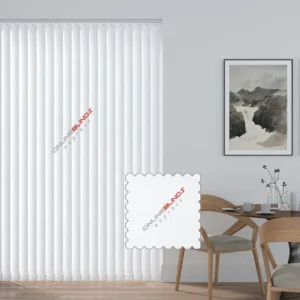
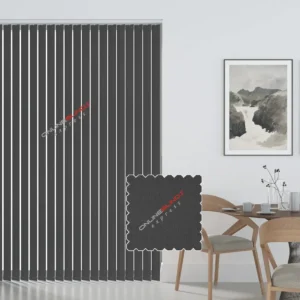
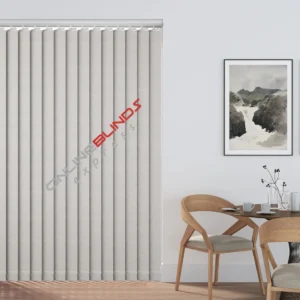
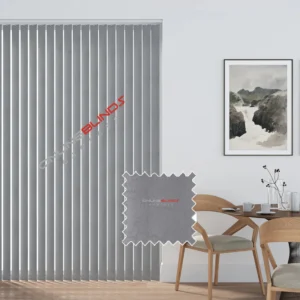
Vertical blackout blinds are the perfect choice when you want complete privacy in your home. They are available in a wide selection of designs and styles, all made with high-quality blackout fabrics. These blinds are strong, durable, and versatile, meaning they are built to last and stay in great condition. Every blind is carefully designed to bring both practicality and style.
Our vertical blackout blinds are suitable for both large and small windows, and they can be ordered any time. They are also cost-effective, making them an excellent option for every household. A colour chart is available to help you choose from our premium shades. You can select either light-filtering or full blackout fabrics depending on your needs. These blinds are a great investment for any home, large or small.
Your order will arrive in two separate parts: one package containing the slats, and another with the rail and brackets. Delivery may be split, meaning the two parts can arrive at different times.
Bracket type: Top-fix brackets are included as standard. However, if you prefer face-fix brackets, you can request these. Face-fix brackets are ideal for fitting blinds inside window frames or on the outside of the window recess.
€ 42.75
To measure your blinds correctly, you will need:
Helpful measuring tips:
If you want the blind to sit outside the recess, measure the exact size of the area you want the blind to cover. To reduce light coming through the edges, allow the blind to overlap the window recess by at least 70mm at the top and 50mm on each side. At the bottom, the overlap is your choice, but remember to consider obstacles such as radiators.
If you want the blind to fit inside the recess, measure the full width and drop of the recess itself. Take three measurements across the width and three for the drop, then use the smallest figures. Do not make any deductions yourself—we will adjust the size to make sure the blind fits perfectly. Again, always use a metal tape measure for accuracy.
Make sure you have the following items supplied with your blind:
Position the brackets about 5cm from the ends of where the headrail will sit. If you have more than two brackets, space the extras evenly across the length of the blind. Make sure the fixings you use are suitable for the surface or wall. Hook the back of the headrail into the bracket, rotate it into place, and then tighten the front screw to secure it.
Mark out where the brackets need to go, making allowances for any window handles that stick out into the recess. Position the brackets about 10cm from each end of the headrail. If you have more than two brackets, fit the extras at equal distances along the length of the rail. Ensure your fixings suit the surface you are drilling into. Tilt the headrail into the bracket, rotate until it clicks into place, and to remove, press the release point on the bracket.