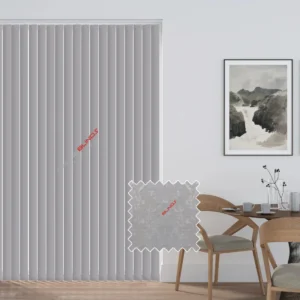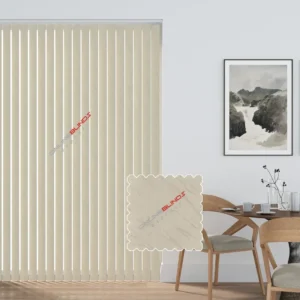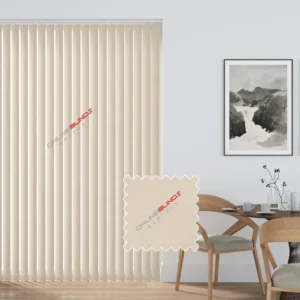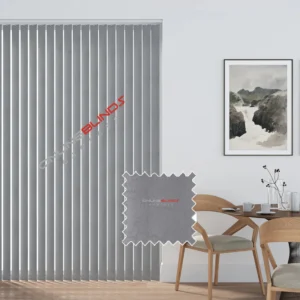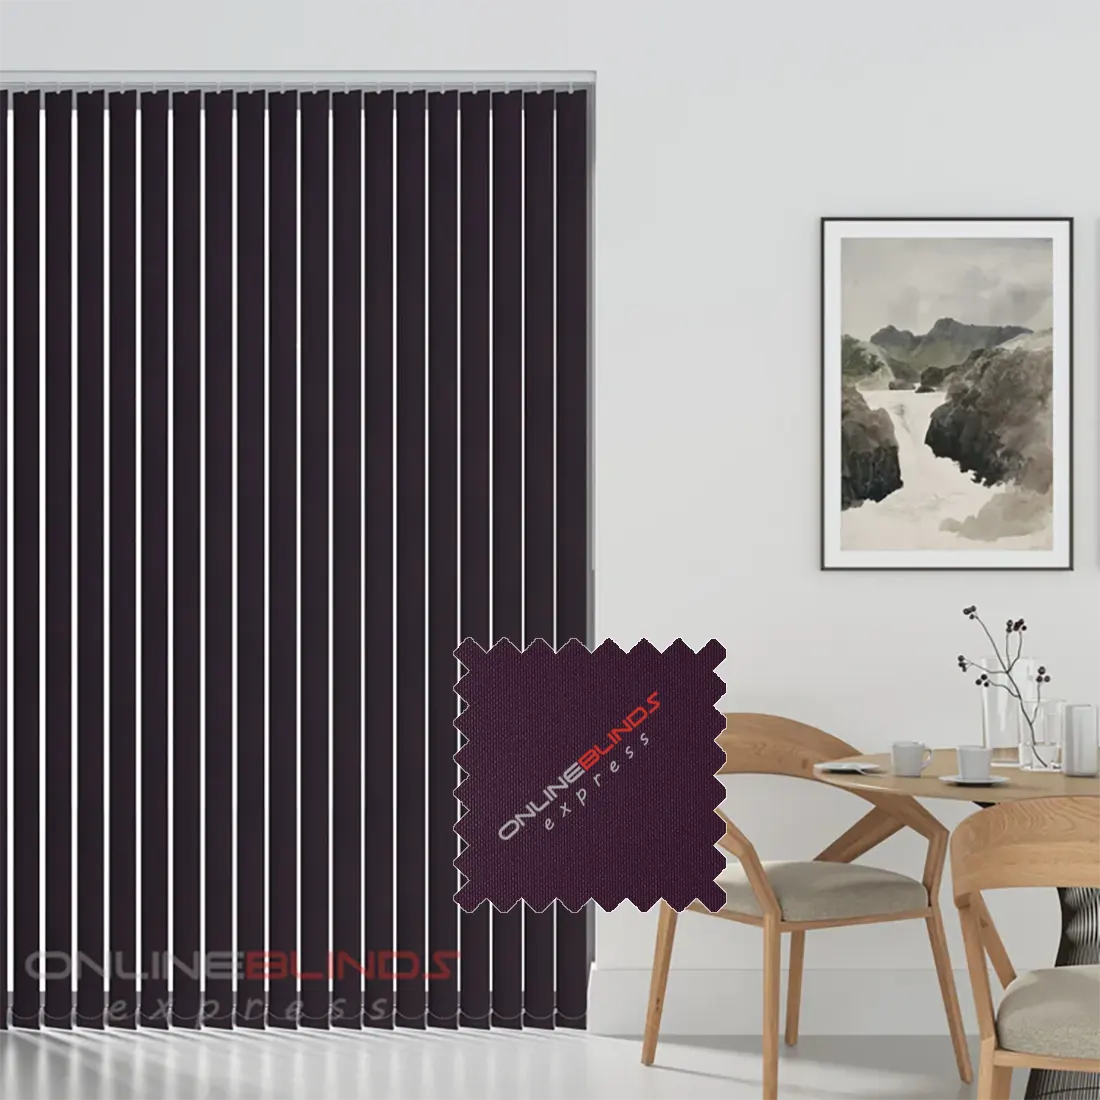
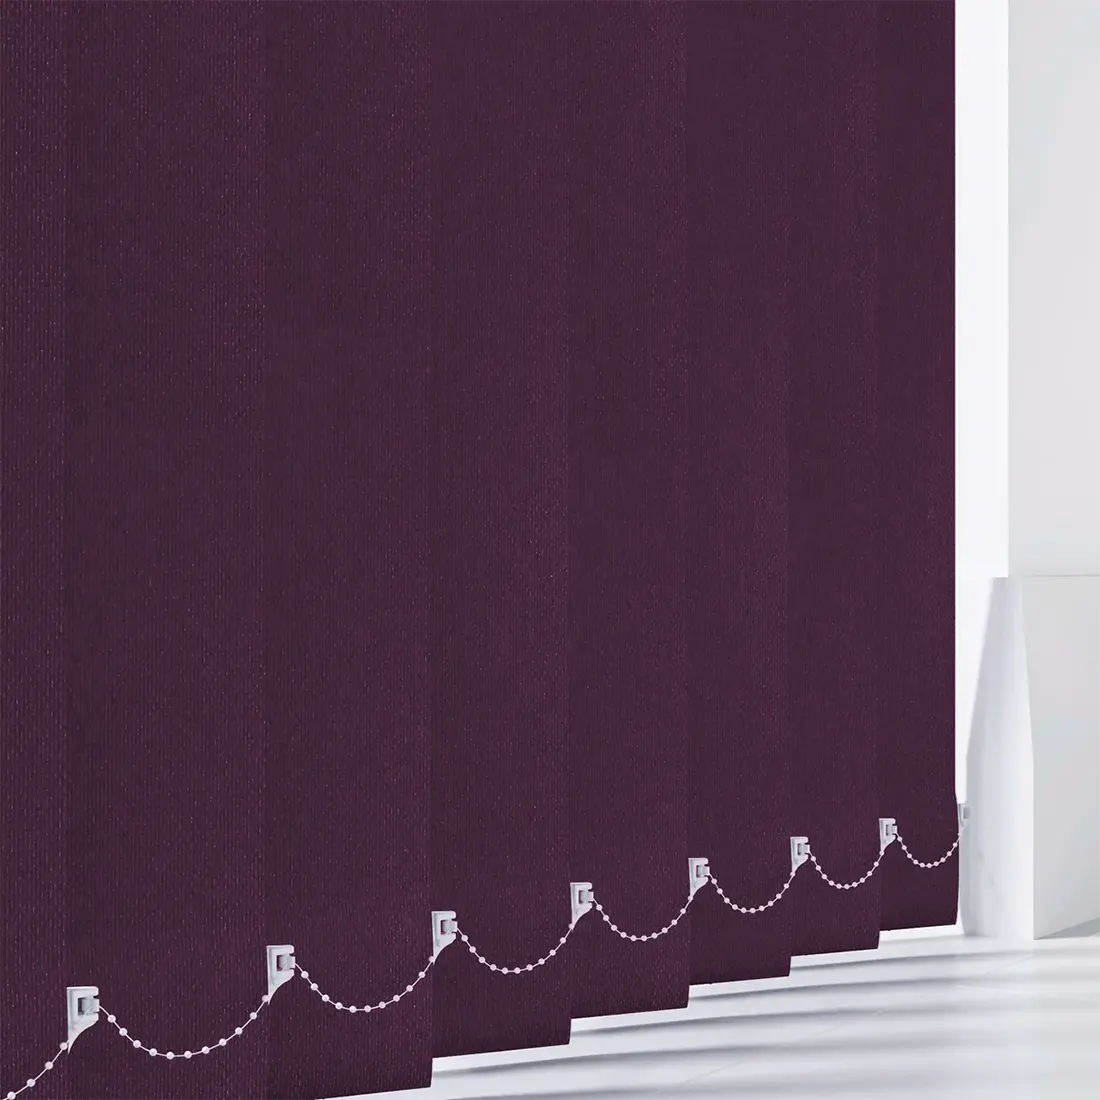

Bring both style and flexibility into your rooms with our vertical blinds, a modern choice for transforming any space. These blinds come with neat vertical slats available in different materials, colours, and textures, giving you the freedom to match them with the look of your home or workplace.
Designed for everyday use, these vertical blinds allow you to control light and privacy with ease. The simple tilt mechanism makes it effortless to adjust the slats, helping you create just the right mix of sunshine and shade.
Built from strong and durable materials, these blinds are designed to last and resist wear. They are easy to keep clean and maintain, making them a smart option. With their smart appearance and useful design, vertical blinds are an excellent choice for both homes and commercial spaces.
Features
€ 42.64
Tools needed for measuring vertical blinds:
Tips for accurate measuring:
Measuring Outside the Recess
Measure the exact size of the space you want the blind to cover. To reduce light entering, it is best if the blind overlaps the window recess by at least 70mm at the top and 50mm on each side.
The overlap at the bottom is up to you, but remember to allow for anything in the way such as radiators.
Always use a metal tape measure because cloth tapes can stretch or bend and may give the wrong measurement.
Measuring Inside the Recess
This is the size to take if you want the blind to sit inside the window recess. Measure the full width and height of the recess (the complete space). We will make the necessary deductions to make sure the blind fits correctly.
Measure in three different places for both width and drop, and use the smallest figures.
Do not make any deductions yourself; we will do this to ensure accuracy.
Again, a metal tape measure is best, as fabric tapes can stretch and cause errors.
Make sure you have everything that comes with your vertical blind before starting.
Extra items you will need:
Face Fixing
Place the brackets about 5cm from each end of where the headrail will be fitted. If you have more than two brackets, fit the extra ones evenly across the length. Make sure the fixings suit the surface you are attaching to.
To attach, hook the back of the headrail into the bracket and then rotate it into place. Secure the headrail by tightening the small screw at the front of the bracket.
Top Fixing
First, measure and mark the space, allowing for any parts like handles that stick into the recess. Place the brackets about 10cm from each end of where the headrail will go. This distance will help avoid window handles. If there are more than two brackets, space them evenly along the blind. Ensure that all fixings are secure for the surface.
To attach, tilt and hook the headrail into the bracket, then rotate until it clicks into position. To remove, simply press the bracket release point.