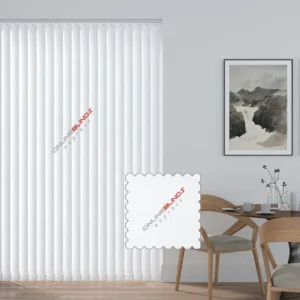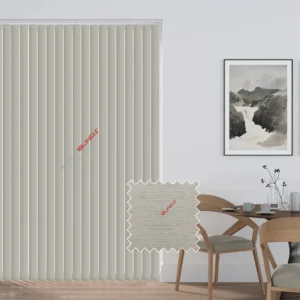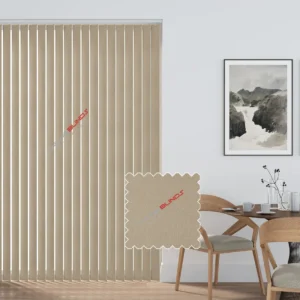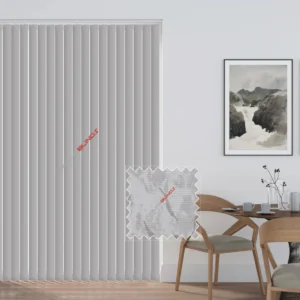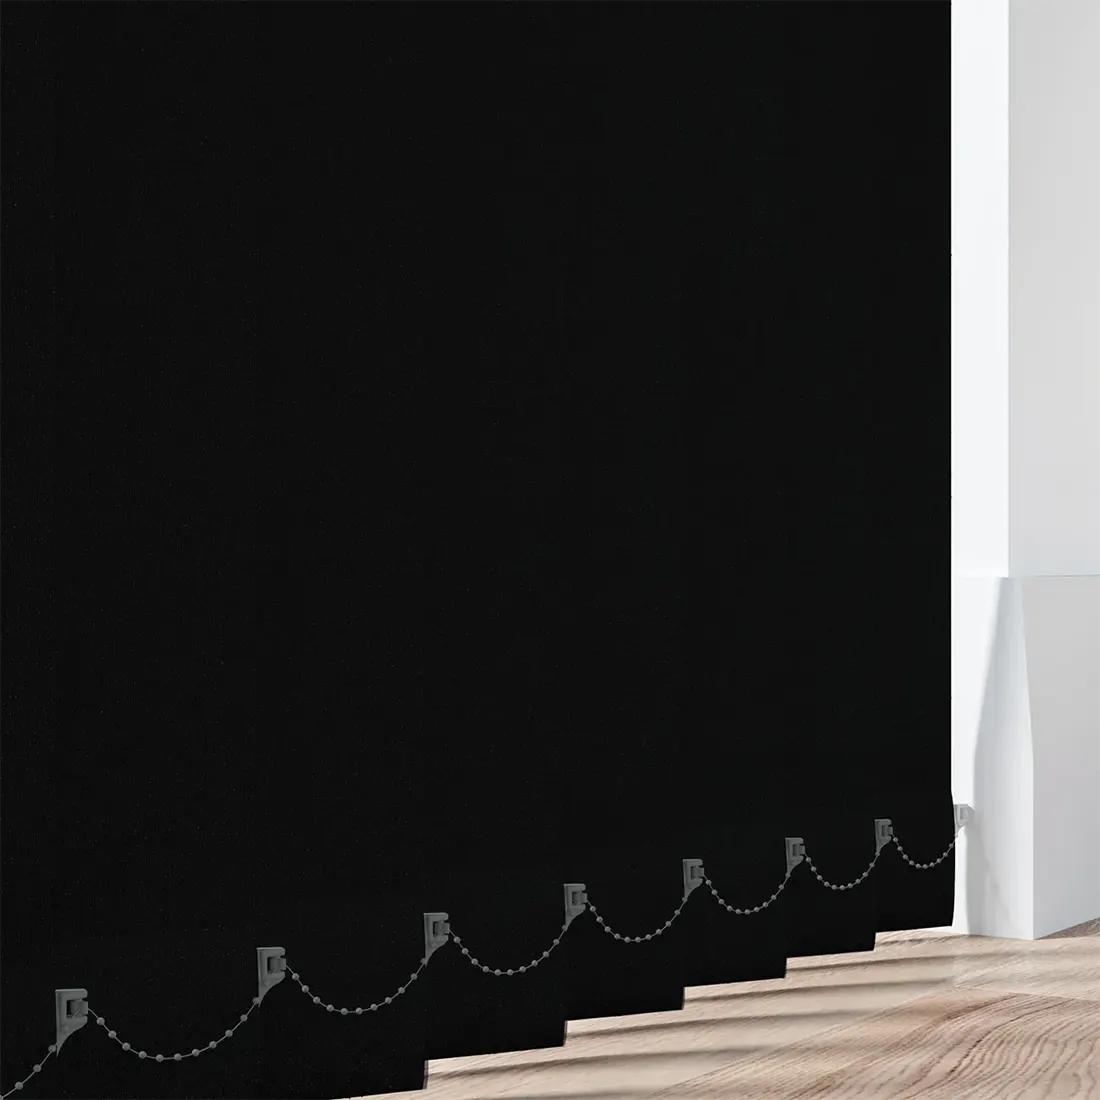
Discover the flexibility and modern look of our vertical blinds, a stylish option for transforming any room. These blinds are designed with slim vertical slats and are available in different materials, colours, and finishes, giving you the freedom to match them perfectly with your home or office décor.
Made with convenience in mind, vertical blinds allow you to control light and privacy with ease. The simple tilt mechanism lets you move the slats smoothly so you can enjoy just the right amount of sunlight or shade throughout the day.
Built from strong, reliable materials, our blinds are long-lasting and easy to keep clean. They are designed to withstand daily use, ensuring they remain in excellent condition over time. Add a touch of style and practical function to your interiors with these vertical blinds, a smart choice for both homes and workplaces.
€ 42.64
Make sure not to confuse the height and width measurements, as this mistake could result in blinds that do not fit. If you are measuring several windows, do not assume they are identical. Measure each one individually, as even slight differences can affect how the blinds fit.
Measure the exact area you want the blind to cover. To reduce light entering around the edges, it is recommended that the blind overlaps the window recess by at least 70mm at the top and 50mm on each side. The overlap at the bottom is up to your preference, though be mindful of objects such as radiators. Always use a metal tape measure, as fabric tapes can bend or stretch, giving incorrect results.
For blinds fitted inside the recess, measure the full width and height of the opening. These measurements allow us to make the necessary adjustments for a precise fit. Take measurements in three places for both the width and the drop, then use the smallest sizes recorded. Do not make deductions yourself, as we will handle that to ensure a perfect finish. Always use a steel tape measure for accuracy.
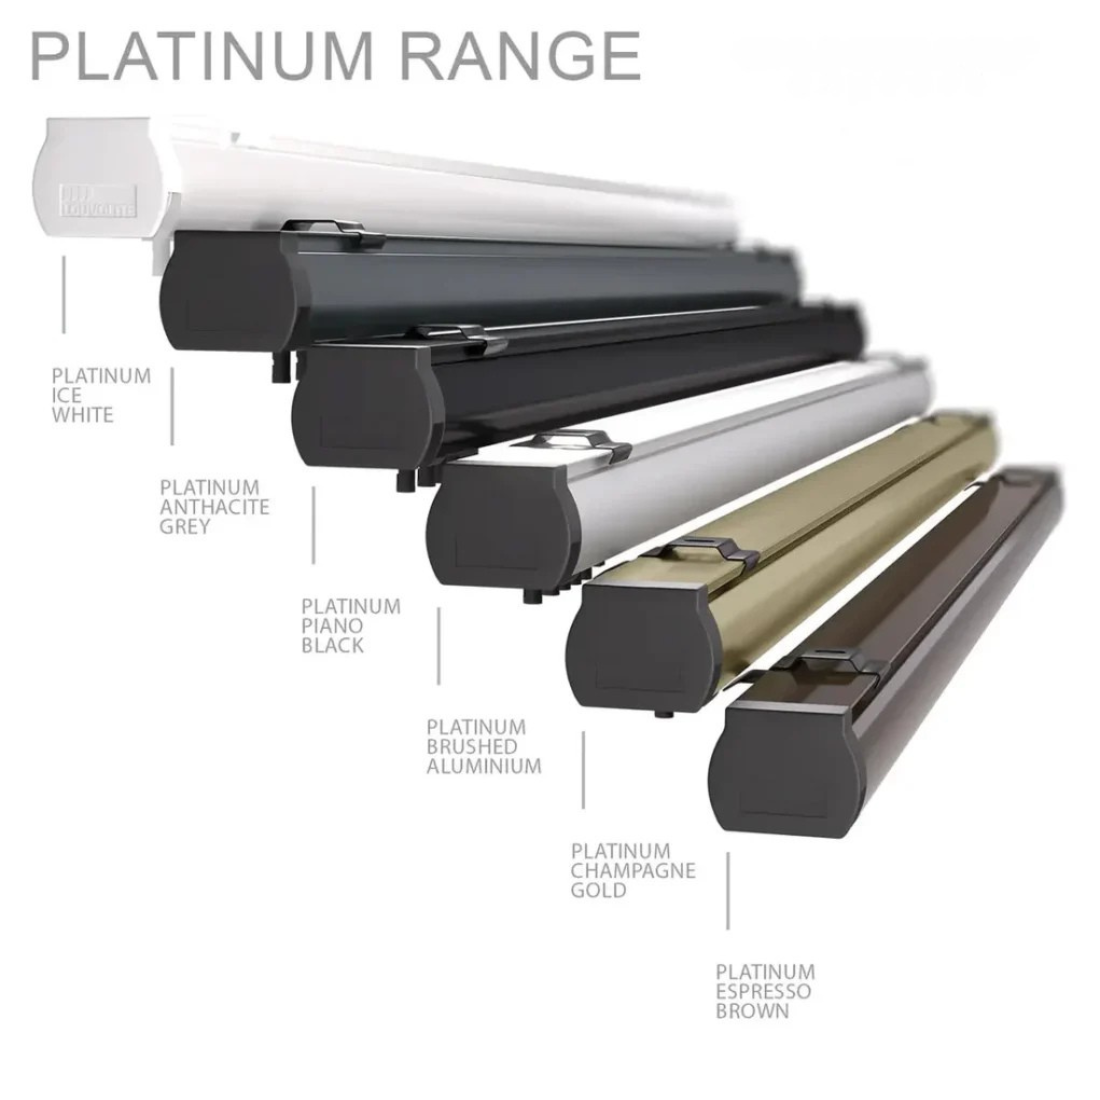
Make sure the following parts are included with your vertical blind:
Extra items you may need during installation:
Position the brackets around 5cm from each end of where the headrail will sit. If you have more than two brackets, place the extra ones evenly along the length of the blind. Ensure the fixings are suitable for the wall or surface where you are attaching the brackets. To install, hook the back of the headrail into the bracket, rotate it into place, and secure it by tightening the small screw at the front of the bracket.
First, measure and mark the positions carefully, allowing for any window handles or obstacles that extend into the recess. Place the brackets around 10cm from each end of where the headrail will sit so that the blind clears the window handle. If more than two brackets are supplied, space the extra brackets evenly. Ensure all fixings are suitable for the surface. Hook the headrail into the bracket and rotate it until it clicks into position. To remove the headrail, push the bracket release point.