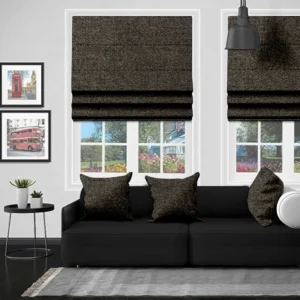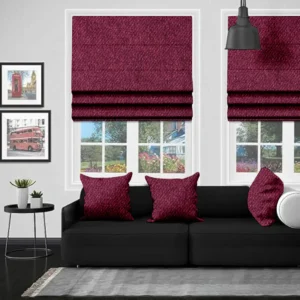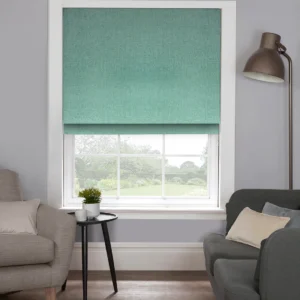
Bring a touch of calm beauty to your home with the Bursa Cream Roman Blind, available only from Blinds Artist. This blind is designed to create a warm and inviting atmosphere. Its soft cream tone brightens a room while keeping the overall look gentle and balanced, without overpowering other features in your décor.
The cream colour has a timeless quality, making it suitable for both modern and traditional interiors. It works perfectly in a peaceful bedroom, a welcoming living space, or a bright kitchen. The Bursa Cream Roman Blind adds a clean and classic appearance that looks especially good alongside natural wood, muted colours, or crisp white finishes.
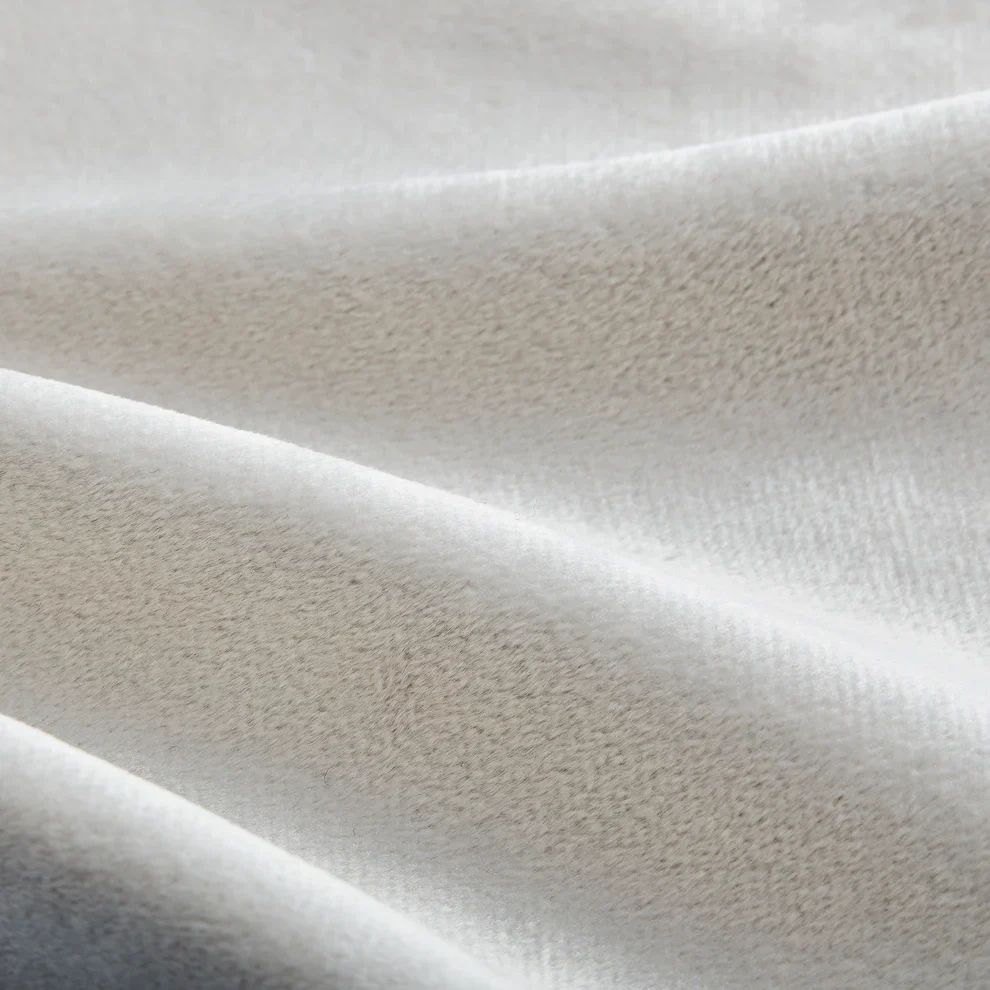
Made from high-quality fabric with a delicate texture, this blind combines elegance with everyday practicality. The Roman fold style gives neat pleats when raised and a smooth, graceful drape when lowered. The easy-to-use operating system allows you to adjust the blind smoothly, giving you full control over both light and privacy.a
€ 106.04
Before fitting, check that you have the following items included with your vertical blind:
Additional equipment you may need during fitting:
Position the brackets about 5cm from each end of where the headrail will go. If more than two brackets are provided, fit the extras evenly along the full length of the blind. Make sure the fixings you use are suitable for the surface you are attaching them to.
To install, hook the back of the headrail into the bracket and rotate it until it is in place. Then, secure the headrail by tightening the small screw at the front of the bracket.
Measure and mark the correct distance, making room for any obstacles such as window handles that stick into the recess. Place the brackets around 10cm from each end of the headrail, so the handles are cleared. If you have more than two brackets, place the extras evenly along the full length of the blind. Ensure that the fixings are appropriate for the surface where you are mounting them.
To fit, tilt the headrail, hook it into the bracket, and rotate it until you hear it click into place. To remove it, simply push the release point on the bracket.