


Please provide your exact wall-to-wall measurements for both the width and the drop of your blinds. The warehouse will make the necessary deductions for you. We will not be able to process and send your order until we have received the measurements.
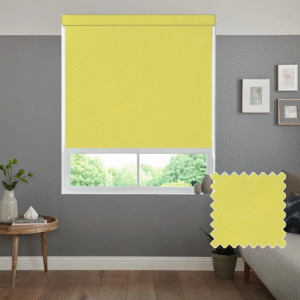
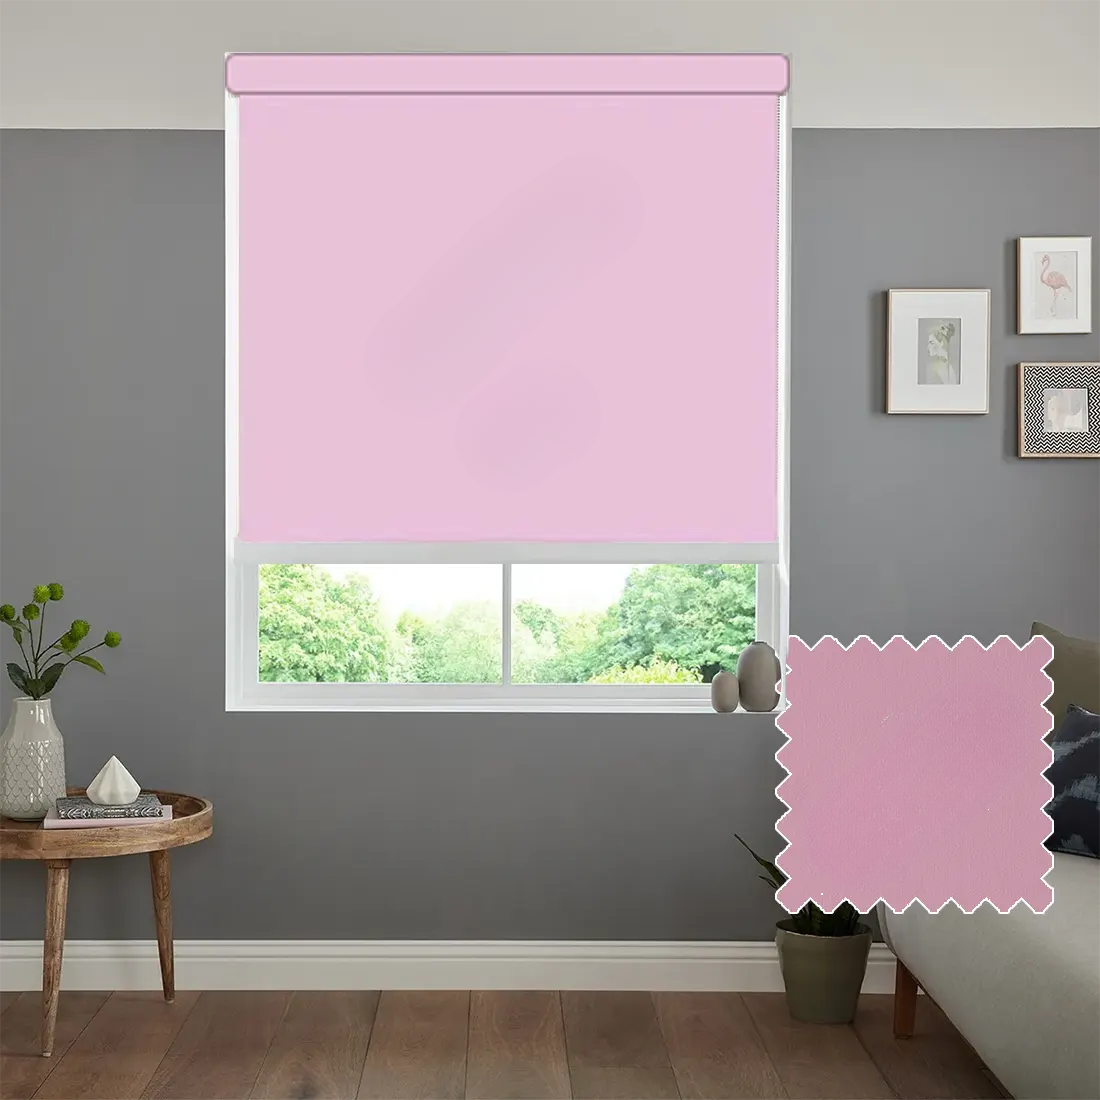
Our roller blinds feature a natural weave effect, which is ideal for adding style and warmth to your home.
Important: The colour of the blind may look different depending on your screen and display settings.
Each roller blind is carefully packed with all the necessary fixtures and fittings. Inside your parcel you will find:
€ 36.82
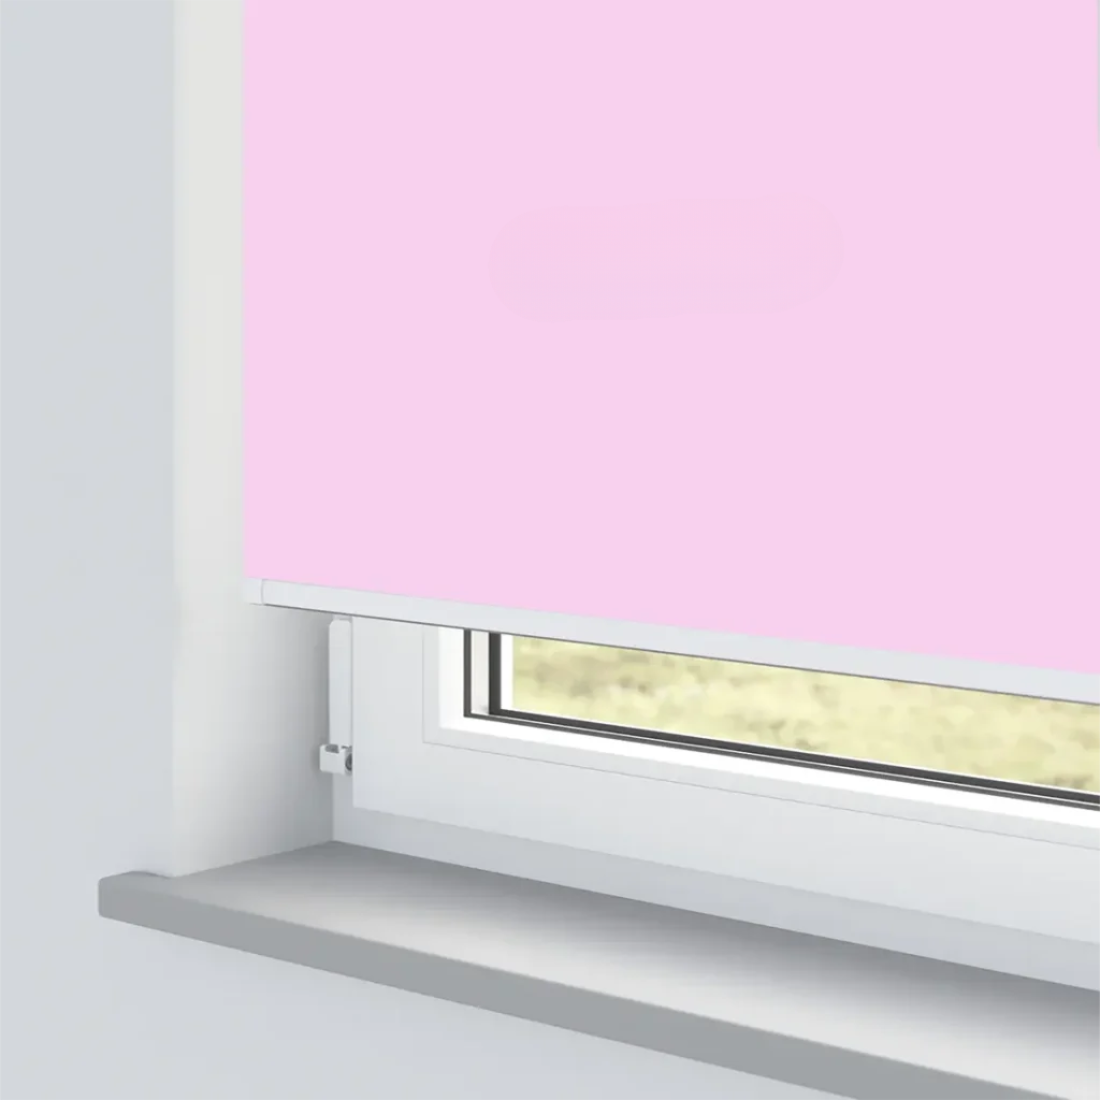
Inside Recess Fit
If you want the blind fitted inside the window recess, you need to measure the full width and height of the recessed area (wall to wall).
Outside Recess Fit
If the blind is to be fitted outside the window recess, it will be made exactly to the measurements you provide with no deductions.
Please choose which fitting method you would like:
Fitting Instructions
Mounting the Blind
Operating the Blind
P-Clip Installation