


Please provide your wall-to-wall measurements for both the width and the drop of your blinds. The warehouse will make any necessary deductions for you. We will not be able to dispatch your order until we have received the correct measurements.
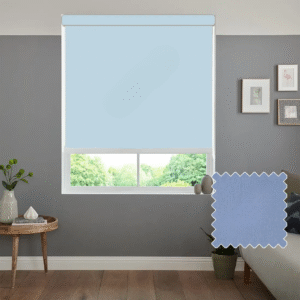
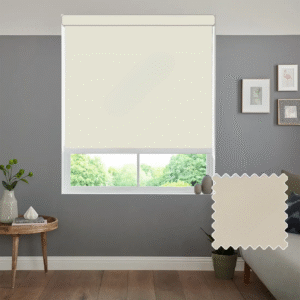
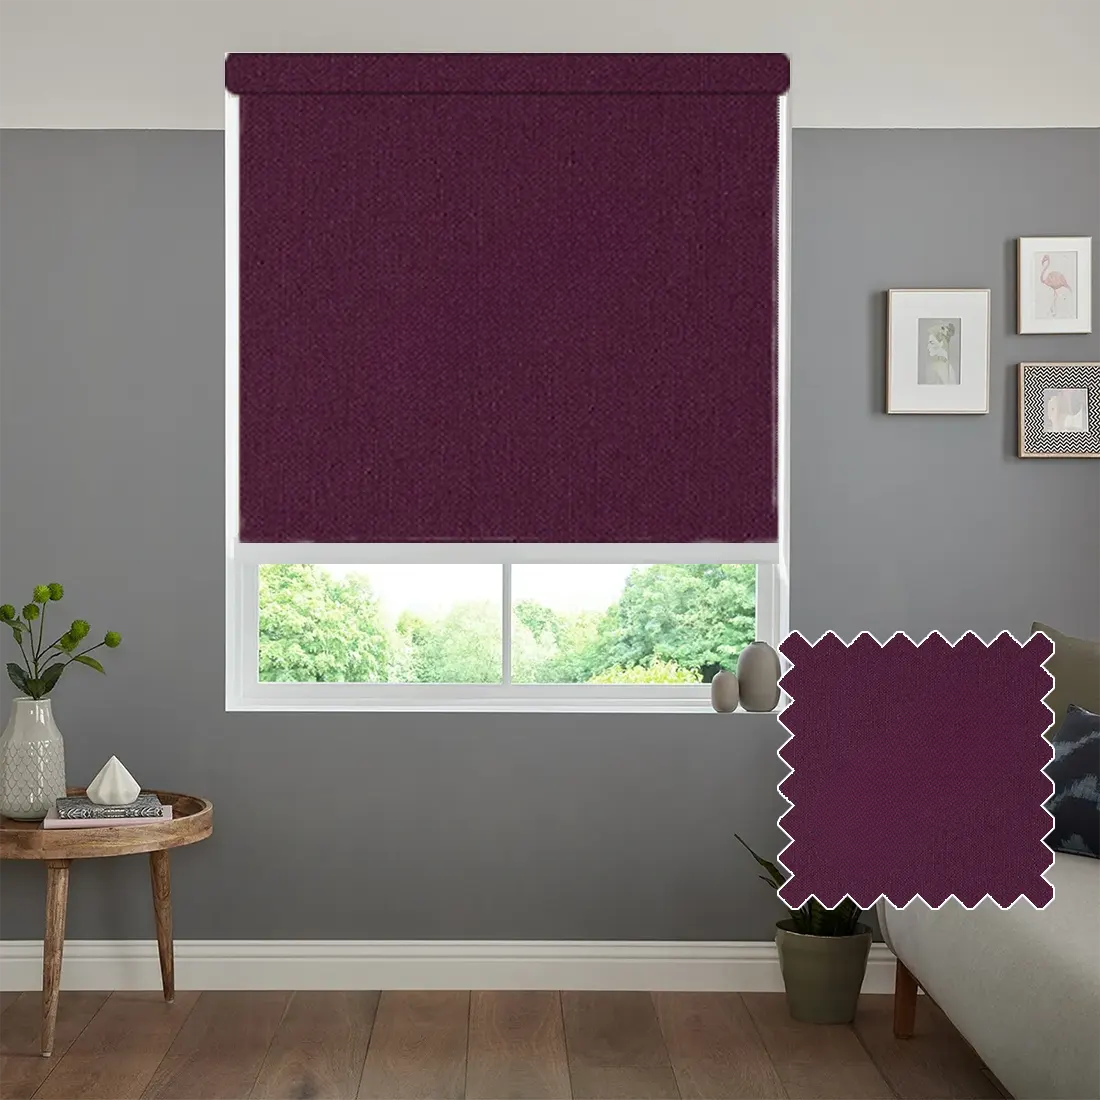
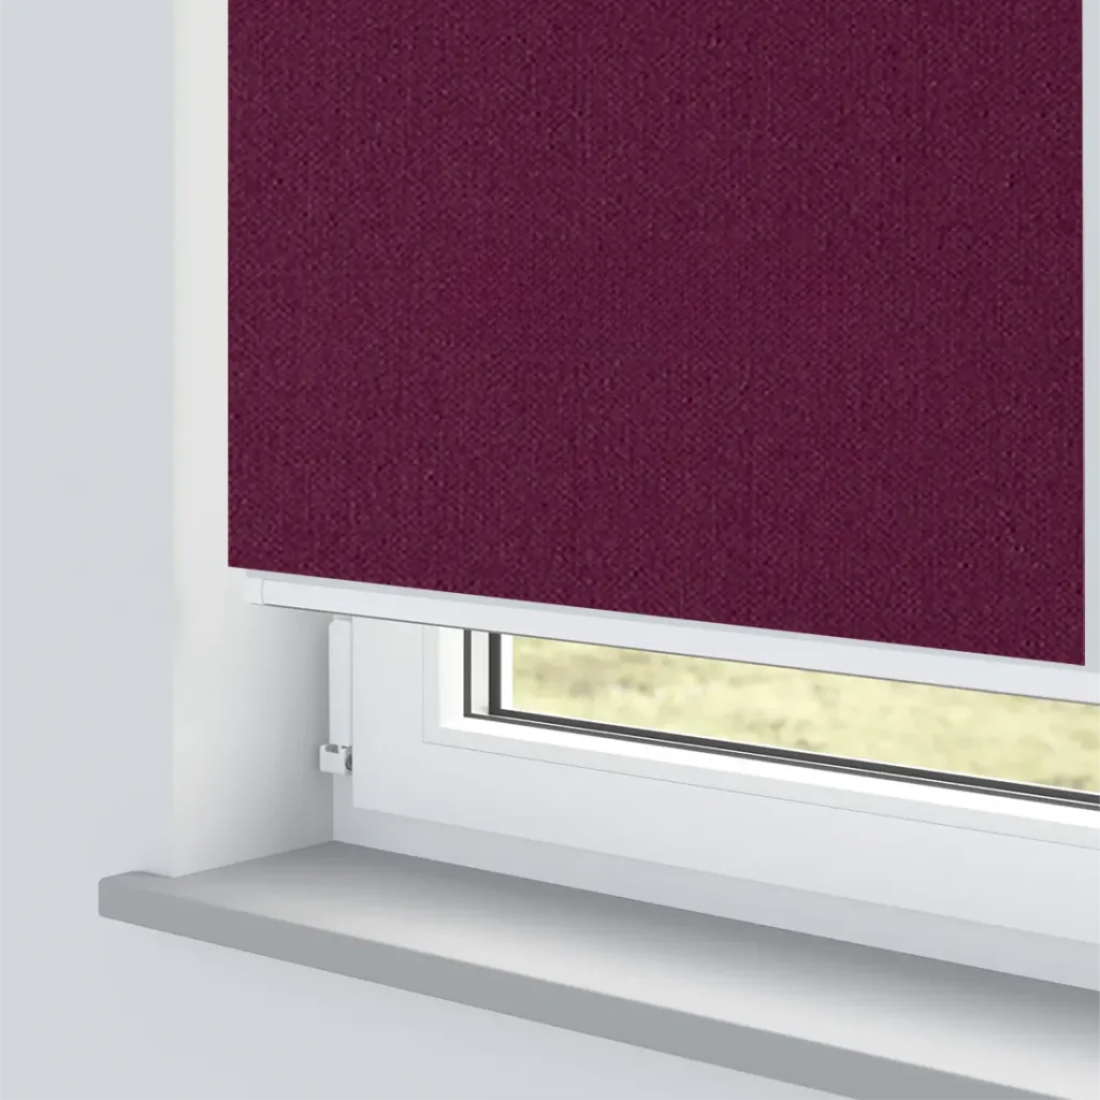
Our roller blinds have a natural woven effect, which adds a stylish and elegant touch to any room in your home.
Important: The colour of the blind may appear different on various screens and devices due to display settings.
Each roller blind is carefully packed with all the necessary fittings included. Inside your parcel, you will find:
€ 36.82
Roller Only Measurement
To fit the blind inside a window recess, measure the full width and height of the recess from wall to wall.
Inside Recess Measurement
Guide for Inside Recess Fitting
Outside Recess Measurement
For blinds that are fitted outside the window recess, they will be made to your exact measurements with no deductions.
Guide for Outside Recess Fitting
Please select one of the following mounting methods:
To ensure the blind operates freely, position the brackets so that the blind does not touch handles, window frames, or other objects. Loosely attach both brackets to the blind and position it in the window to check placement and alignment.
Place the control-side bracket on the same side as the chain mechanism. Mark the bracket’s position carefully, making sure it is level and not twisted, as this could affect the blind’s operation. Drill holes and fix the bracket in place, using raw plugs if attaching to a wall. Insert one end of the blind into this bracket. Position the second bracket on the opposite end, mark its position, ensure it is level with the first, drill holes, and secure it in place.
Insert the pin end of the blind into the pin-side bracket. The spring mechanism on this side allows easy mounting and removal of the blind. Place the control end into the control-side bracket, ensuring the central lug points downward and slots securely into the cross-section of the bracket.
Once the blind is installed, use the side chain to raise and lower it smoothly.
The P-clip must be fitted as far from the control mechanism as possible to prevent the looped chain from becoming slack.