
Please provide the exact wall-to-wall measurements for the width and drop of your blinds. The factory will make the necessary deductions on your behalf. Your order cannot be processed and dispatched until the correct measurements have been supplied.
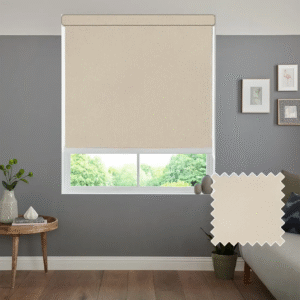
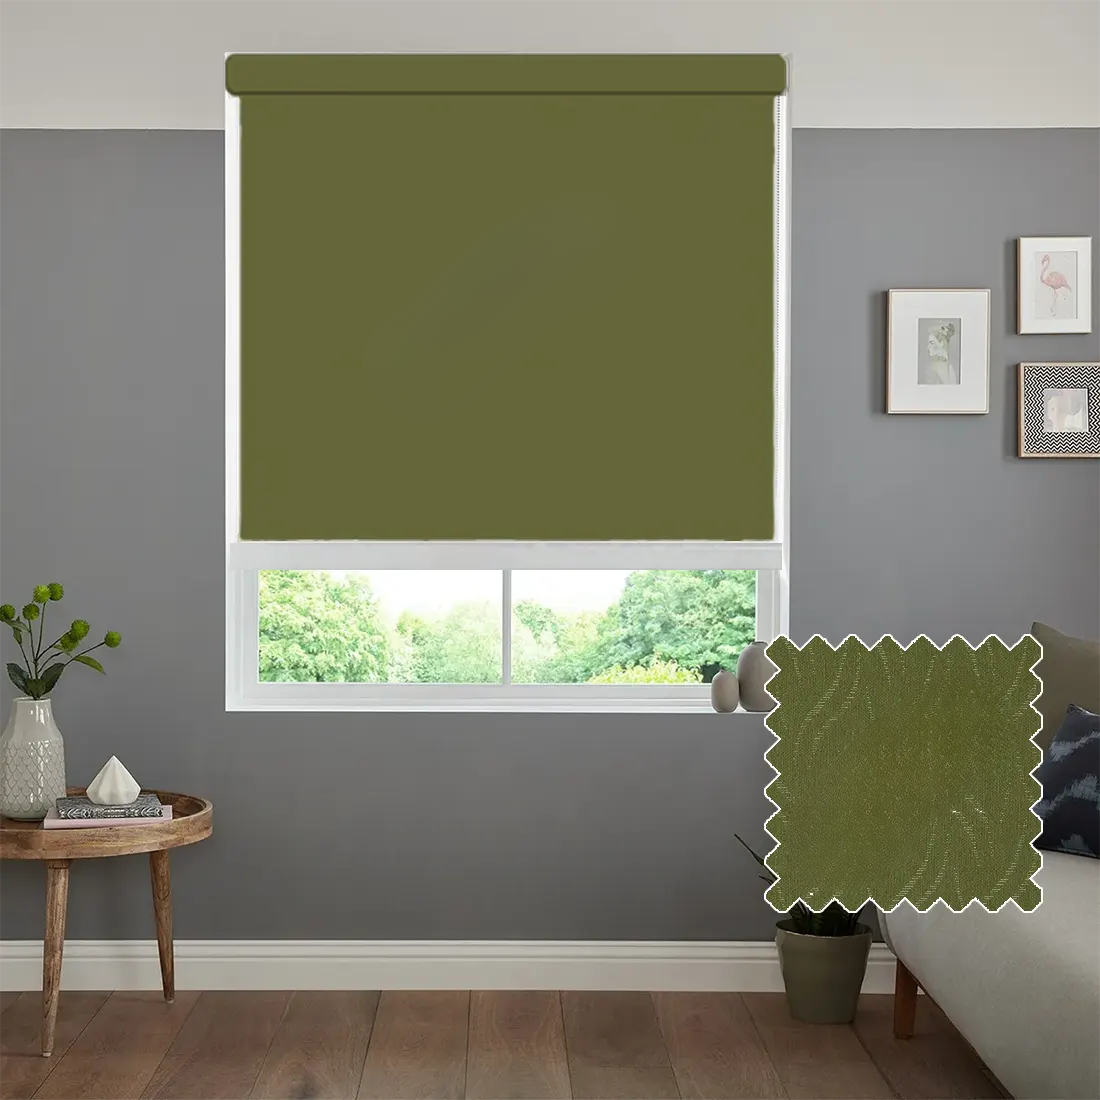
Our roller blind has a natural woven texture that adds a stylish look to any room in your home.
Important Note: The colour of the fabric may appear differently depending on your screen or device settings.
Inside every package you will receive:
€ 46.69
Roller Blind Only Measurement – Inside the Window Recess
To fit your blind inside the recess, you must measure the full width and height of the recessed area (from wall to wall).
Take three measurements across the width of the recess – at the top, middle, and bottom of the window. Then take three measurements down the height – on the left, in the centre, and on the right side.
Guide for Inside Recess Fitting
Outside the Window Recess
For blinds fitted outside the recess, the blind will be made to the exact measurements you provide, with no deductions.
Guide for Outside Recess Fitting
When fitting, you can choose between top mount and face mount options:
Ensure the brackets are positioned so the blind can move freely without catching on handles or the window frame. Place both brackets loosely onto the blind and hold it in position to mark the correct location before fixing.
Mounting the Blind
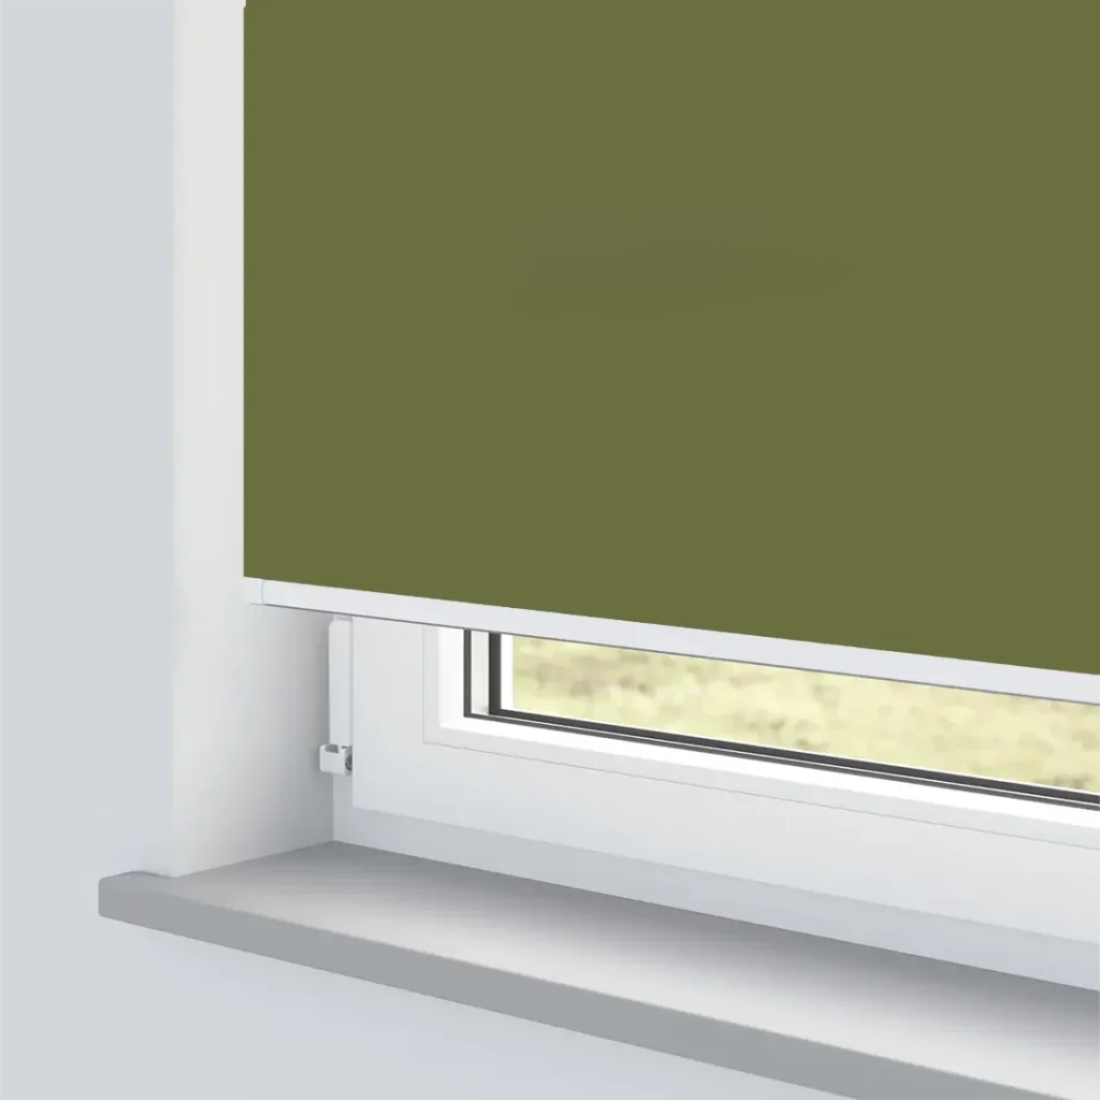
Operating the Blind
Once installed, use the side chain to raise and lower the blind smoothly.
The safety device must be installed as far away from the control mechanism as possible to prevent the chain loop from becoming slack.