CAIRO SILVER – BLACKOUT ROLLER BLIND

CAIRO SILVER – BLACKOUT ROLLER BLIND

Please provide your wall-to-wall measurements for both the width and drop of your blinds. The warehouse will make any necessary deductions to ensure a perfect fit. We cannot dispatch your order until we have these measurements.

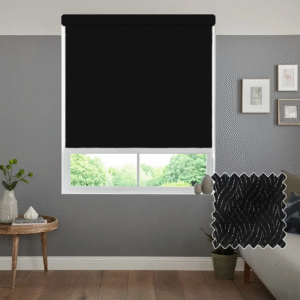
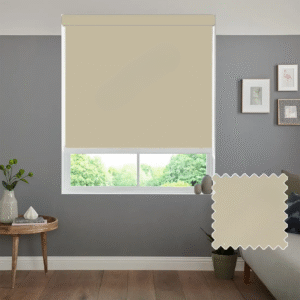
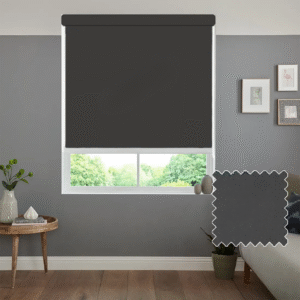
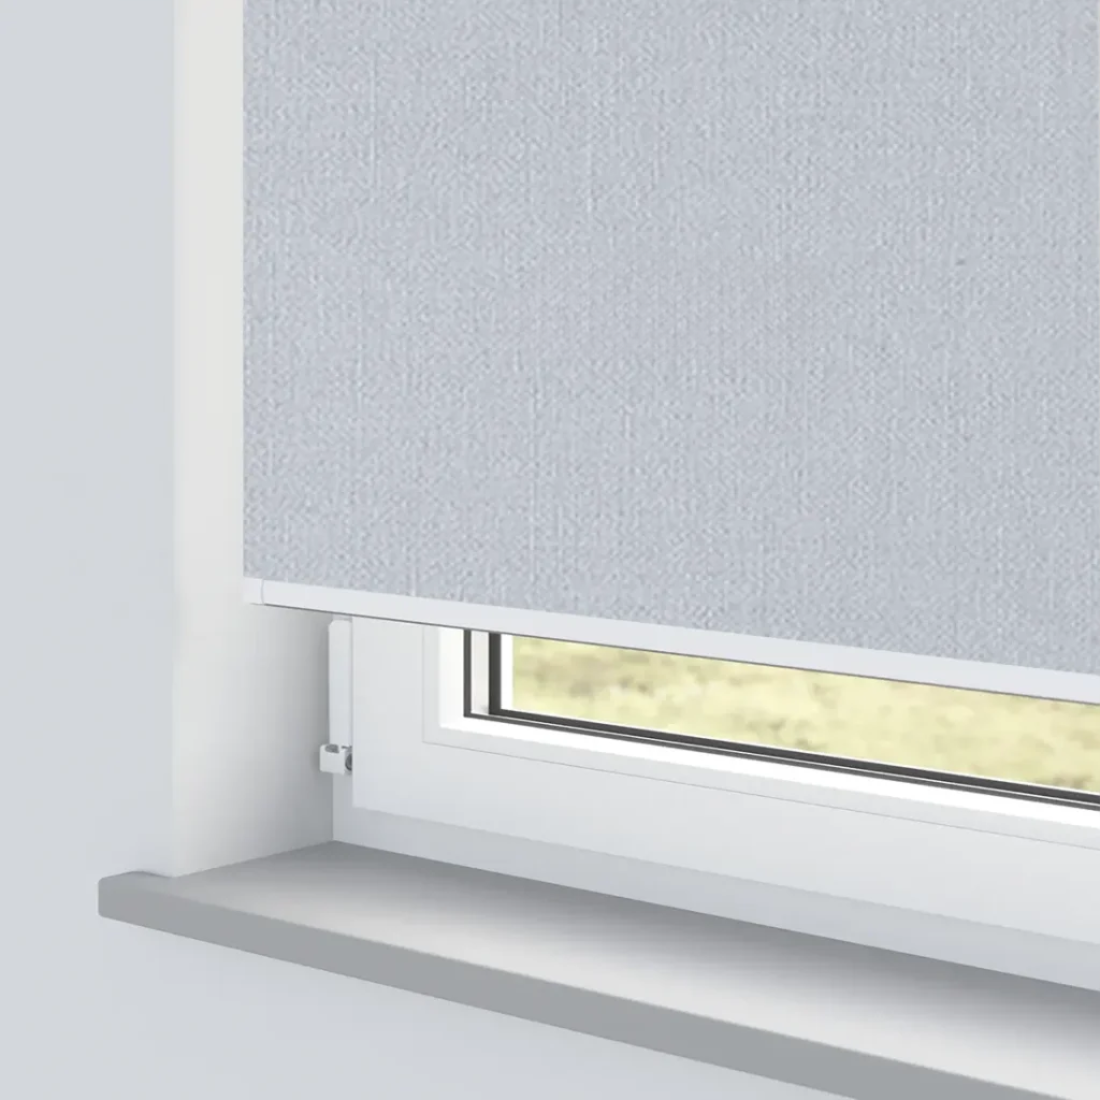
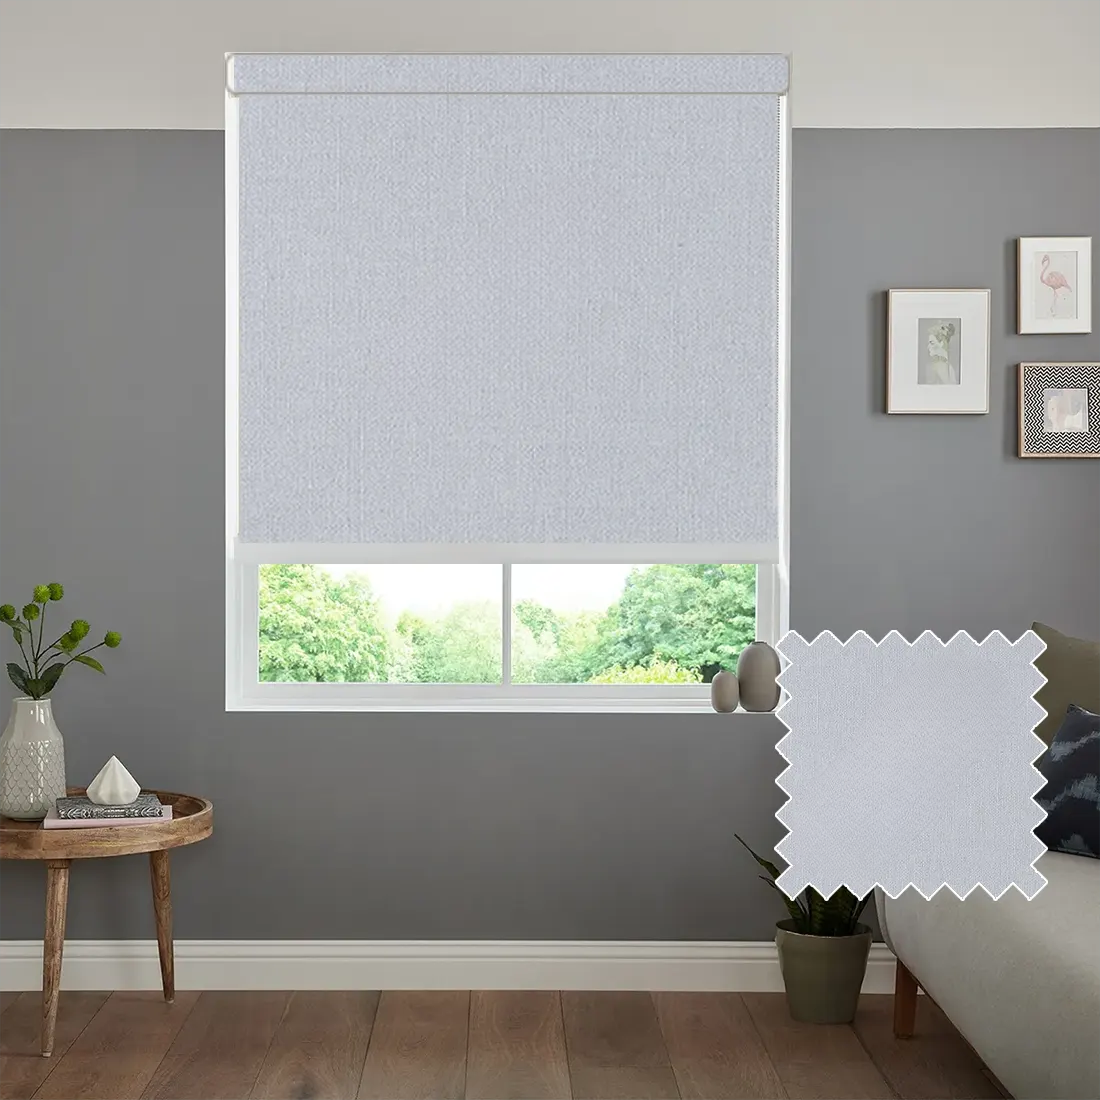
Our roller blinds feature a natural woven effect, adding style and texture to any room in your home.

  • Each roller blind is handmade in a UK-based factory.
  • Quick delivery – dispatched the next working day after manufacture.
  • Made with high-quality materials, including an aluminium roller tube, steel brackets painted white, and a durable white side-winder chain.
  • Blinds are operated with a tested and reliable side chain mechanism.
  • Made from 100% polyester with thermal properties.
  • Easy to install (instructions are not included).
  • Flexible mounting brackets are provided for universal fitting.
  • Every blind includes a child safety clip and chain connector.

Important: The colour of the blind may appear differently on various screens or devices due to display settings.

Each roller blind is carefully packed with all necessary fittings. Inside your parcel, you will find:

  • Roller blind with operating mechanism
  • Universal fitting brackets
  • Child safety clip

 46.61


Total Price:  46.61

Tools you will need:

  • Steel measuring tape
  • Pencil to mark and record measurements
  • Worksheet or paper to note your measurements
  • Ladder, if the window is tall

Tips for accurate measurement:

  • Do not confuse width and height when noting measurements. Mixing them up can cause the blind to not fit correctly.
  • If measuring multiple windows, do not assume all are the same size. Measure each individually, as small differences can make a big difference in the fit.

Inside Recess Measurement

If you want your blind to fit inside the window recess, measure the full width and height of the recess (the size of the window opening).

  • Take three measurements across the width: top, middle, and bottom.
  • Take three measurements along the height: left, centre, and right.
  • Always use the smallest measurement when ordering.
  • Do not make any deductions; the factory will adjust the blind to fit perfectly.
  • Use a metal tape measure for accuracy, as cloth tapes may stretch and give incorrect measurements.

Important: Be careful of any obstructions such as tiles, window handles, or rails to ensure the blind is positioned accurately.

Outside Recess Measurement

If you want the blind to fit outside the window recess, it will be made exactly to your specified measurements without deductions.

  • Measure the exact area you want the blind to cover.
  • To reduce light leakage, we recommend an overlap of at least 6 cm on each side and 7 cm at the top.
  • Overlap at the bottom is optional, but consider obstacles such as radiators.
  • Be careful of obstructions such as tiles or rails to ensure accurate placement.

You can choose between:

  • Top mount: Brackets are fitted to an overhead surface, such as the top of the window recess or the ceiling.
  • Face mount: Brackets are fixed to the face of the window frame.

Installation guidance:

  • Position the brackets so the blind can operate freely, avoiding contact with window handles or other obstacles.
  • Loosely attach both brackets to the blind and position it in the window to help centre it.
  • Place the control side bracket on the same side as the chain mechanism. Mark the first bracket carefully, ensuring it is level. Drill holes and fix the bracket using raw plugs if needed.
  • Insert one end of the blind into the mounted bracket, then mark and fix the second bracket, making sure it is level with the first.

Mounting the Blind

  • Insert the pin end of the blind into the pin side bracket. The pin end has a spring mechanism to make mounting and removing the blind easier.
  • Insert the control mechanism into the control side bracket. Ensure the central lug on the control side points downwards and hooks securely into the bracket.

Operating the Blind

  • Use the side chain to raise or lower the blind once installed.

P-Clip Installation:

  • Install the P-clip at the maximum distance from the control mechanism to keep the chain taut.
  • Ensure the chain runs inside the P-clip and remains tight. The P-clip should be positioned at the bottom of the loop.
  • Screw the tensioning device securely to the wall along the blind’s length to maintain constant chain tension. The chain will remain tight and secure at all times.