
Please provide your full wall-to-wall measurements for both the width and the drop of your blinds. The warehouse will make any necessary deductions for you. We cannot send your order until the correct measurements have been received.
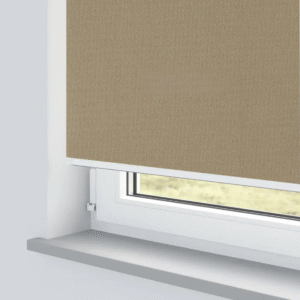
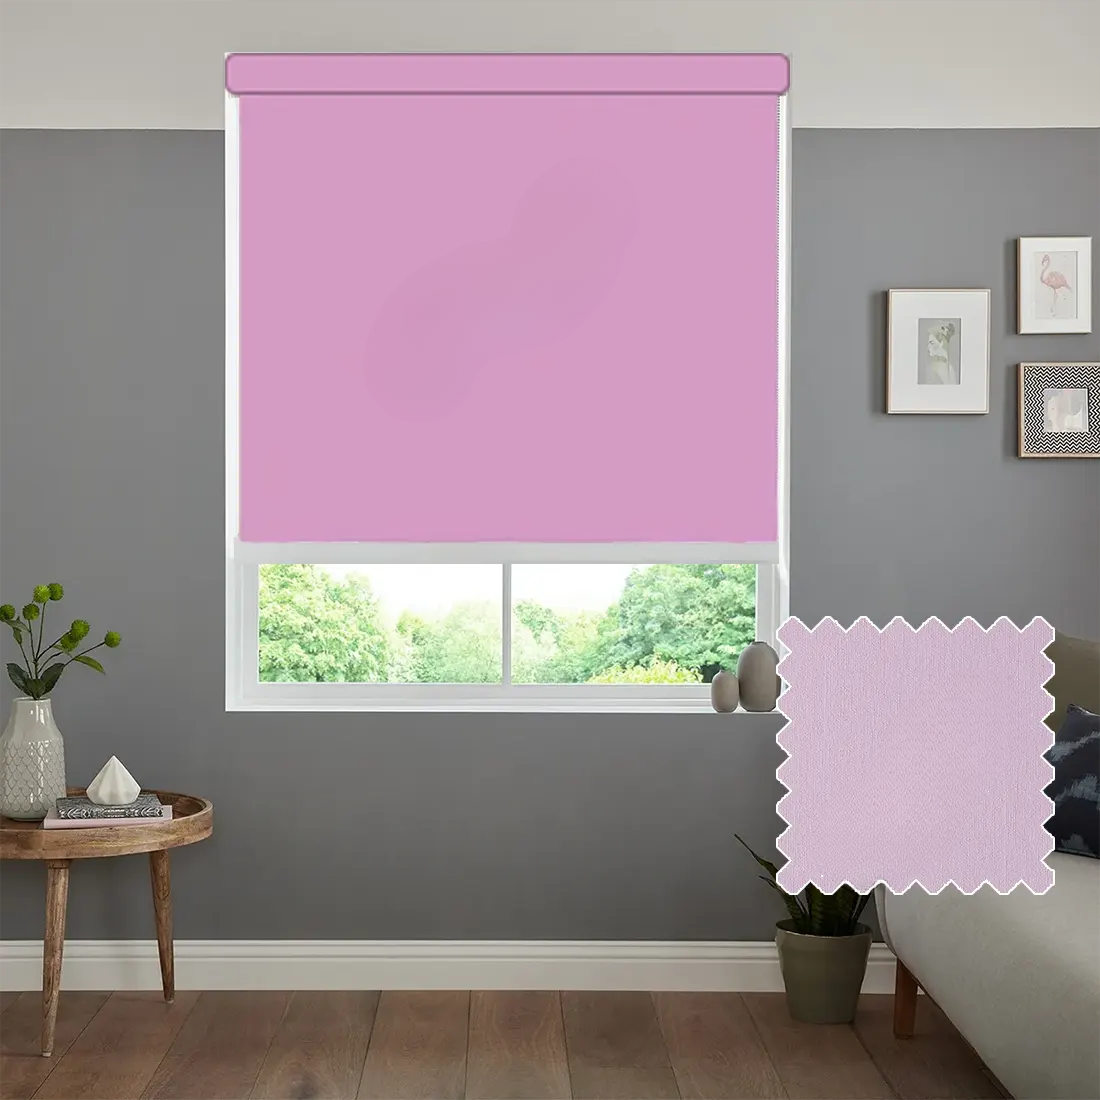
Our roller blind has a natural woven effect that adds style and character to your home.
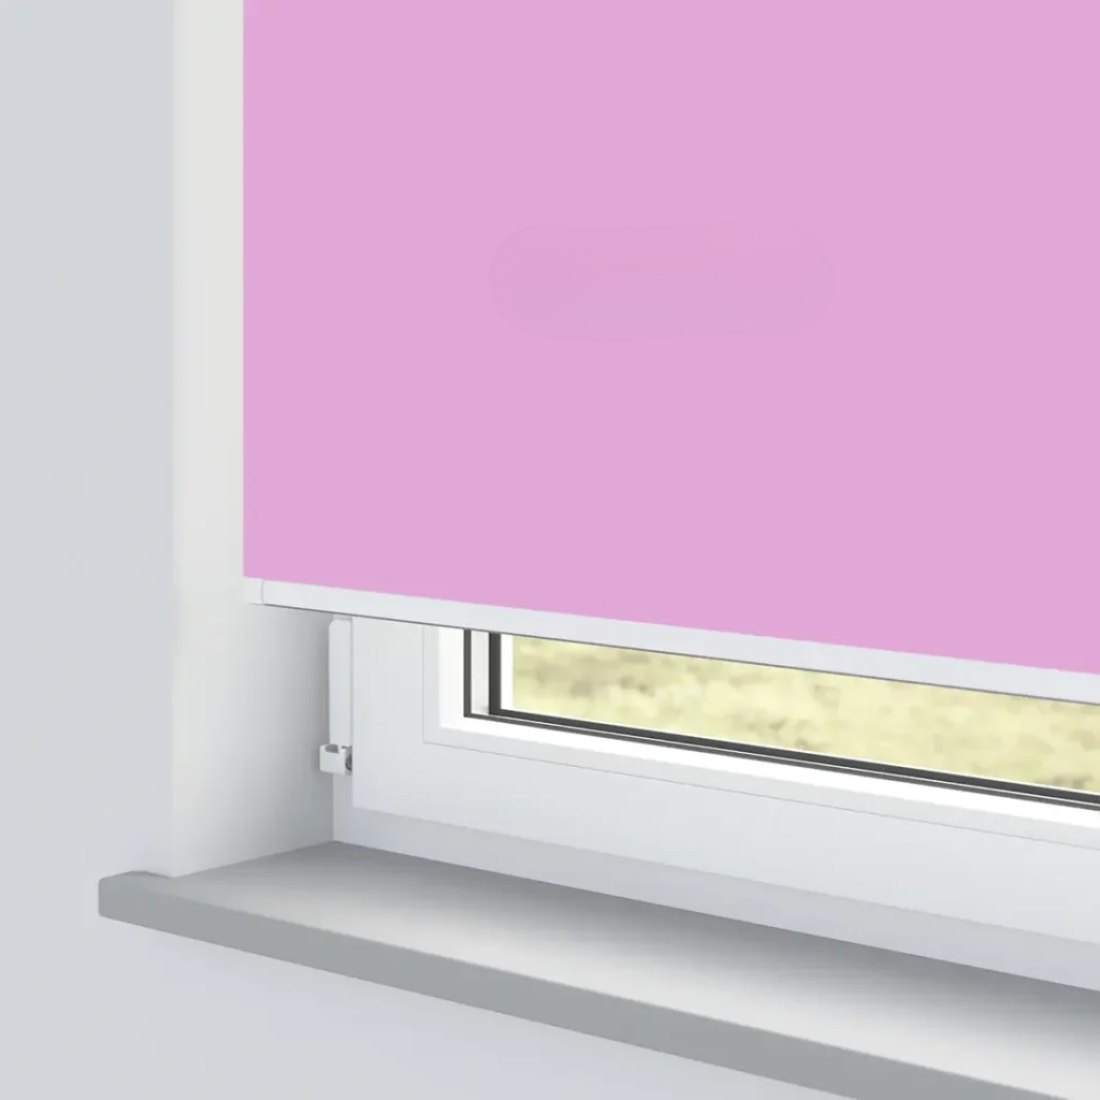
Important: Please note that the colour of the blind may appear differently on various screens and devices due to display settings.
Our roller blinds are carefully packed with all fixtures and fittings. In your parcel, you will receive:
€ 46.61
Tools Needed to Measure Vertical Blinds
Tips for Accurate Measurement
Outside Recess
Measure the exact area you want the blind to cover. To reduce light entering the room, we recommend the blind overlaps the window recess by at least 70 mm at the top and 50 mm on each side.
The overlap at the bottom is optional, but consider obstacles such as radiators.
Always use a metal tape measure, as cloth tapes can stretch and give inaccurate measurements.
Inside Recess
If you want the blind to fit inside the window recess, measure the full width and height of the recess. We will make any necessary deductions to ensure a perfect fit.
Measure in three places for both the width and the drop, using the smallest measurement. Do not make any deductions yourself; we will handle this to ensure the blind fits correctly. Use a metal tape measure, as cloth tapes can stretch and give inaccurate results.
Before starting, ensure you have the following items that come with your vertical blind:
Extra Equipment Needed for Fitting
Face Fixing
Position the brackets approximately 5 cm from each end of the headrail. If more than two brackets are supplied, space any additional brackets evenly across the length of the blind. Ensure the fixings are suitable for the wall or surface where the brackets are being mounted.
Hook the back of the headrail into the bracket and rotate it into position. Secure the headrail by tightening the short screw at the front of the bracket.
Top Fixing
Measure and mark the area to allow for obstacles, such as window handles that protrude into the recess. Place the brackets about 10 cm from each end of the headrail to avoid interference with the handles. If more than two brackets are supplied, fit additional brackets evenly across the blind. Make sure the fixings are appropriate for the wall or surface.
Tilt the headrail and hook it into the bracket, then rotate it into place until it clicks. To release the headrail, press the bracket at the designated point.
Once fitted, use the side chain to raise and lower the blind.
P-Clip
The P-clip device should be installed as far as possible from the control mechanism to keep the looper chain tight and prevent slack.
Make sure the control chain passes through the P-clip, and that the chain is taut with the P-clip at the bottom of the loop. This ensures the chain can move correctly. Screw the tensioning device to the wall, aligned with the blind, so the chain remains tight. The chain will stay securely tensioned and under constant pressure.