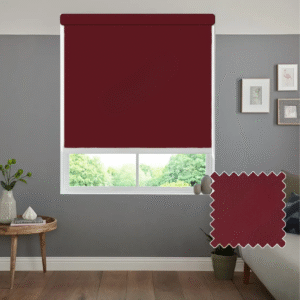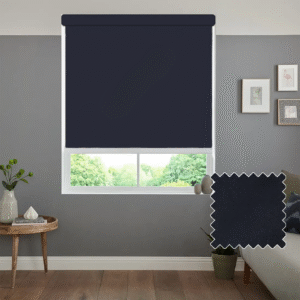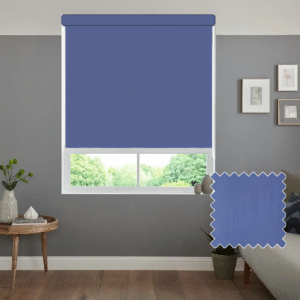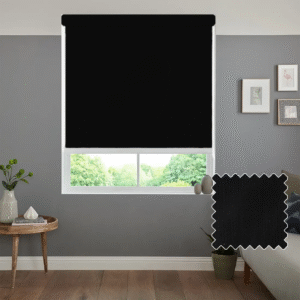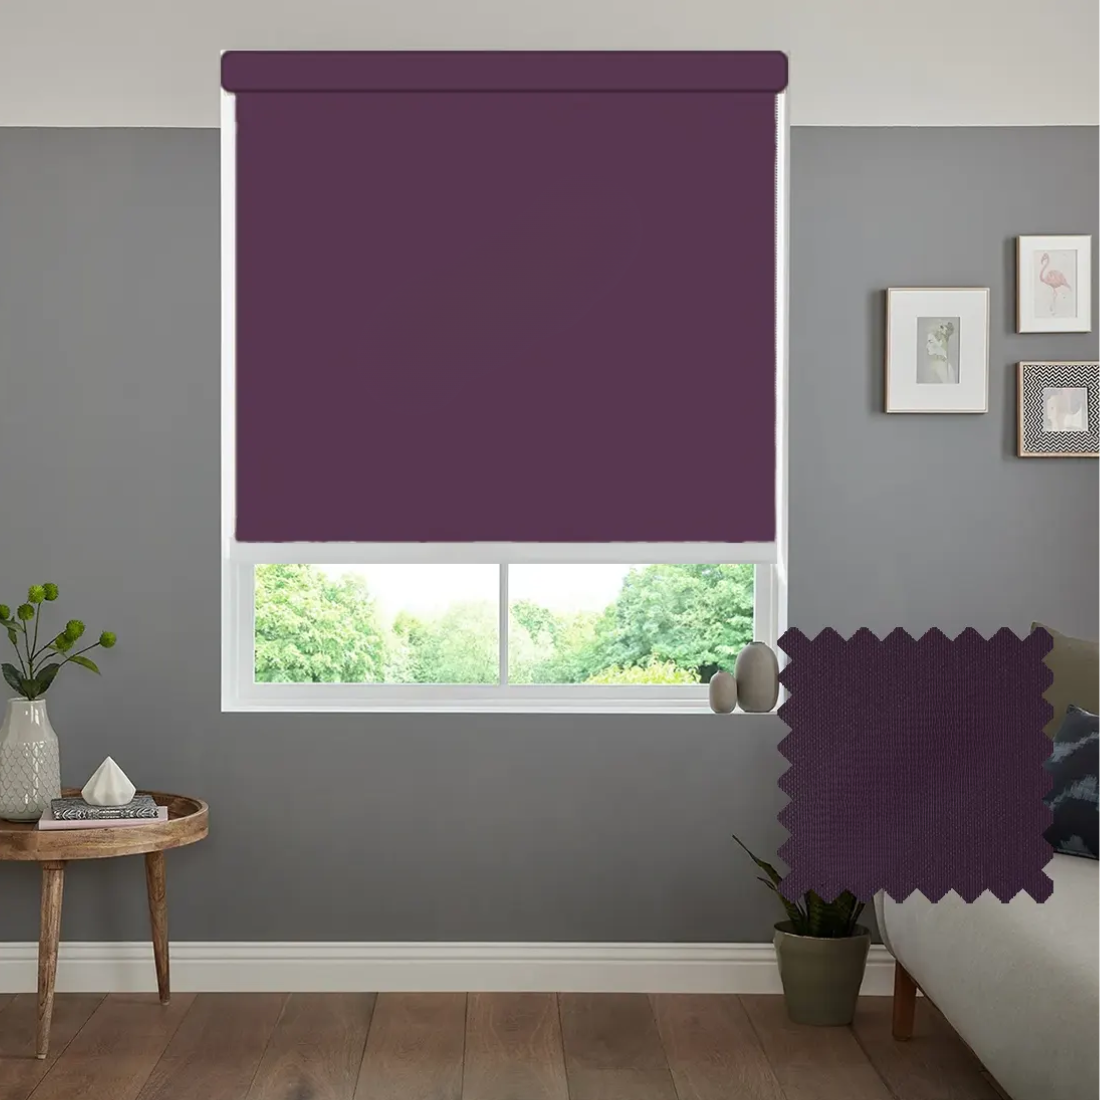

Motorised blinds are our premium choice, designed to give your windows a modern, electric touch. Both roller blinds and day and night blinds can be fitted with a motorised control system, allowing you to open and close them at the press of a button on the remote. We offer a wide selection of blinds with a large range of colours to choose from.
Motorised blinds are quick to install, easy to set up and very straightforward to operate. They are powered by reliable Somfy motors. With no wires attached, each blind is controlled by a rechargeable remote. They can also be operated through an app or linked to a smart home system.
Note: Motorised blinds may not be the best option for kitchens or bathrooms.
Important: Please be aware that colours may look different depending on the screen or device you are using.
€ 100.20
For fitting inside the window recess:
Measure the full width and height of the recess area from wall to wall.
Inside Recess Measuring Guide:
For fitting outside the window recess:
We will manufacture the blind to the exact measurements you provide, with no deductions.
Outside Recess Measuring Guide:
Please choose one of the following:
Top mount: Fixed to an overhead surface, such as the ceiling or the top of the window recess.
Face mount: Fixed to the wall surface outside the window frame.
When fitting, make sure the brackets are positioned so the blind operates freely and does not touch window handles, doors or other obstructions. Hold the brackets in place with the blind loosely positioned to check alignment and ensure it is centred.
Position the control side bracket on the same side as the blind’s control mechanism. Mark where the first bracket will go, ensuring it is level and straight. Drill the holes and fix the bracket securely, using raw plugs if attaching to a wall.
Insert one end of the blind into the mounted bracket. Place the other bracket at the opposite end, mark its position, and make sure it lines up level with the first. Drill the holes and fix the second bracket into place, again using raw plugs if needed.
Insert the pin side of the blind into the pin side bracket. This end has a spring function to make fitting and removing the blind easier. Place the control mechanism into the control side bracket as shown. The central lug on the mechanism should face downwards, fitting securely into the bracket slot.
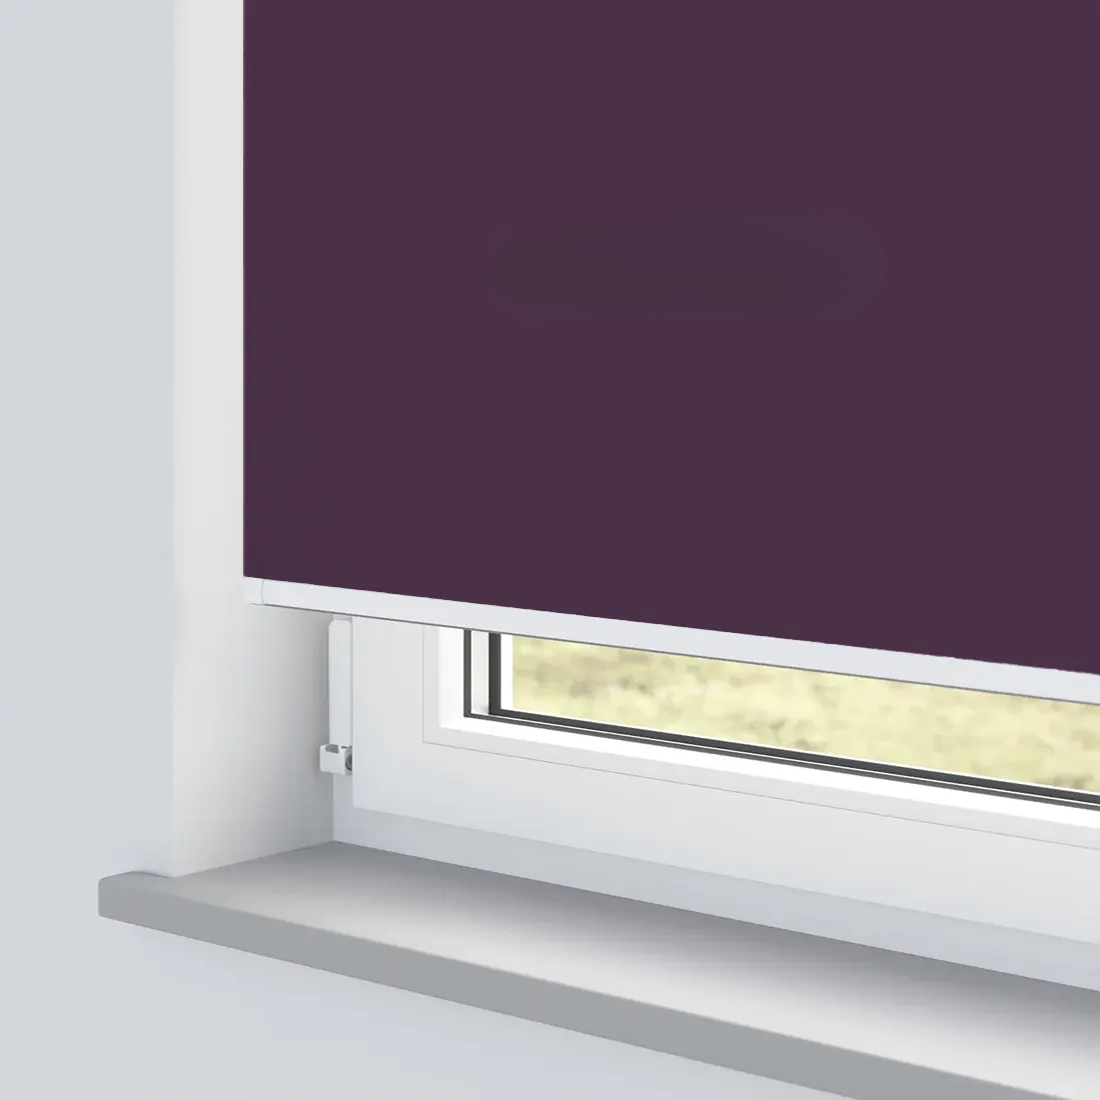
Once the blind has been installed, simply use the side chain to raise and lower it smoothly.
The P-clip must be fitted as far away as possible from the control mechanism to stop the looped chain from hanging loosely.