Stripe Ivory – Replacement Slats

Stripe Ivory – Replacement Slats

The soft, creamy tones of this blind bring both warmth and comfort to any room.

Its neutral shade makes it an excellent choice for brightening dull areas, while blending easily with almost any décor. This flexibility allows you to change your wall colours as often as you like without worrying about clashing styles.

The Finer Details

  • Fully made to measure
  • Fabric composition: 100% polyester
  • Maximum drop: 4000mm
  • Minimum drop: 254mm
  • 89mm wide polyester fabric louvres
  • Supplied with white top hangers
  • Bottom weights and stabilising chains available in a variety of colours (white supplied as standard)

 1.10


Total Price:  1.10

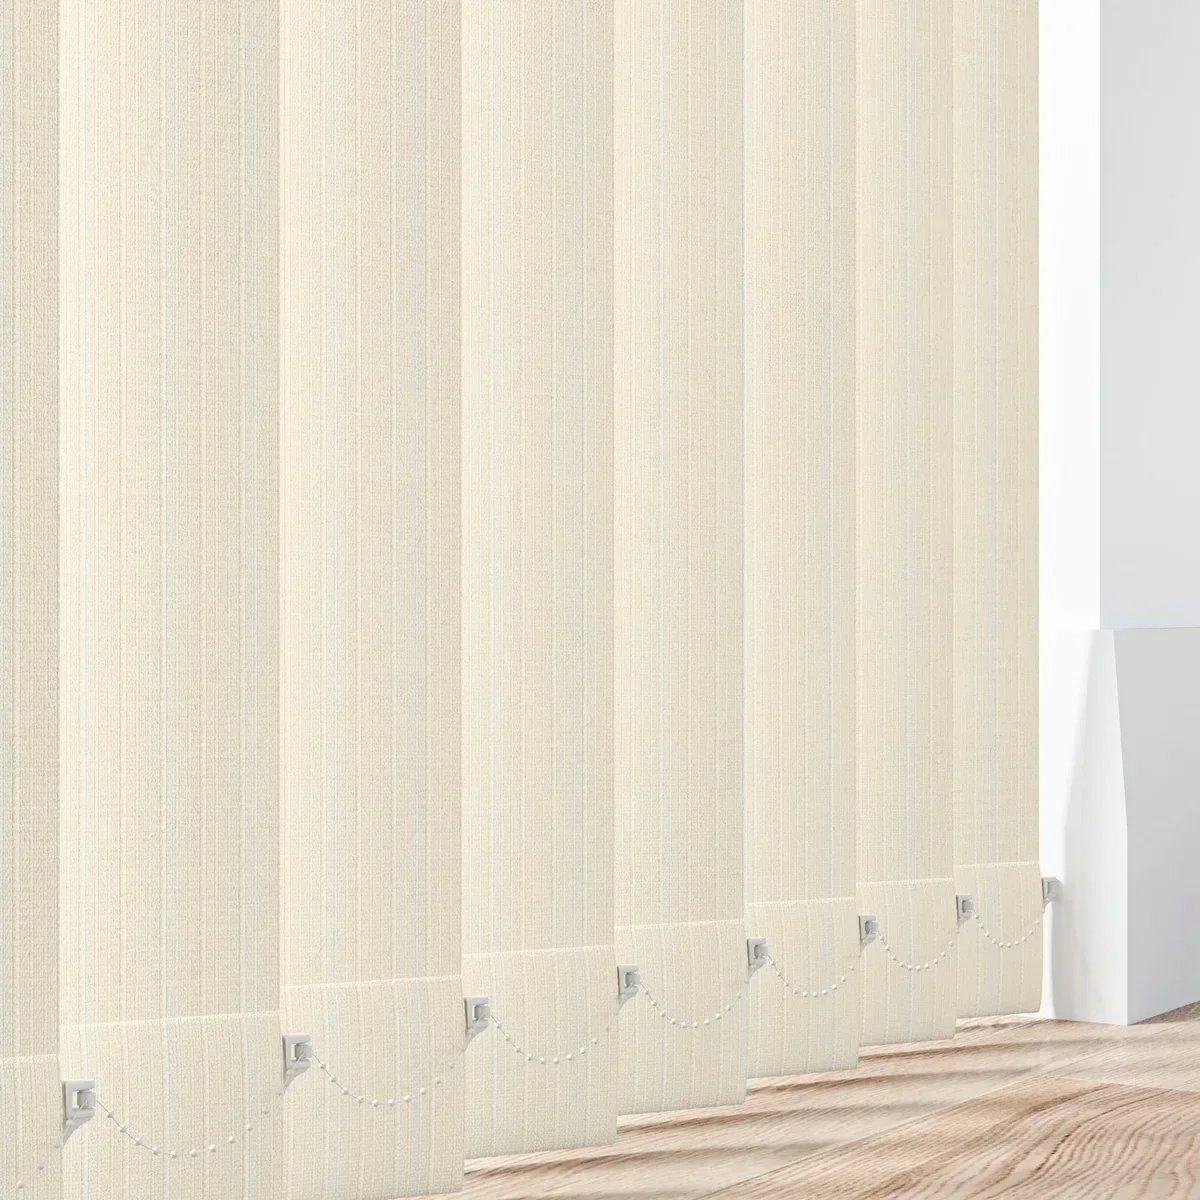
When measuring only the slat, the size will refer to the length of the fabric laid flat. The width of the slat is usually 89mm, which is by far the most common size, and the one available for most of our fabrics.

When placing your order, make sure that the fabric you choose is the correct width. Measure to the nearest centimetre, then subtract 1cm from both the height and width. Do not make any other deductions.

If No Slat Is Available

  1. Measure the size required directly at the window.
  2. Measure from the track opening down to the point where you would like the slat to end.
  3. Ensure the slat finishes around 13mm above any obstacle such as a window sill or radiator.

Counting and Ordering Slats

  • Count the number of existing slats or the number of trucks on the headrail.
  • Enter the total quantity required when placing your order.

Before fitting your vertical blind, make sure you have the following items included:

  • 2 x top fix brackets
  • 2 x face fix brackets
  • 1 x set of hangers
  • 1 x Allen key
  • 2 x stabilising chains
  • 1 x safety hook
  • 4 x wood screws
  • 1 x weight
  • Pencil
  • Screws
  • Drill with correct drill bits
  • Cross-head screwdriver
  • Metal tape measure

Face Fix

  1. Position the brackets around 5cm from each end of the headrail.
  2. If more than two brackets are supplied, place the extra brackets evenly across the length of the blind.
  3. Ensure the fixings you use are appropriate for the wall or surface.
  4. Hook the back of the headrail into the bracket, then rotate the headrail into place. Secure it by tightening the small screw located at the front of the bracket.

Top Fix

  1. Measure and mark the bracket positions, allowing for any obstructions such as handles that stick into the recess.
  2. Place the brackets about 10cm from each end of the headrail so that there is enough clearance for window handles.
  3. If more than two brackets are supplied, install the extras evenly along the length of the headrail.
  4. Make sure the fixings used are suitable for the wall or surface.
  5. Tilt the headrail and hook it into the bracket, then rotate it until it clicks into place. To remove the headrail, press the release point on the bracket.