AQUALUSH BLACK MOTORISED ROLLER BLIND

AQUALUSH BLACK MOTORISED ROLLER BLIND

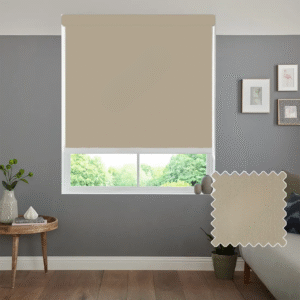
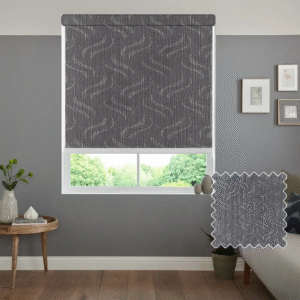
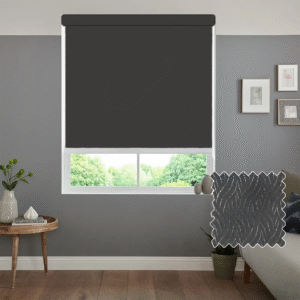
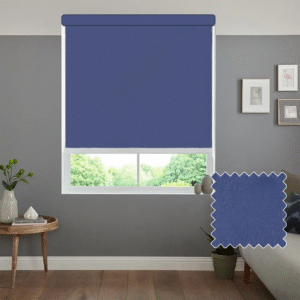
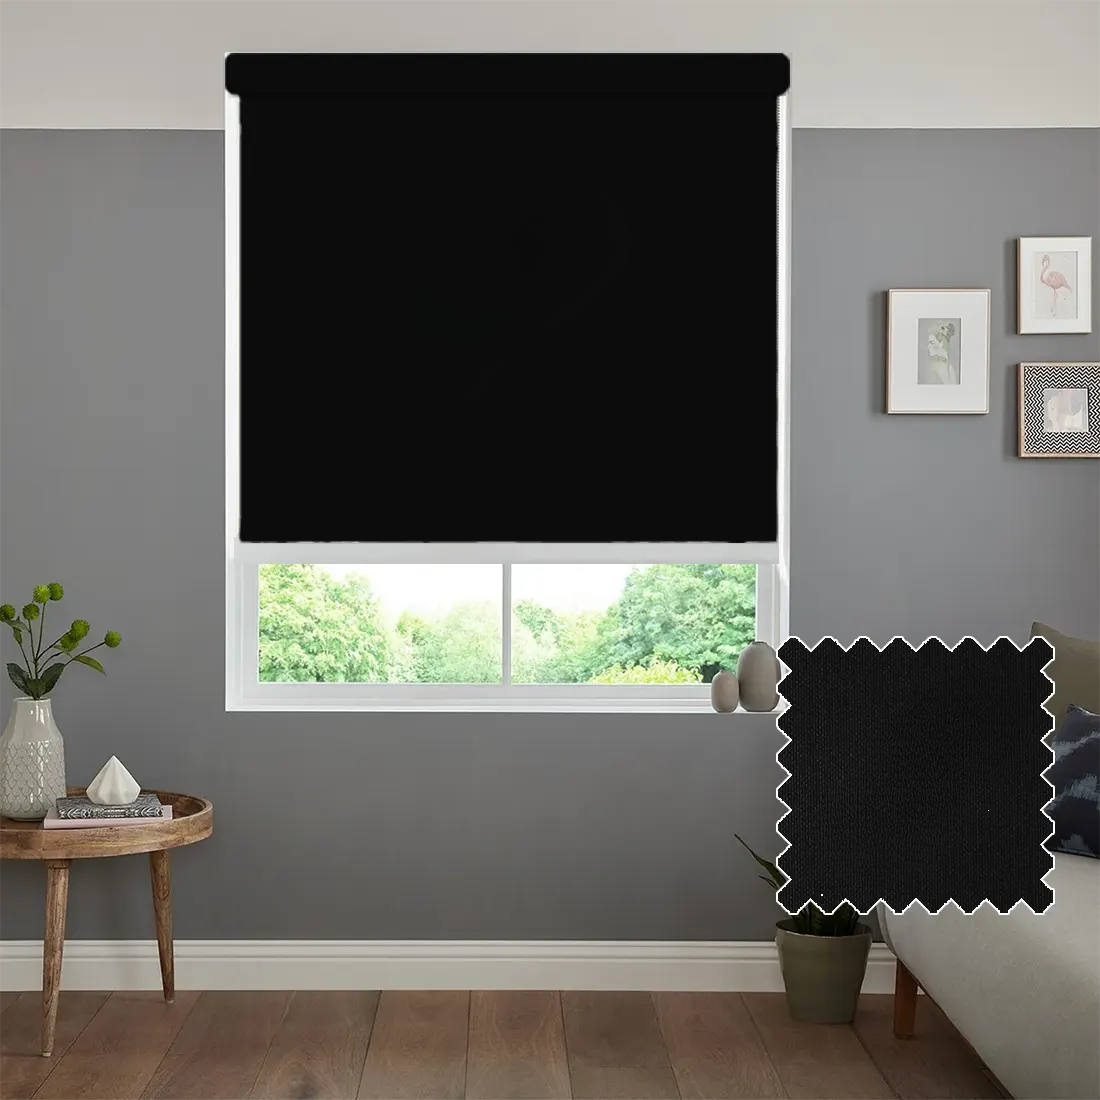
Motorised blinds are our premium range, designed to give your windows an electric touch. Both roller blinds and day-and-night blinds come with a motorised control system, allowing you to open and close them with a single press on the remote control. We offer an impressive selection of blinds in a wide range of colours.

Benefits of Motorised Blinds

  • Simple and easy to operate
  • Completely cord-free and safe for children (no hanging cords or chains)
  • Available in all fabrics for home or office use
  • Choose between Somfy or Cruze electric motor options
  • Ideal for high or hard-to-reach windows
  • Custom made to your exact measurements
  • Rechargeable battery pack – one full charge lasts around 11 months
  • Remote control included – for raising and lowering (one per blind)
  • Perfect for bedrooms – blackout options reduce light effectively

Motorised blinds are very straightforward to use, set up, and install. They are powered by high-quality Somfy motors. There are no cables attached; only a remote is required to operate the blind, which is rechargeable. Additionally, the blinds can be controlled via an app or smart home system.

Note: Motorised blinds may not be suitable for use in kitchens or bathrooms.

Important: Please be aware that the colour of the blind may appear differently on screens or devices due to display settings.

 100.51


Total Price:  100.51

Roller Blinds Only

Inside Window Recess: To fit the blind inside the window recess, measure the full width and height of the recessed area (wall to wall).

Inside Recess Measurement Guide:

  • Measure across three points: top, middle, and bottom of the window recess.
  • Measure down three points: left, right, and centre.
  • Use a steel tape measure and record measurements in centimetres to the nearest millimetre.
  • Take measurements in three specific places (width and height) and use the smallest measurement for ordering.
  • The factory will make any necessary deductions for blinds fitted inside the recess to ensure a perfect fit.
  • Be careful of obstructions such as tiles, handles, or rails to make sure measurements are accurate.

Outside Window Recess: Blinds made for outside the window recess will be produced exactly to your specified measurements, with no deductions.

Outside Recess Measurement Guide:

  • Measure the area you want the blind to cover. To prevent sunlight from coming in, we recommend overlapping 6cm on each side and 7cm at the top of the window.
  • Measure the width of the area carefully.
  • Watch for obstructions such as tiles or rails to ensure precise placement.
  • Overlap at the bottom is optional and can be decided according to your preference.

Please choose one: top mount or face mount

  • Top Mount: Fitting the blind to an overhead surface, such as the top of the window recess or ceiling.
  • Face Mount: Fitting the blind to the face of the window frame.

Bracket Positioning:

  • Ensure the brackets are positioned to allow free movement of the blind without hitting door handles or window fixtures.
  • Loosely place both brackets on the blind and position it in the window to check the correct alignment. This helps to centre the blind accurately.

Control Side Bracket:

  • Place the control side bracket on the same side as the chain control mechanism.
  • Mark the first bracket position carefully, ensuring it is level and straight, otherwise the blind will not operate properly.
  • Drill holes and fix the bracket using raw plugs if attaching to a wall.

Blind Installation:

  • Insert one side of the blind into the mounted bracket.
  • Place the other bracket on the opposite end, mark the position, ensuring it is level with the first bracket.
  • Drill holes and fix this bracket in place using raw plugs if required.

Mounting the Blind:

  • Insert the pin side of the blind into the pin side bracket. The pin end has a spring mechanism to assist with mounting and removing the blind.
  • Insert the control mechanism into the control side bracket as shown. The central lug on the control side should point downwards and hook into the bracket securely.

Operating the Blind:

  • Once installed, use the chain on the side to raise and lower the blind.

P-Clip Installation:

  • Install the P-clip as far as possible from the control mechanism to prevent the chain from becoming slack.
  • Ensure the control chain sits inside the P-clip, keeping the chain tight. The P-clip should be at the bottom of the loop, allowing the chain to move freely.
  • Screw the tensioning device to the wall, aligned with the blind, to maintain constant chain tension. This ensures the chain stays permanently tight.