AQUALUSH RED MOTORISED ROLLER BLIND

AQUALUSH RED MOTORISED ROLLER BLIND

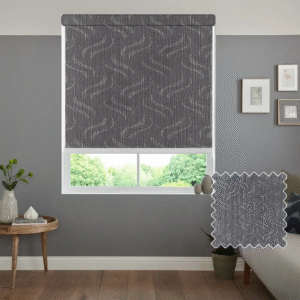
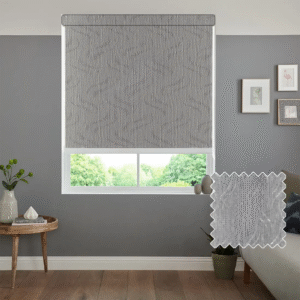
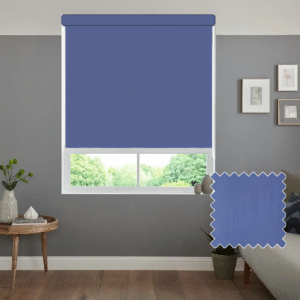
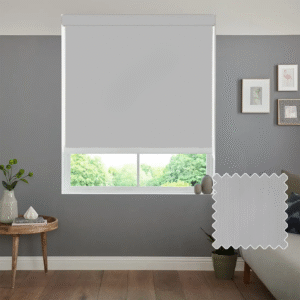
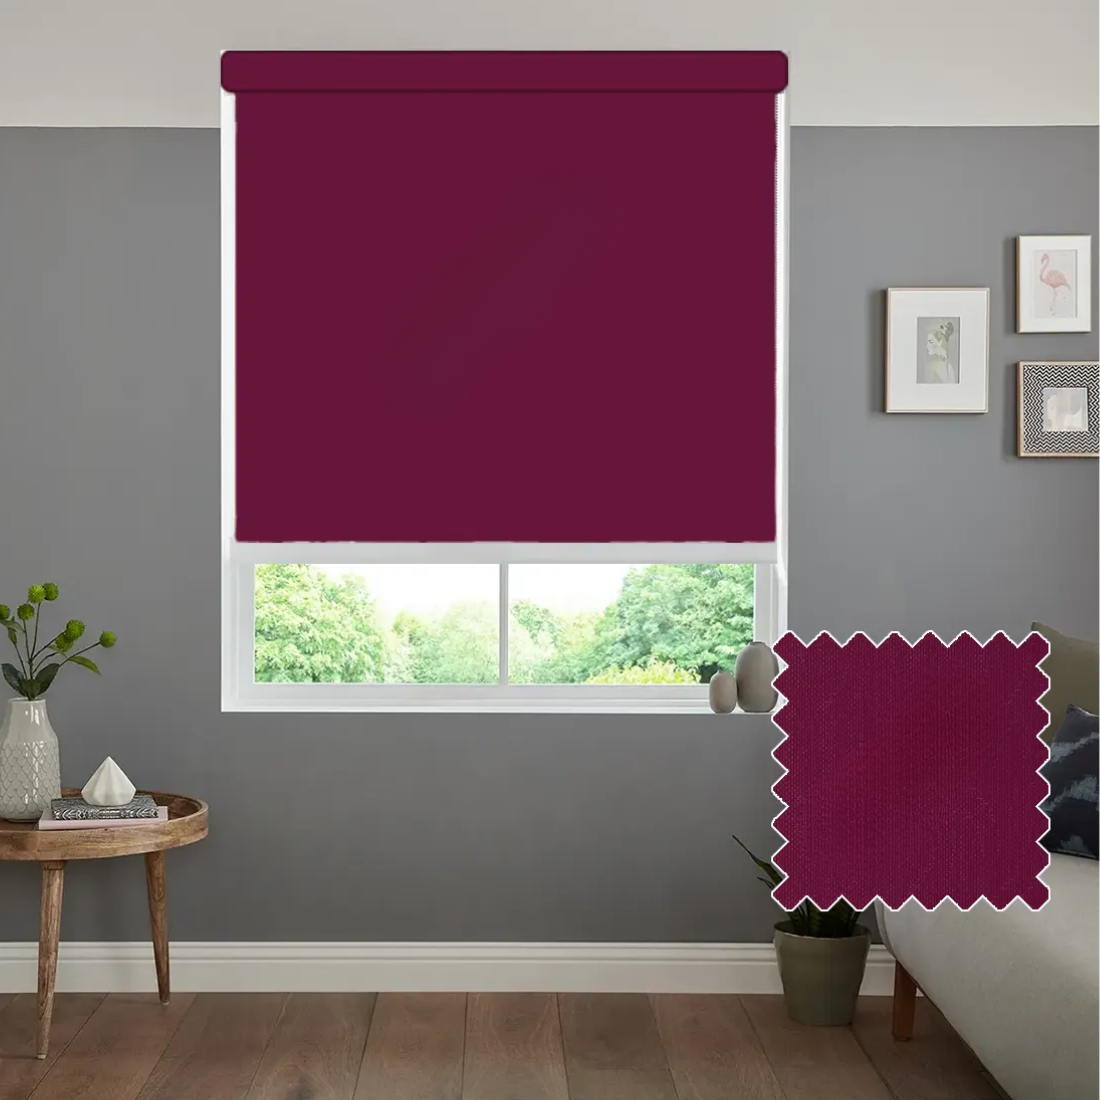
Motorised blinds are the most advanced blinds we offer, giving your windows a modern electric touch. Roller blinds and day and night blinds come with a motorised system that allows you to open or close them with just one click on the remote control. We have an impressive range of blinds available in a wide choice of colours.

Benefits of Motorised Blinds

  • Simple and effortless to operate
  • Fully cordless and child safe (no chains or hanging cords)
  • All fabrics suitable for both home and office use
  • Choose from Somfy or Cruze electric motor options
  • Perfect for tall or hard-to-reach windows
  • Custom made to fit your exact measurements
  • Rechargeable battery pack – one full charge lasts around 11 months
  • Each blind comes with its own remote control for raising and lowering
  • Ideal for bedrooms – blackout fabrics help reduce light

Motorised blinds are easy to install, operate, and set up. They are powered by high-quality Somfy motors. The system does not require cables; instead, it works with a rechargeable remote control. These blinds can also be controlled through an app or a smart home system.

Please Note: Motorised blinds may not be suitable for bathrooms or kitchens.

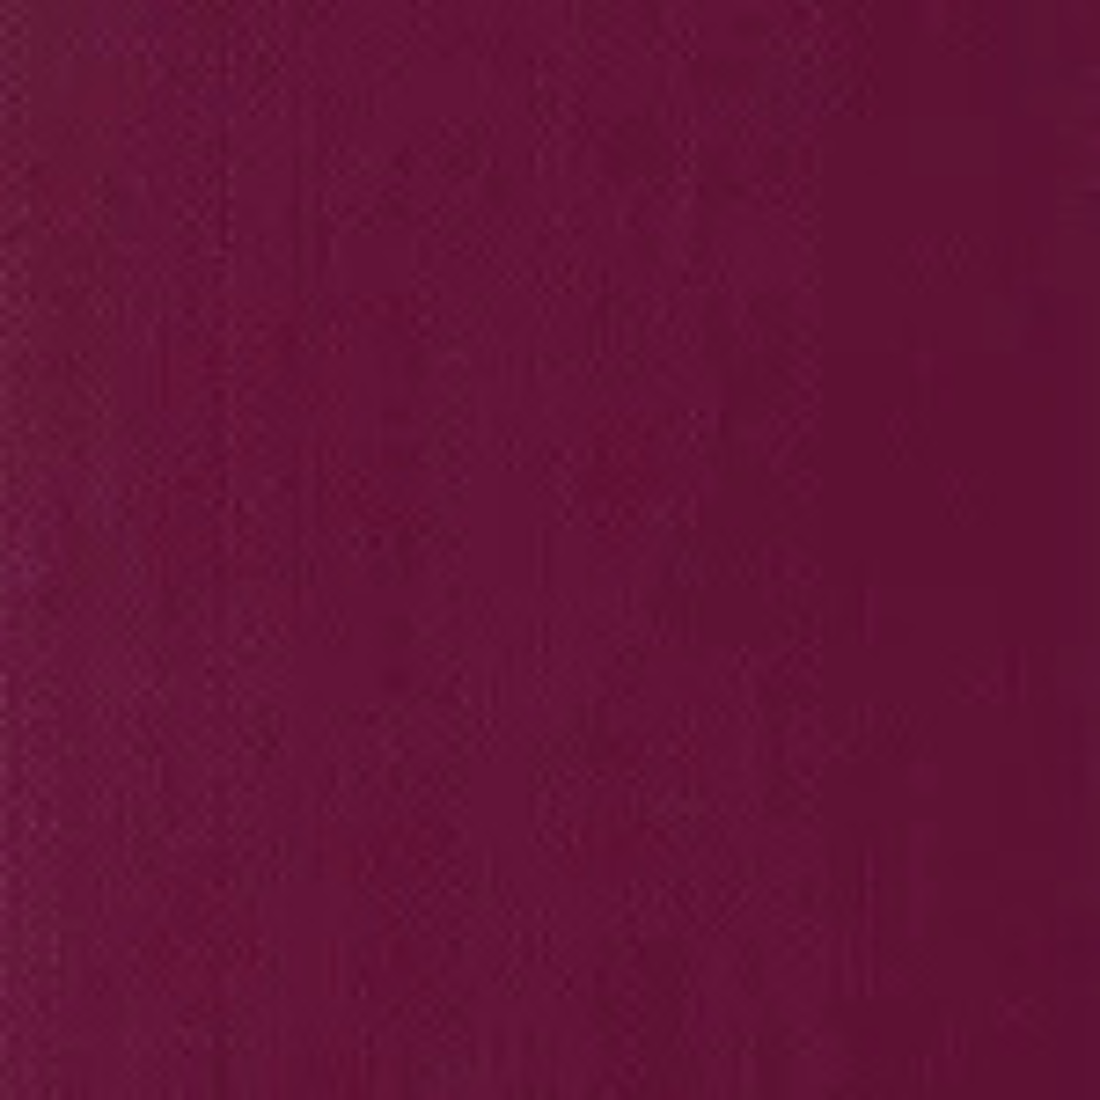
Important: The colour of the fabric may appear differently depending on your device or screen settings.

 100.20


Total Price:  100.20

Roller Only Measurement

For fitting the blind inside the window recess, measure the full width and height of the recessed area (wall to wall).

Inside Recess Measurement

  • Take three width measurements across the recess: top, middle, and bottom.
  • Take three height measurements: left, middle, and right.

Guide for Inside Recess Fitting

  • Always use a steel tape measure for accuracy, in centimetres to the nearest millimetre.
  • Measure in three places for both width and height, and use the smallest measurement when placing your order.
  • The factory will make any required deductions for recess-specified blinds to ensure a perfect fit.
  • Take care to measure around obstructions such as handles, tiles, or rails to keep the position accurate.

Outside Recess Measurement

For blinds fitted outside the recess, the blind will be made to the exact measurements you provide, with no deductions.

Guide for Outside Recess Fitting

  • Measure the full area you would like the blind to cover.
  • To block sunlight effectively, allow for an overlap of 6 cm on each side and 7 cm above the window.
  • You may choose to add an overlap at the bottom, depending on your preference.
  • Take care around obstacles such as tiles or rails to ensure the blind is positioned correctly.

Please choose from:

Top Mount: Fitted to the overhead surface such as the top of the window recess or the ceiling.

Face Mount: Fitted to the front surface outside the window frame.

Installation Steps:

  • Position the brackets so the blind can move freely without touching handles or frames.
  • Place both brackets loosely on the blind and position in the window to help with centring.
  • Attach the control side bracket on the same side as the chain or motor mechanism. Check it is level, mark the position, drill holes, and fix in place with raw plugs if attaching to a wall.
  • Insert one side of the blind into the bracket, then mark the position of the other bracket on the opposite end. Ensure it is level with the first, drill, and secure it in place.

Mounting the Blind

  • Insert the pin end of the blind into the pin bracket. The pin end has a spring action that makes mounting and removal easier.
  • Insert the control mechanism into the control side bracket. The central lug should face downwards and slot into the bracket’s cross-section to lock it into place.

Operating the Blind

  • Once installed, simply use the remote or side chain to raise and lower the blind.

P-Clip Safety Device

  • Install the P-clip as far away from the control mechanism as possible to keep the chain tight.
  • Place the control chain inside the P-clip. Ensure it is positioned at the bottom of the loop so the chain can move smoothly.
  • Screw the tensioning device to the wall in line with the blind to keep the chain firmly in place.
  • The chain will then remain permanently taut and safe under constant tension.