CAIRO BLACK MOTORISED ROLLER BLIND

CAIRO BLACK MOTORISED ROLLER BLIND

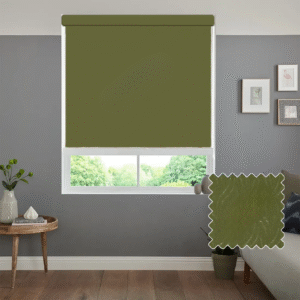
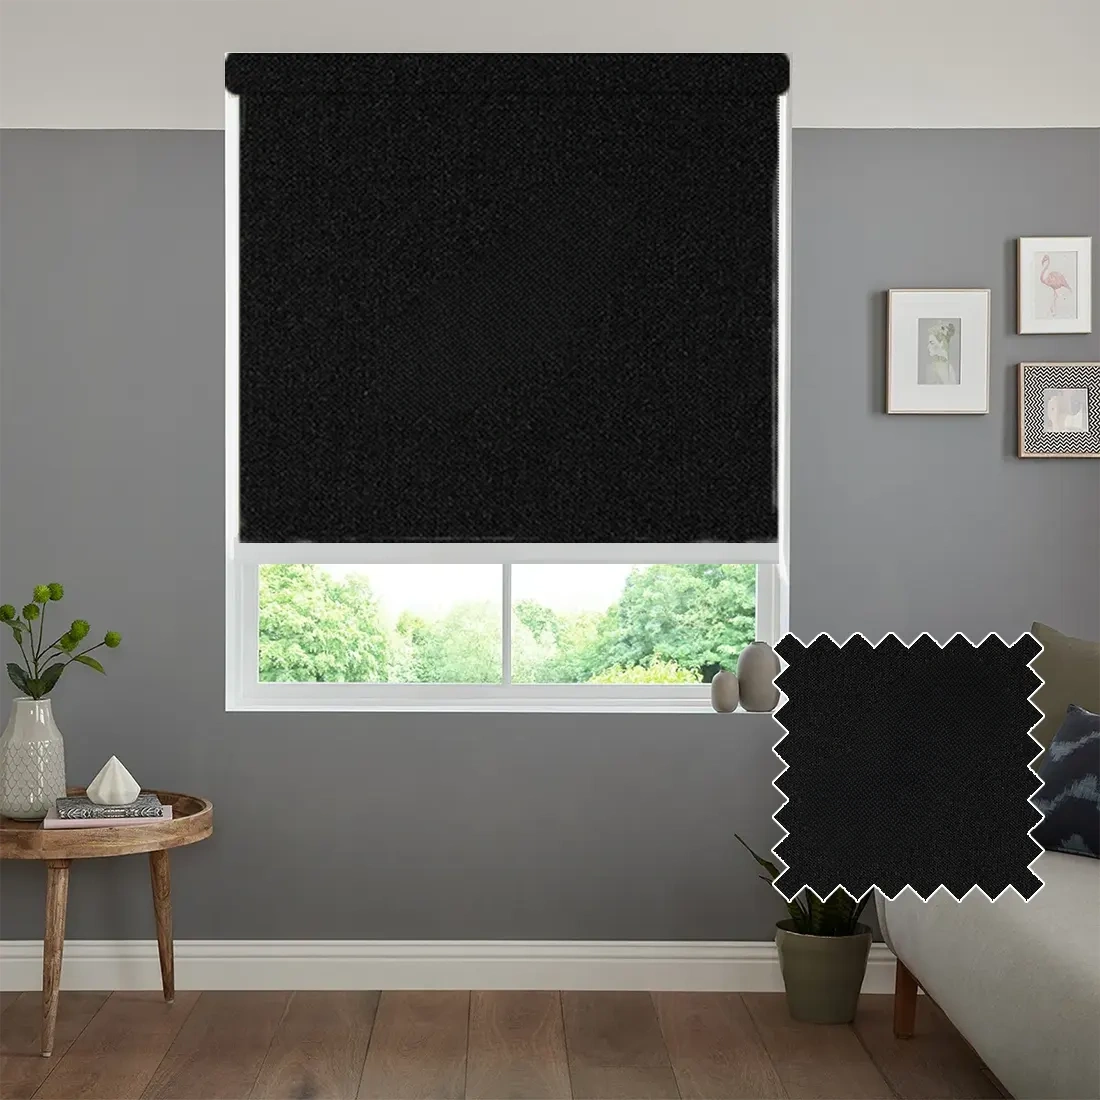
Motorised blinds are our premium blinds that give your windows an electric, modern feel. Roller blinds and day-and-night blinds are available with a motorised control system, allowing you to open and close them with a single click using a remote control. We offer a wide variety of blinds in an extensive selection of colours.

Benefits of Motorised Blinds

  • Easy to operate: Simple control with a remote.
  • Cord-free and child safe: No hanging cords or chains.
  • All fabrics available: Suitable for both home and office use.
  • Motor options: Choose between Somfy or Cruze electric motors.
  • Ideal for hard-to-reach windows: Perfect for high or awkwardly placed windows.
  • Made to measure: Blinds are custom-sized to fit your windows.
  • Rechargeable battery pack: One full charge lasts approximately 11 months.
  • Remote control included: Each blind comes with one remote for raising and lowering.
  • Bedroom-friendly: Blackout options maximise light reduction.

Motorised blinds are simple to install and use. They are powered by high-quality Somfy motors and do not require any cables. Control is through the included rechargeable remote, and they can also be operated via an app or a compatible smart home system.

Note: Motorised blinds may not be suitable for kitchens or bathrooms.

Important: Colours may appear different on screens or devices depending on display settings.

 100.74


Total Price:  100.74

Tools required:

  • Steel measuring tape
  • Pencil for marking and noting measurements
  • Worksheet to record sizes
  • Ladder for tall windows

Tips for accurate measurement:

  • Keep width and height measurements separate to avoid mistakes.
  • Do not assume all windows are the same; measure each window individually. Minor differences can affect how the blinds fit.

Inside Recess Measurement

If you want your blind to fit inside the window recess:

  • Measure the full width and height of the recess (the size of the window opening).
  • Take three width measurements: top, middle, and bottom.
  • Take three height measurements: left, centre, and right.
  • Use the smallest measurements when ordering.
  • Do not make any deductions; the factory will adjust the blind for a perfect fit.
  • Use a metal tape measure, as cloth tapes can stretch and give inaccurate results.

Be careful: Watch for obstacles such as tiles, handles, or rails to ensure accurate positioning.

Outside Recess Measurement

If you want the blind to fit outside the window recess:

  • Measure the exact area you want to cover.
  • To prevent light from entering, we recommend an overlap of at least 6 cm on each side and 7 cm at the top.
  • Bottom overlap is optional, but consider obstructions such as radiators.
  • Use a metal tape measure for precise results.

You can choose between:

  • Top mount: Brackets are fixed to an overhead surface, such as the top of the window recess or the ceiling.
  • Face mount: Brackets are mounted on the front of the window frame.

Installation guidance:

  • Position brackets to allow the blind to operate freely, avoiding contact with handles or other obstacles.
  • Loosely attach both brackets to the blind and position it in the window to help centre it.
  • Place the control side bracket on the same side as the motor mechanism. Mark the first bracket, ensuring it is level. Drill holes and fix using raw plugs if necessary.
  • Insert one end of the blind into the mounted bracket, then mark and fix the second bracket, ensuring it is level with the first.

Mounting the Blind

  • Insert the pin end of the blind into the pin side bracket. This end has a spring mechanism to make mounting and removal easier.
  • Insert the motorised control mechanism into the control side bracket. Ensure the central lug points downwards and hooks securely into the bracket.

Operating the Blind

  • Use the remote control to raise and lower the blind once it is installed.

P-Clip Installation:

  • Fit the P-clip as far from the motor mechanism as possible to keep the chain tight.
  • Make sure the control chain runs inside the P-clip, keeping the loop taut. The P-clip should sit at the bottom of the loop.
  • Screw the tensioning device securely along the blind to ensure the chain remains tight at all times.