
Please provide your wall-to-wall measurements for both the width and drop of your blinds. The warehouse will make any necessary deductions for you. We cannot send your order until we have received the correct measurements.
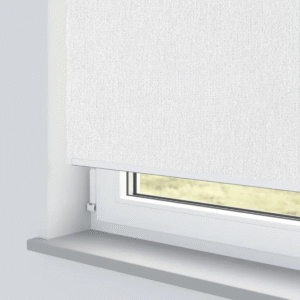
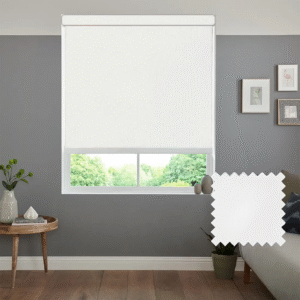
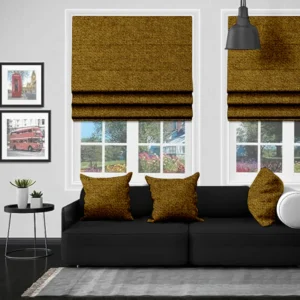
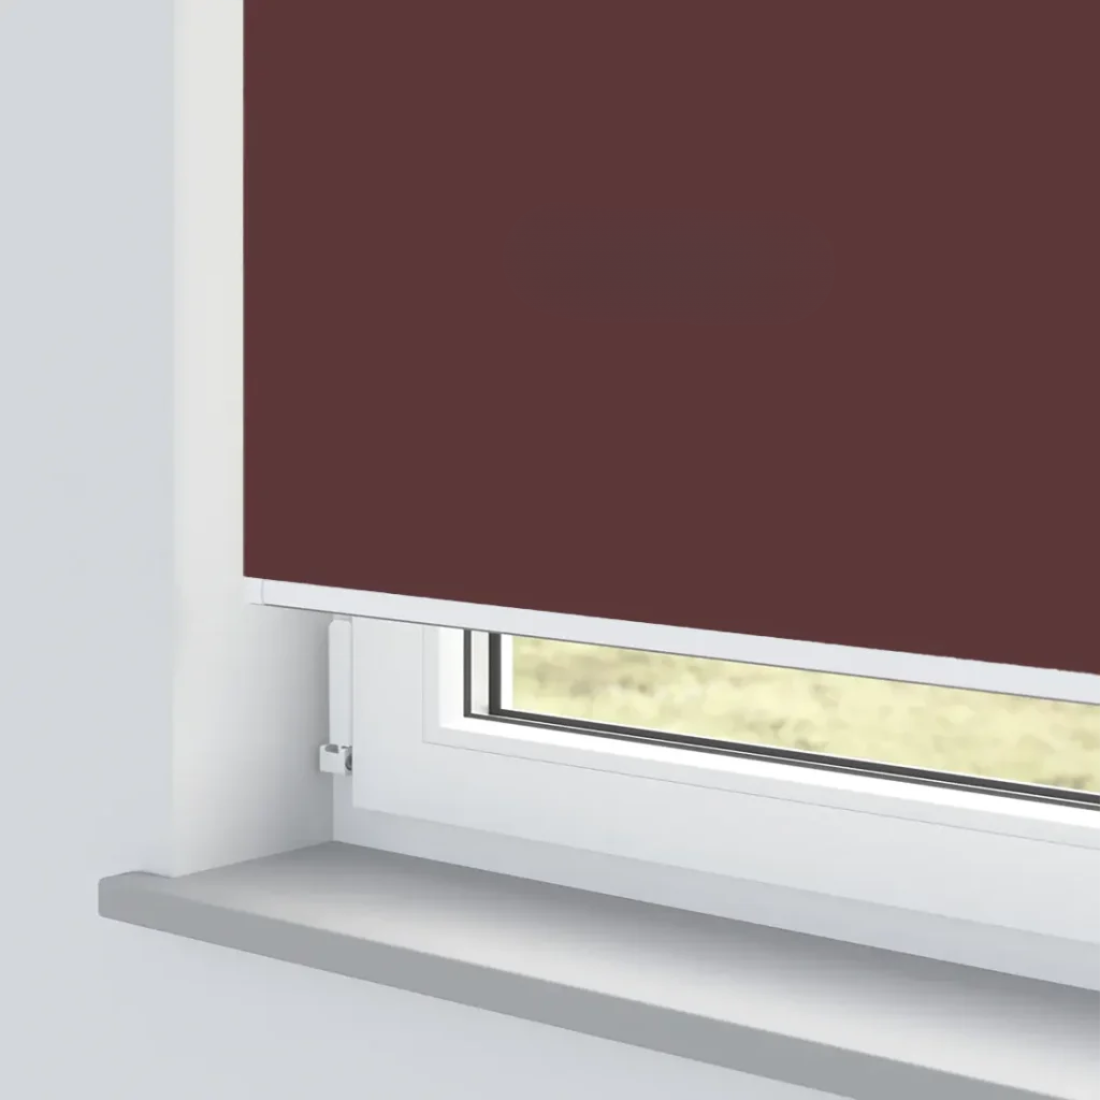
Our roller blind has a natural woven effect that is ideal for adding style to any room in your home.
Important: The colour of the blind may appear differently on screens or devices depending on your display settings.
Our roller blinds are carefully packaged with all the fixtures and fittings included. Inside your parcel, you will find:
€ 46.69
To fit the blind inside the window recess, measure the full width and height of the recessed area from wall to wall.
Take three measurements across the width of the window recess: top, middle, and bottom. Then take three measurements down the height: left, right, and centre.
Guide for Inside Recess Fitting
Use a steel tape measure to ensure accurate measurements, recording in centimetres to the nearest millimetre.
Measure in three specific places for both width and height and use the smallest measurement when placing your order.
The factory will make any necessary deductions for “recess specified blinds” to ensure a perfect fit.
Be careful when measuring around obstructions such as tiles, handles, or rails to ensure the blind fits correctly.
For blinds fitted outside the window recess, we will make the blind to your exact measurements with no deductions.
Guide for Outside Recess Fitting
Measure the area you want the blind to cover. To block sunlight, we recommend an overlap of 6cm on each side and 7cm above the window. You may choose whether to have an overlap at the bottom.
Be careful to measure around any obstacles, such as tiles or rails, to ensure accurate positioning.
Please choose your preferred mounting type:
Position the brackets so the blind can move freely without touching handles, doors, or the window frame. Hold both brackets loosely on the blind and position them in the window to determine the best location. This helps to centre the blind correctly.
Fit the control side bracket on the same side as the chain mechanism. Mark the first bracket’s position, making sure it is level and not twisted to prevent operational problems. Drill holes and secure it with raw plugs if fixing to a wall.
Insert one side of the blind into the mounted bracket. Position the second bracket at the opposite end of the blind, mark its position, and ensure it is level with the first. Drill holes and fix the bracket securely using raw plugs if attaching to a wall.
Insert the pin end of the blind into the pin side bracket. The spring mechanism at the pin end makes it easy to mount and remove the blind. Then insert the control mechanism into the control side bracket. The central lug should point downwards and hook securely into the bracket.
Once installed, use the chain on the side to raise and lower the blind.
Install the device as far from the control mechanism as possible to prevent the looped chain from going slack.
Ensure the control chain runs through the P-clip and is taut. The clip should be positioned at the bottom of the loop, allowing the chain to move freely. Fix the tensioning device to the wall along the full length of the blind so the chain stays tight. The chain will remain under constant tension.