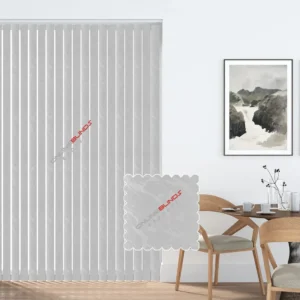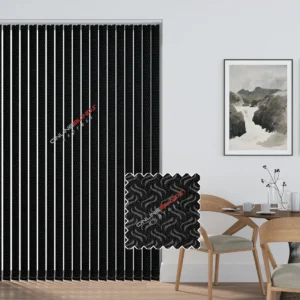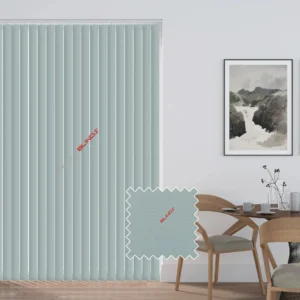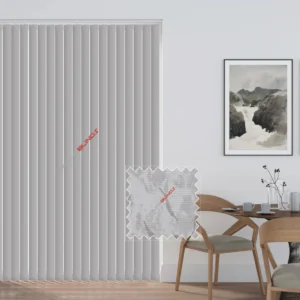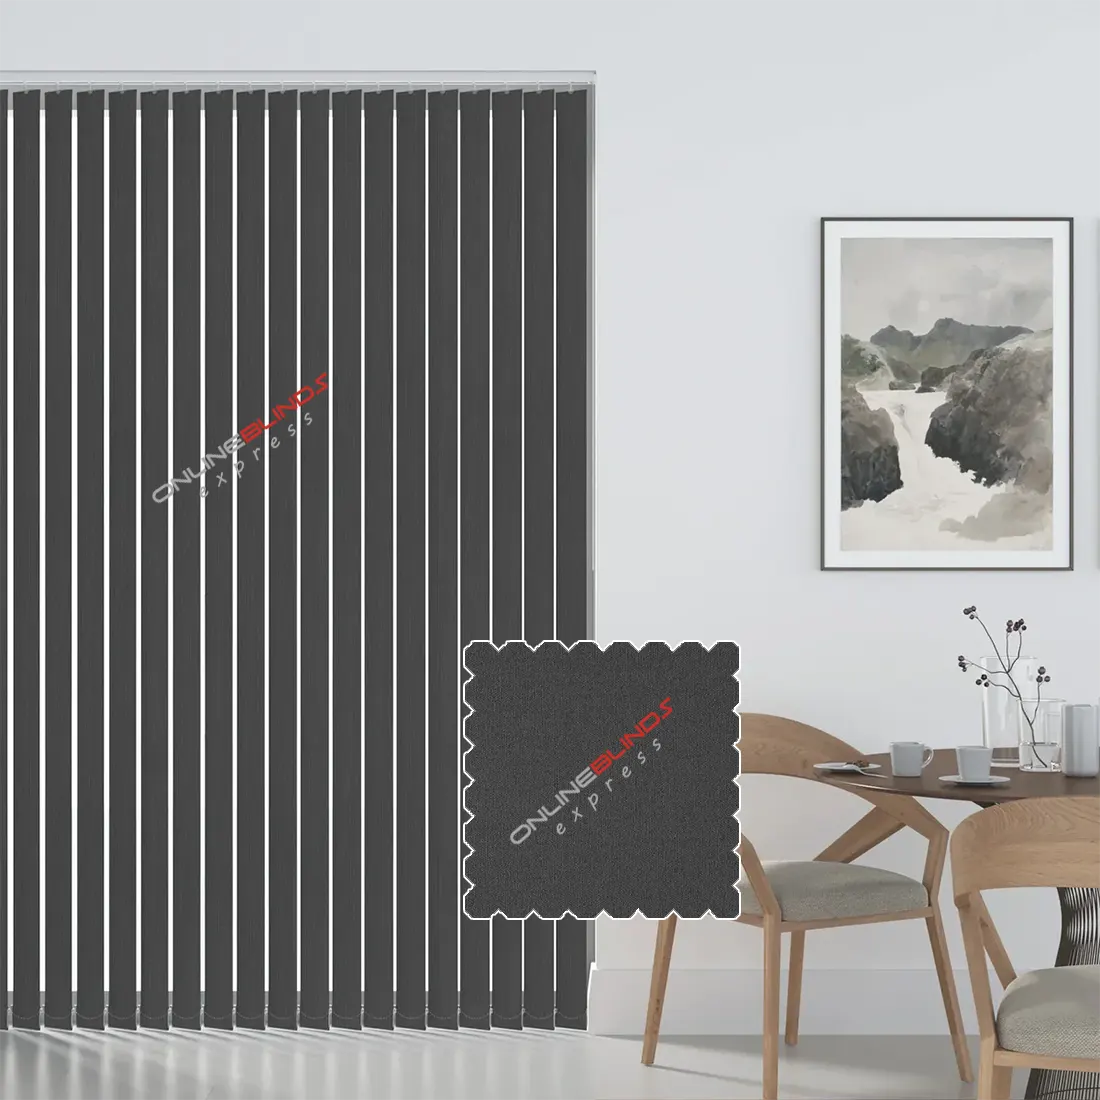


Bring style and flexibility into your rooms with our vertical blinds, a modern choice that can improve the look of any space. These blinds are designed with slim, vertical panels available in different fabrics, colours, and finishes, giving you the freedom to match your window coverings with your home or office décor.
Our vertical blinds are made for simple everyday use. They offer precise control over natural light and privacy. By using the easy tilt system, you can adjust the slats smoothly and set the right balance between brightness and shade.
Made from high-quality materials, these blinds are strong, long lasting, and resistant to everyday wear. They are simple to clean and keep in good condition. With their practical benefits and smart design, our vertical blinds are an excellent choice for both residential and commercial interiors.
Product Features
All replacement vanes are supplied at 89mm wide and are fitted with a top hanger already attached. Each vane has a single slot so you can easily connect it to your existing headrail.
€ 42.75
Measure the full area that you want the blind to cover. To reduce light gaps, allow the blind to overlap the recess by at least 70mm at the top and 50mm on both sides.
The overlap at the bottom is up to you, but be mindful of obstructions such as radiators.
Use a metal tape measure, since fabric or plastic tapes can stretch or bend and may give inaccurate sizes.
Take the full width and height of the window recess if you want the blind to fit neatly inside. We will then adjust the sizes slightly to ensure a proper fit.
Measure in three places across both the width and the drop, then note the smallest figures.
Do not make your own deductions, as we will do this for you so that the blind fits correctly.
Again, always use a metal tape measure to avoid errors.
Please make sure you have the items that come with your blind before starting installation.
Place the brackets around 5cm from each end of where the headrail will sit. If extra brackets are provided, fit them evenly across the length of the blind.
Always make sure that your wall or surface can take the fixings.
To attach, hook the back of the headrail into the bracket, then rotate the headrail forward until it locks into place. Secure it by tightening the small screw at the front of the bracket.
First, check for any handles or obstacles that project into the recess, and measure to leave clearance. Fit the brackets about 10cm from each end of where the headrail will sit. This spacing ensures clearance for window handles.
If more than two brackets are included, fit them evenly along the rail. Make sure the fixings suit the surface you are attaching them to.
Hook the headrail into the bracket, then rotate it until you hear it click into place. To remove it, press the release point on the bracket.