CAIRO ORANGE – BLACKOUT ROLLER BLIND

CAIRO ORANGE – BLACKOUT ROLLER BLIND

Please provide your exact wall-to-wall measurements for both the width and the drop of your blinds. The factory will then make the necessary deductions to ensure the correct fit. Your order cannot be processed or sent out until the required measurements have been received.

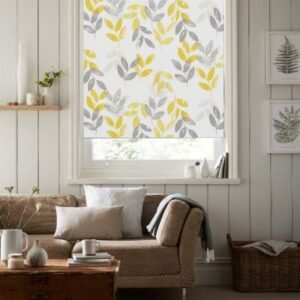
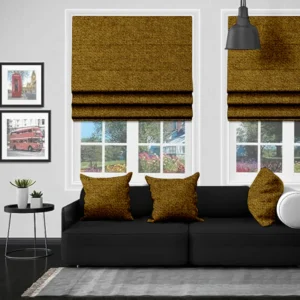
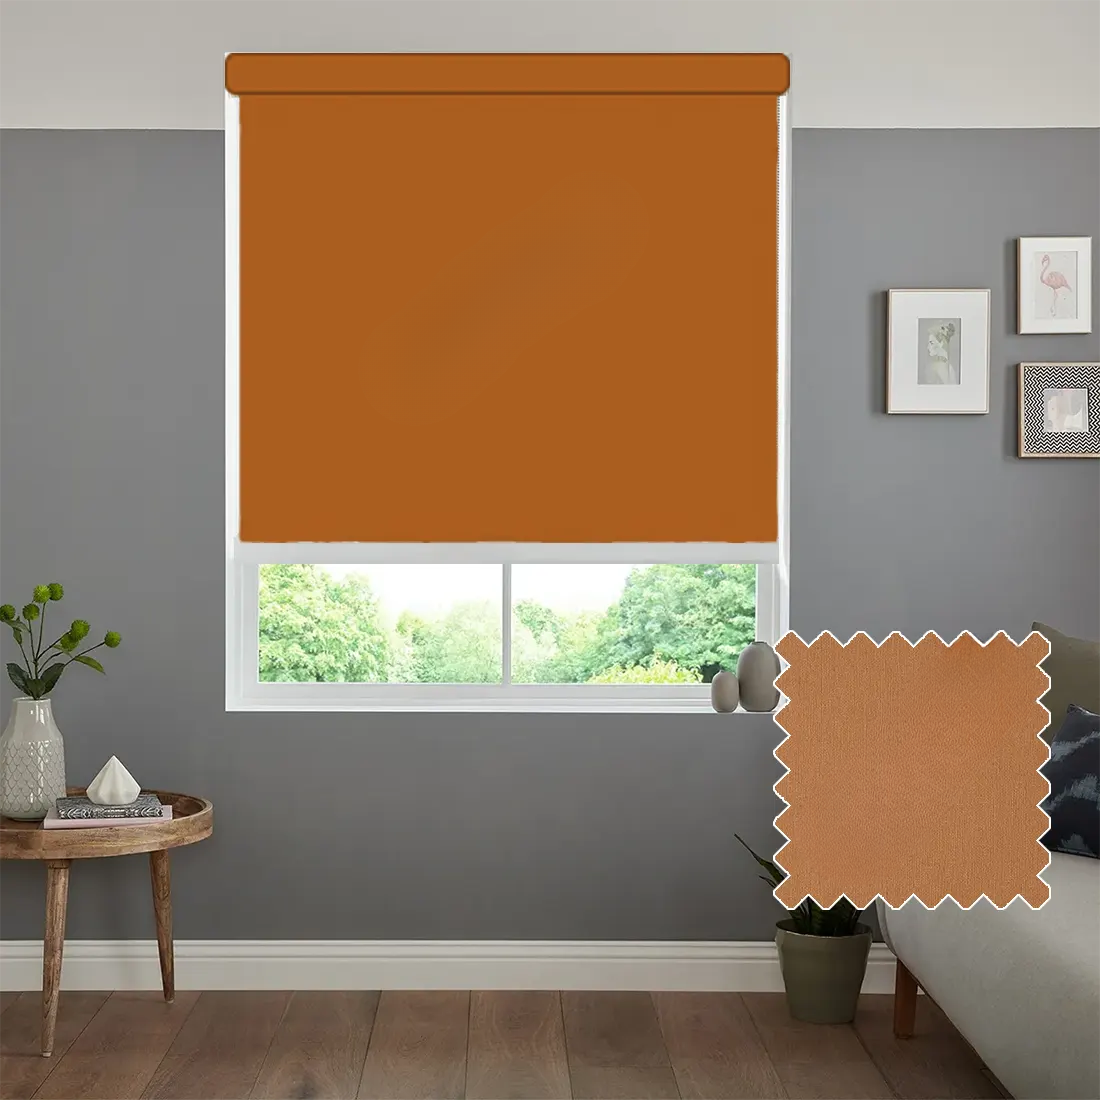
Our roller blind comes with a natural woven design that brings a stylish touch to your living space.

  • Each blind is handmade in our workshop here in the UK.
  • Fast turnaround – dispatched on the next working day after it has been produced.
  • Manufactured using strong materials and fittings – the roller tube is made from aluminium, the brackets are steel painted in white, and the side control chain is high-quality and white in colour.
  • Fitted with a reliable side chain operation that has been tested for durability.
  • Made from 100% polyester fabric with thermal properties.
  • Straightforward installation (please note that instructions are not supplied).
  • Universal fitting brackets provided for flexible mounting options.
  • Every blind is supplied with a child safety clip and a chain connector.

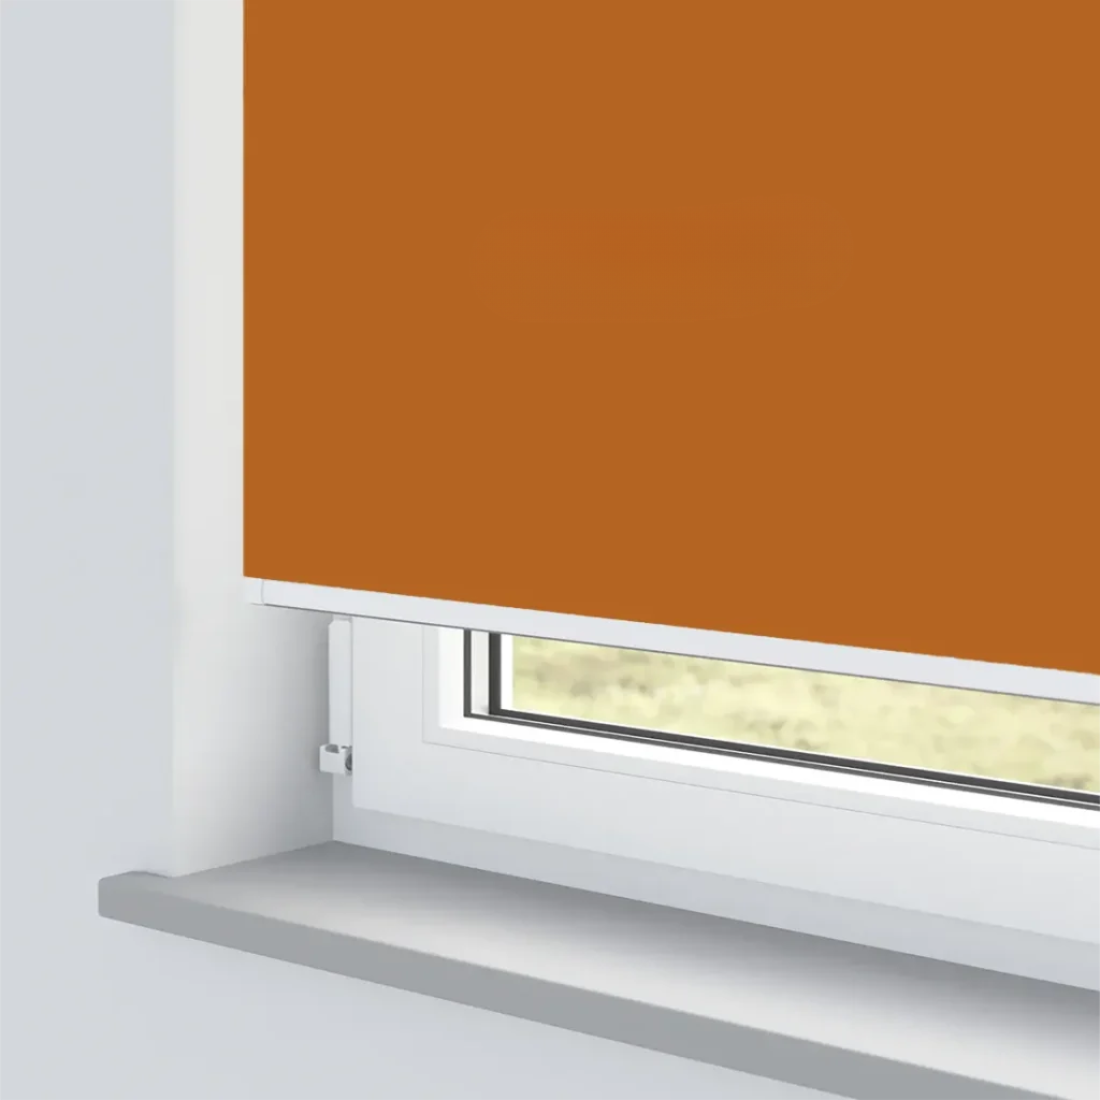
Please note: Colours may look slightly different depending on the settings and display of your screen or device.

Inside your package you will receive:

  • A roller blind with its operating system.
  • Universal fitting brackets.
  • A child safety clip.

 46.69


Total Price:  46.69

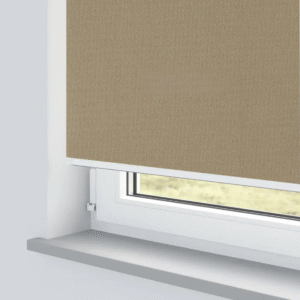
Roller Blind Only Measurement – Inside the Recess

If you are fitting the blind inside the window recess, you must measure the full width and height of the recessed area from wall to wall.

Take three width measurements – one across the top, one across the middle, and one across the bottom of the window. Then, take three height measurements – one down the left side, one in the centre, and one down the right side.

Guide for Inside Recess Fitting

  • Use a steel tape measure to make sure your measurements are accurate, taking readings in centimetres down to the nearest millimetre.
  • Always measure in three positions for both width and height and use the smallest figure when placing your order.
  • The factory will apply any necessary deductions for β€œrecess fit blinds” to make sure the blind fits correctly.
  • Take care when measuring to allow for obstacles such as handles, rails, or tiles so that the blind is positioned accurately.

Fitting Outside the Window Recess

If you are fitting the blind outside the recess, the blind will be made to the exact size you provide with no deductions.

Guide for Outside Recess Fitting

  • Measure the total area you want the blind to cover. To stop sunlight coming through, it is recommended that the blind overlaps the window by 6 cm on each side and 7 cm at the top.
  • Check for any obstacles such as rails or tiles that could interfere with fitting.
  • You can decide whether or not you want the blind to overlap past the bottom of the window.

You will need to decide which fitting method you prefer: top mount or face mount.

  • Top mount: The blind is fixed to an overhead surface such as the ceiling or the top of the window recess.
  • Face mount: The blind is fixed directly onto the wall or onto the face of the window frame.

Position the brackets carefully to allow smooth operation of the blind. Ensure that they are placed so the blind does not hit any handles or the window itself. It helps to loosely attach the brackets onto the blind and hold it in position to see where it will sit before fixing them. This also makes it easier to centre the blind correctly.

  • The control-side bracket should be placed on the same side as the chain mechanism. Mark the spot for the first bracket and make sure it is completely level, as a bracket that is twisted will prevent the blind from working properly. Drill the holes and secure the bracket in place, using wall plugs if fixing to a solid surface.
  • Insert one end of the blind into the mounted bracket. Then attach the second bracket to the other end of the blind and mark its position. Make sure this second bracket is aligned with the first one. Drill the holes and fix it in place, again using wall plugs where required.

Mounting the Blind

  • Place the pin end of the blind into the pin-side bracket. The pin end has a spring mechanism that makes mounting and removal easier.
  • Next, place the control end into the control-side bracket. The central lug on the control mechanism should face downward and slot securely into the bracket.

Operating the Blind

Once fitted, the blind can be raised and lowered by pulling the side chain.

Child Safety – P-Clip

For safety, the device must be fitted as far away from the control mechanism as possible so that the chain loop cannot become loose.

  • Place the control chain into the P-clip. Ensure the chain is tight and that the P-clip is positioned at the bottom of the loop so the chain can move freely.
  • Screw the tensioning device into the wall, making sure it is aligned with the blind, so the chain stays permanently tight and secure under constant tension.