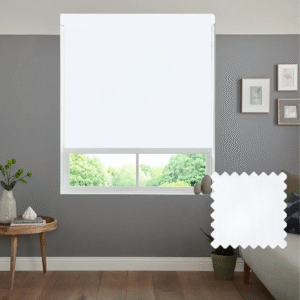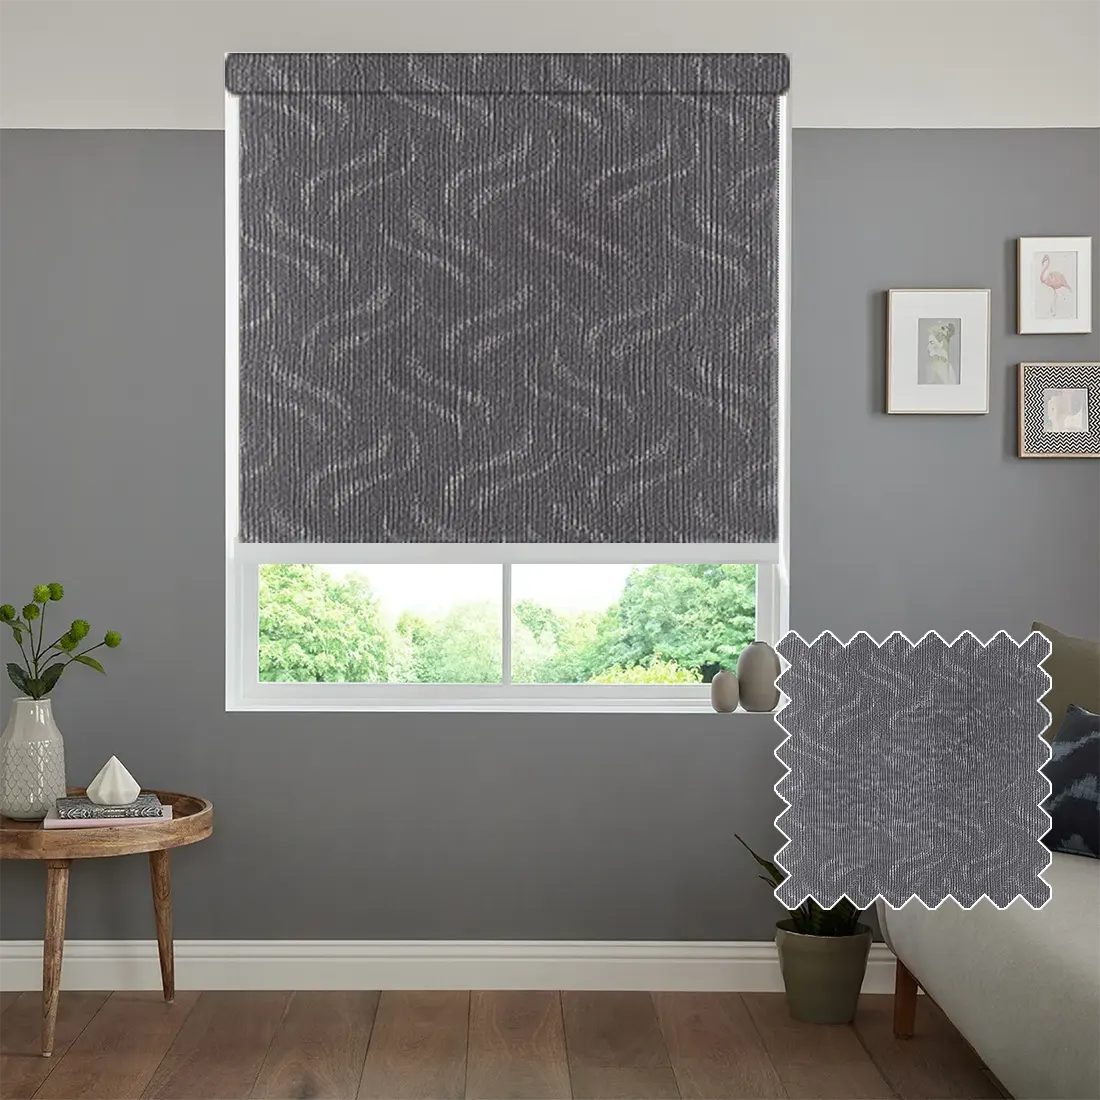

Our motorised blinds are our premium range, offering a modern, electric touch to your windows. Both roller blinds and day-and-night blinds come with a motorised control system, allowing you to open and close them with a single click using the remote control. We offer a wide selection of blinds with various colours to suit your home or office.
Benefits of Motorised Blinds
Motorised blinds are very easy to use, set up, and install. They are powered using high-quality Somfy motors. There are no fixed cables, only a rechargeable remote for operation. The blinds can also be controlled via an app or smart home system.
Important Notes
€ 100.51
For Roller Blinds Only
Inside Window Recess Fit
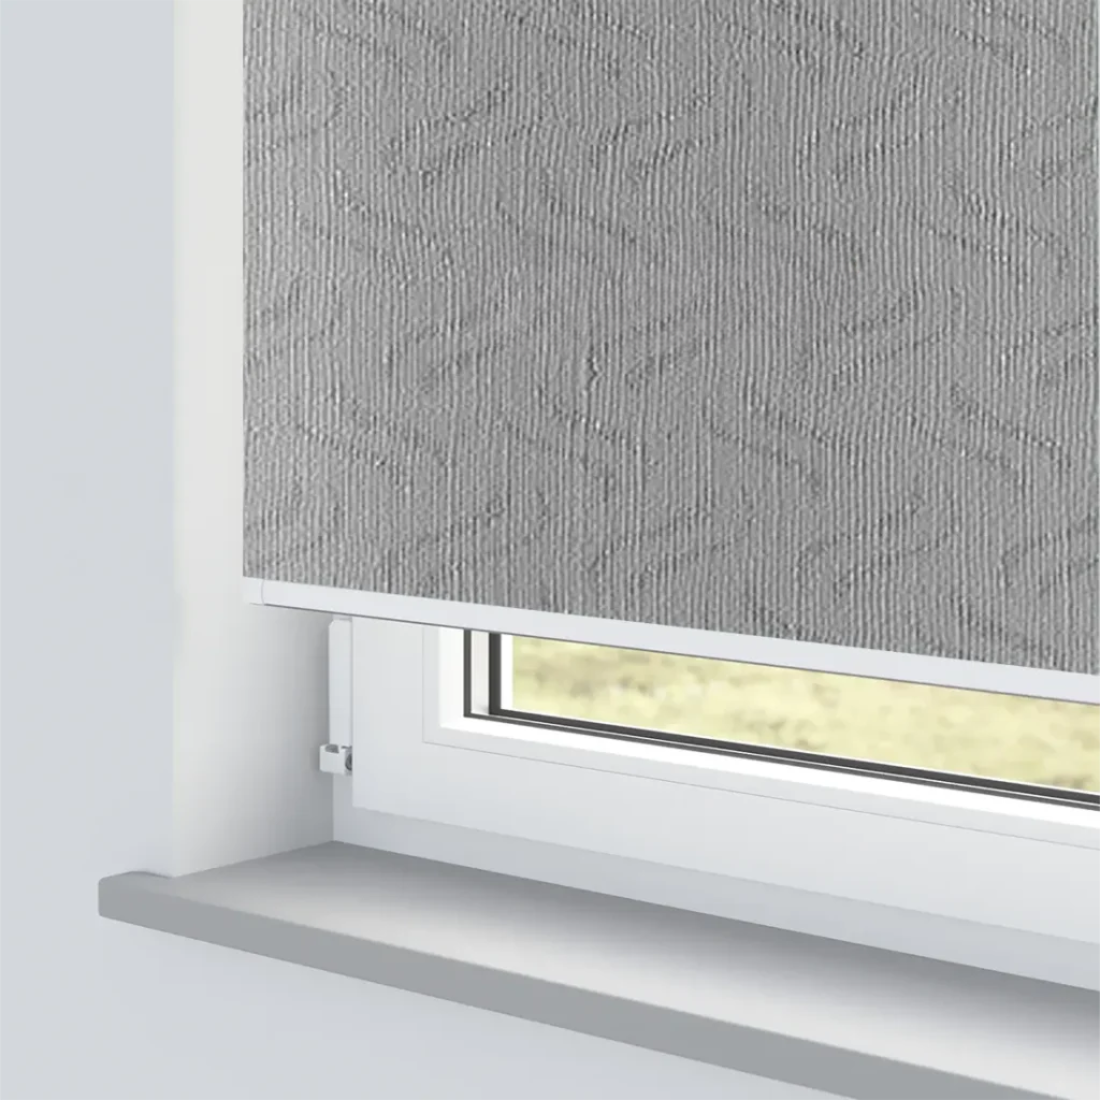
To fit a blind inside a window recess, measure the full width and height of the recessed area from wall to wall.
Outside Window Recess Fit
For outside recess fitting, the blind will be made to your exact measurements without deductions.
Please choose your preferred mounting option:
Position the brackets to allow free movement of the blind. Make sure the roller blind does not touch handles or other obstructions. Loosely position both brackets and place the blind in the window to check alignment and centre it.
Attach the control side bracket on the same side as the chain mechanism. Ensure it is level and not twisted, as this may affect operation. Drill holes and fix the bracket, using raw plugs if attaching to a wall.
Insert one side of the blind into the bracket, then position the other bracket at the opposite end. Mark its position, ensuring it is level with the first bracket. Drill and fix the second bracket securely.
Mounting the Blind
Insert the pin end of the blind into the pin-side bracket. The pin end has a spring system to make mounting and removing easier. Insert the control mechanism into the control side bracket. The central lug on the control mechanism should point downwards and fit into the cross-section of the bracket, hooking in place.
Operating the Blind
After installation, use the chain on the side to raise or lower the blind.
P-Clip
Install the tension device at the maximum distance from the control mechanism to prevent the chain from becoming slack. Ensure the chain passes through the P-clip and remains tight. The P-clip should be at the bottom of the loop, allowing the chain to move smoothly. Screw the tensioning device to the wall, keeping the chain under constant tension.