PLAZA WHISPER – PVC WATERPROOF BLACKOUT VERTICAL BLINDS

PLAZA WHISPER – PVC WATERPROOF BLACKOUT VERTICAL BLINDS

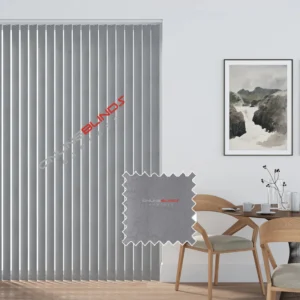
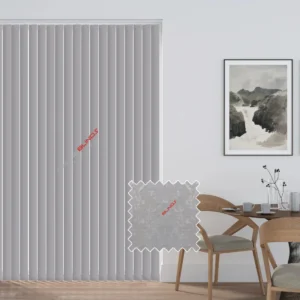
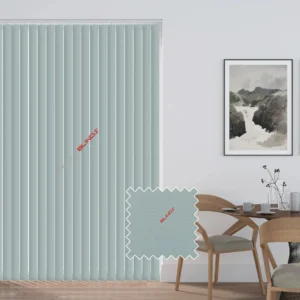
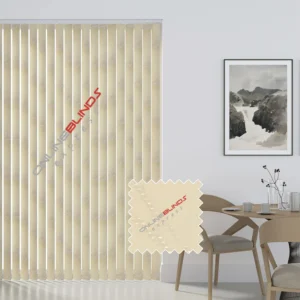
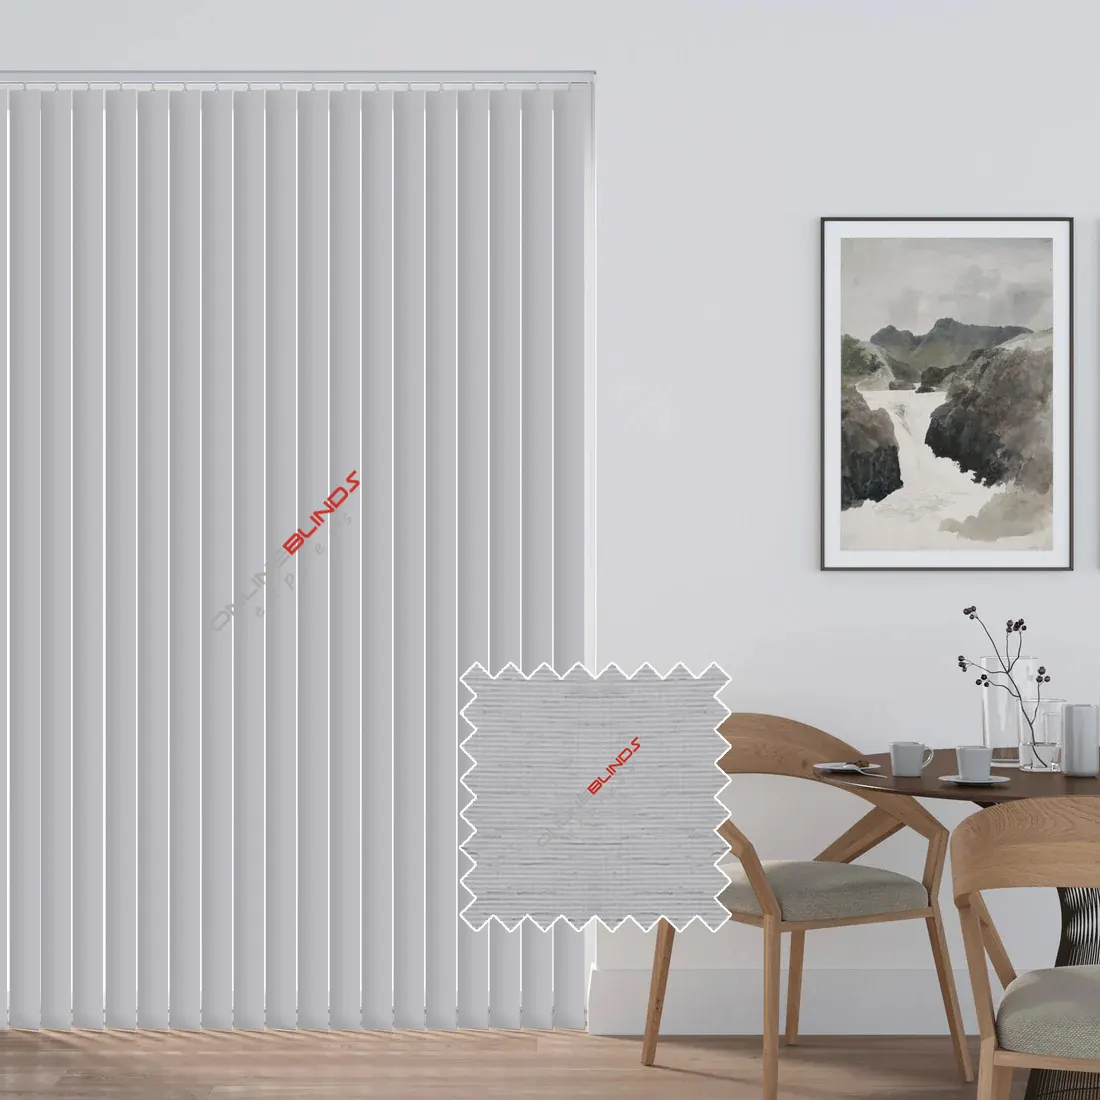
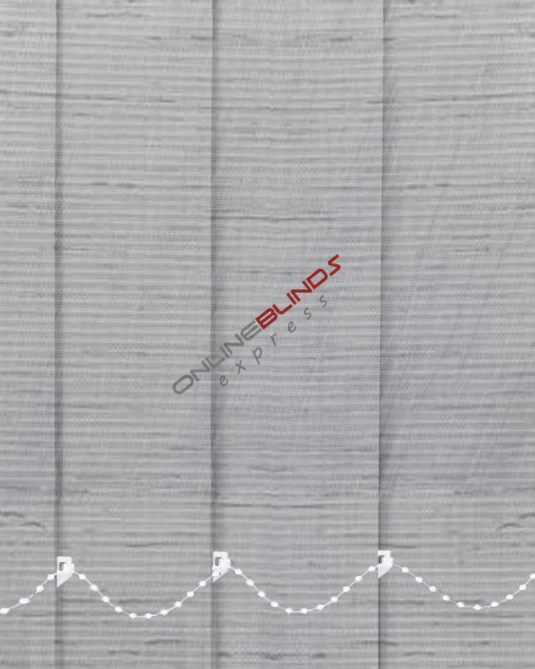
Vertical blackout blinds are an excellent way to enjoy the privacy you need in your home. We provide a wide choice of designs and styles made with premium blackout fabrics. These blinds are strong, durable, and versatile, ensuring they will last for years while still looking stylish.

Our blackout vertical blinds are suitable for both large and small windows. They can be ordered at any time and are very cost-effective. We offer a colour chart with a wide range of shades, allowing you to choose the right colour for your room. Depending on your preference, you can pick from light-filtering fabrics or full blackout fabrics. Whatever you select, you will find these blinds to be great value for money in both small and large homes.

Features of Our Vertical Blackout Blinds

  • Made to your exact measurements for both width and drop.
  • Designed for long-lasting use.
  • A suitable option for both homes and commercial properties.
  • Perfect for large windows, patio doors, conservatories, and more.
  • Easy to operate.
  • Comes with a child safety clip.
  • Supplied with top brackets as standard, making fitting simple.
  • Quick installation (please note instructions are not included).
  • A complete blind set that includes both the headrail and the fabric slats.
  • Each slat measures 89mm and is made from 100% polyester.

Delivery Information

Your order will arrive in two separate parts – one package containing the slats and another containing the headrail and brackets. Our courier service may sometimes deliver these items separately, meaning one part may arrive before the other.

Bracket Options

All blinds are supplied with top fix brackets as standard. If required, you may request face fix brackets. These are best suited for fitting inside the window frame or outside the window recess.

 42.64


Total Price:  42.64

To measure correctly, you will need the following:

  • A steel tape measure.
  • A pencil for marking and writing down measurements.
  • A worksheet to record results.
  • A ladder if you are measuring tall windows.

Tips for Accurate Measuring

  • Always keep the height and width measurements separate. Mixing them up could result in blinds that do not fit.
  • When measuring more than one window, measure each individually. Do not assume that all windows are the same, as even slight differences can affect the final fit.
  • Use a steel tape measure rather than a cloth one, as cloth tape measures can stretch or bend and may give inaccurate results.

Measuring Outside Recess

  • Measure the full size of the area that you want the blind to cover.
  • To reduce light coming through the edges, the blind should overlap the recess by at least 70mm at the top and 50mm on each side.
  • The bottom overlap is your choice, but consider any obstacles such as radiators.
  • Always use a metal tape measure for precision.

Measuring Inside Recess

  • Measure the complete width and height of the window recess. We will make the necessary deductions to ensure a neat fit.
  • Take measurements in three places for both the width and the drop, then record the smallest measurement.
  • Do not make your own deductions, as we will do this to provide the best possible fit.
  • Always measure using a steel tape for accuracy.

Before fitting, please check that you have all the parts included with your blind.

Included Items and Tools You Will Need

  • 2 x top fix brackets.
  • 2 x face fix brackets.
  • 1 x set of hangers.
  • 1 x Allen key.
  • 2 x stabilising chains.
  • 1 x safety hook.
  • 4 x wood screws.
  • 1 x bottom weight.
  • Additional screws.
  • A pencil.
  • A drill with the correct drill bits.
  • A crosshead screwdriver.
  • A steel tape measure.

Face Fix Method

  • Position the brackets around 5cm from each end of the headrail. If more than two brackets are supplied, place the extra ones evenly along the length of the blind.
  • Make sure the fixings are suitable for the surface or wall.
  • Hook the back of the headrail into the bracket and rotate it forward into place. Secure it by tightening the small screw at the front of the bracket.

Top Fix Method

  • Measure and mark the fitting points, making sure to allow for any obstructions such as window handles that extend into the recess.
  • Place the brackets about 10cm from each end of the headrail. This helps avoid interference with window handles. If more than two brackets are included, space the extras evenly along the rail.
  • Ensure the fixings are suitable for the chosen surface.
  • Tilt the headrail into the bracket and rotate it until it clicks securely into place. To release the headrail, press the release point on the bracket.