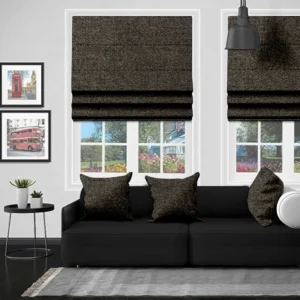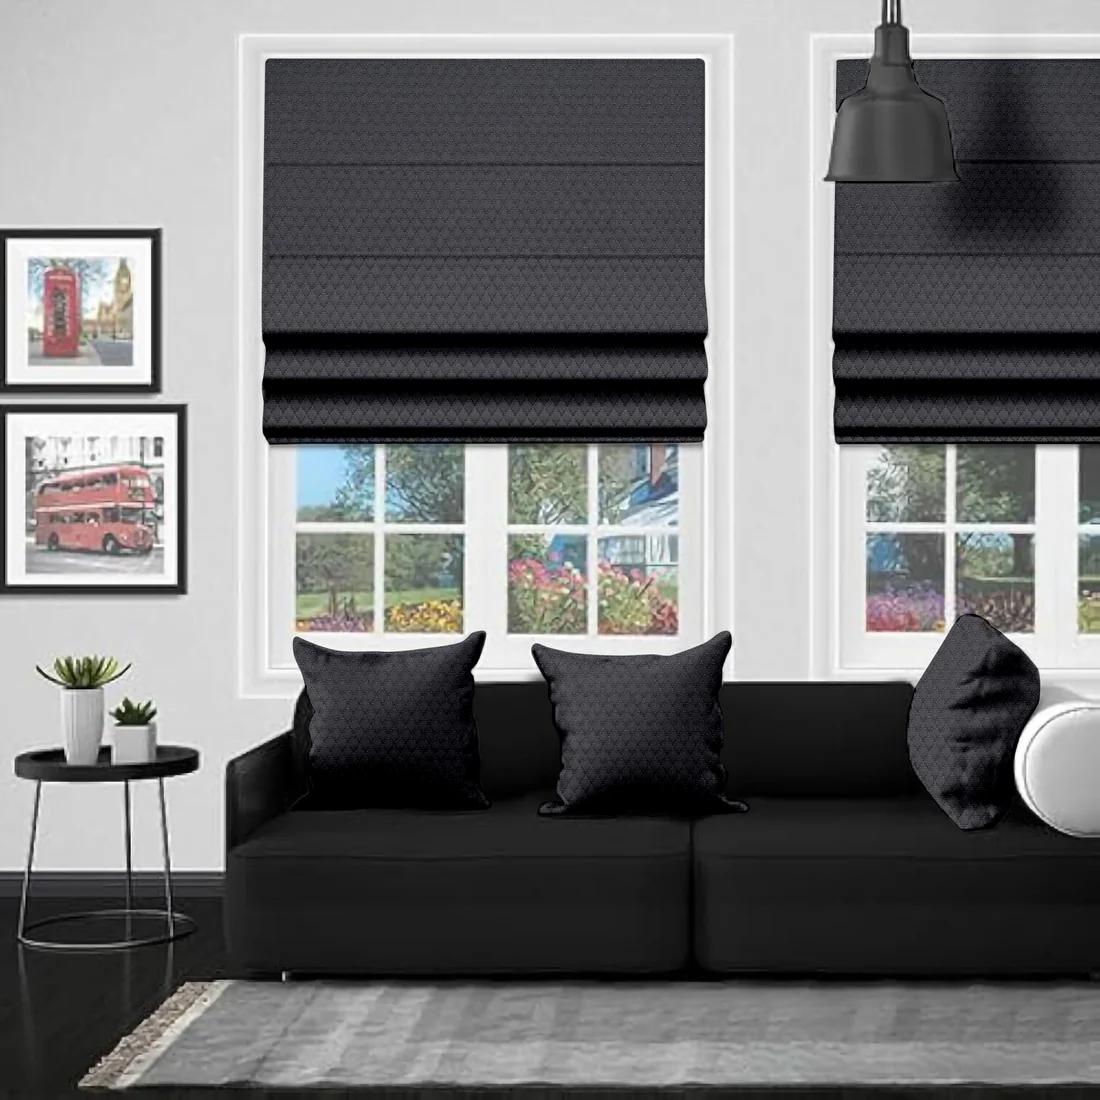
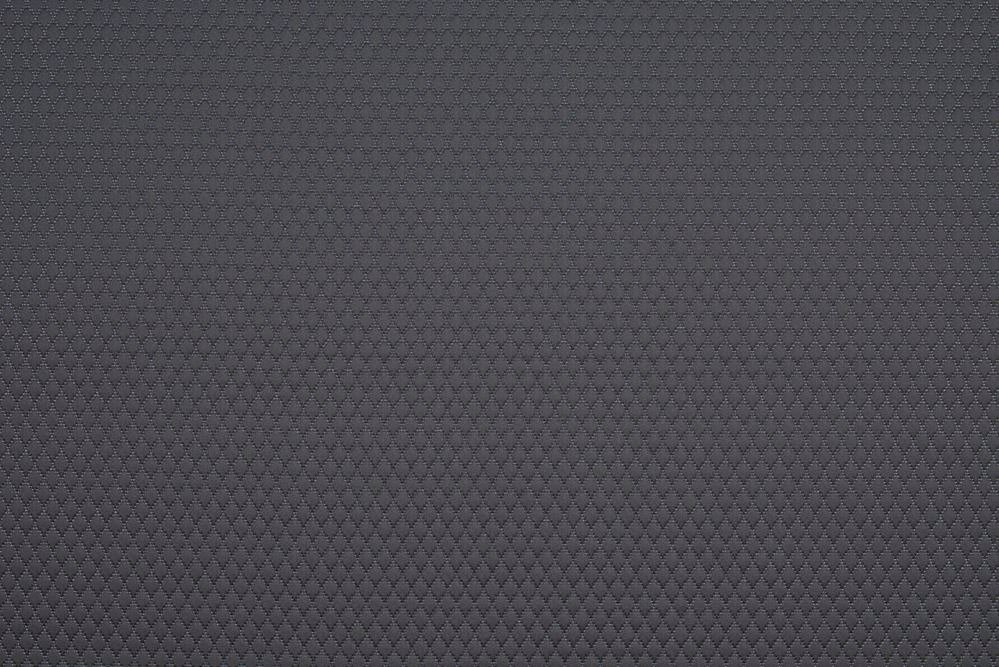
Give your windows a polished finish with the Nora Smoke Roman Blind, available only from Blinds Artist. With its soft smoke-grey shade and smooth woven texture, this blind creates a perfect mix of simplicity and elegance, making it a suitable choice for modern homes.
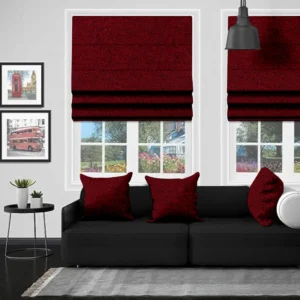
The adaptable smoke colour works well with many décor themes, from Scandinavian-style rooms to industrial settings. It blends smoothly with natural shades, black-and-white tones, and metallic features. This makes it a quiet yet stylish addition to living rooms, bedrooms, kitchens, or office spaces. The colour brings a calm and steady mood without taking over the design of the room.
Made from top-quality fabric, the Nora Smoke Roman Blind is designed to offer both beauty and practicality. When raised, the Roman fold design forms neat and tidy pleats, and when lowered, it falls into a soft, elegant drape. Its smooth operating system gives you easy control over privacy and daylight, allowing you to adjust the atmosphere in your room whenever needed.
€ 126.79
When fitting outside the recess, measure the exact area you want the blind to cover. To reduce light coming through, it is best for the blind to overlap the window recess by at least 70mm at the top and 50mm on each side.
The overlap at the bottom depends on personal preference, but remember to allow for items such as radiators that may be in the way. Always use a metal measuring tape, as fabric ones may stretch or bend, which can result in inaccurate measurements.
For blinds that will sit within the window recess, measure the full width and height of the recess. This is the complete size of the opening. Adjustments will be made for you to ensure the blind fits correctly.
Take measurements in three places for both width and drop, and use the smallest measurement for each. Do not make your own adjustments, as these will be made for you to guarantee a precise fit. Again, use a metal tape measure, as fabric ones may stretch and give false readings.
Make sure you have all the items that come with your vertical blind before you start.
Position the brackets about 5cm from each end of the headrail. If you have more than two brackets, fit the extras evenly across the length of the blind. Always check that the fittings are appropriate for the surface or wall you are attaching the brackets to.
To fit, hook the back of the headrail into the bracket and then rotate it into place. Secure it by tightening the small screw at the front of the bracket.
Mark the distance carefully to allow for any obstructions such as handles that stick out into the recess. Place the brackets roughly 10cm from the ends of the headrail position to ensure they clear the window handle. If more than two brackets are supplied, space the extras evenly along the headrail. Again, check that your fixings are suitable for the surface you are working on.
To fit, tilt the headrail and hook it into the bracket. Rotate the headrail until it clicks into place. To remove it, push the bracket to release the headrail.