

Please provide accurate wall-to-wall measurements for both the width and drop of your blinds. The warehouse will make the necessary deductions for you. We cannot dispatch your order until the correct measurements have been received.
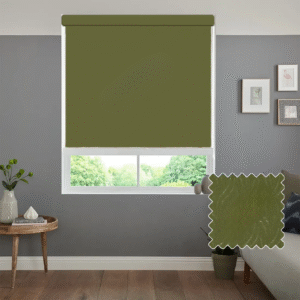
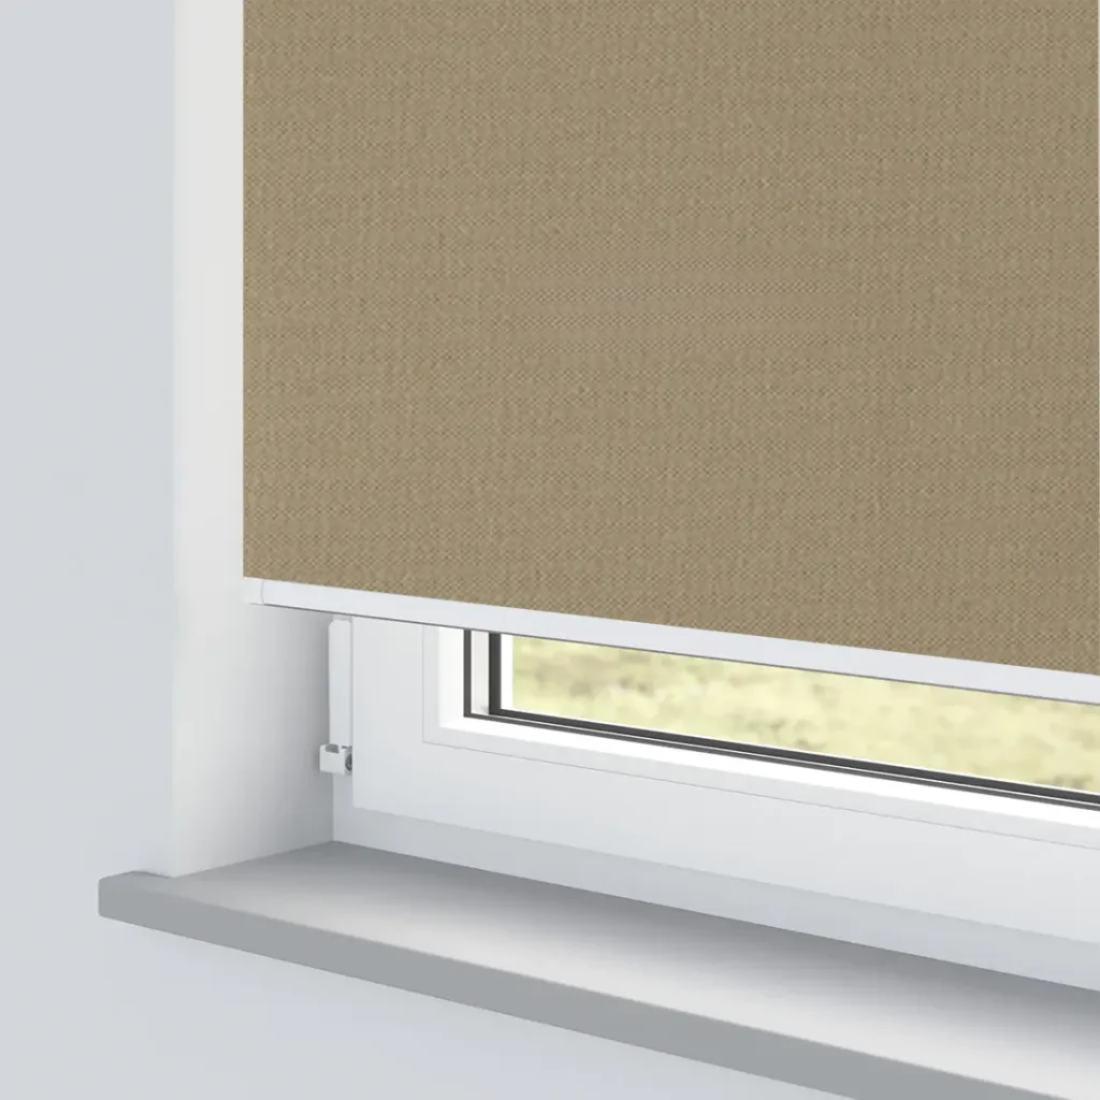
Our roller blind has a natural woven texture that adds a stylish and elegant touch to any room in your home.
Important: The colour of your blind may differ slightly depending on your screen or device settings.
Each roller blind is carefully packaged with all necessary fixtures and fittings. Inside your parcel, you will find:
€ 46.61
Tools You Will Need
Tips for Accurate Measurement
Outside Recess Measurement
Measure the exact area you want the blind to cover. To reduce light leakage, it is recommended that the blind overlaps the window recess by at least 70mm at the top and 50mm on each side.
The bottom overlap is optional, but remember to check for obstacles such as radiators.
Always use a metal tape measure, as cloth ones can stretch and provide inaccurate readings.
Inside Recess Measurement
If you want the blind to fit inside the window recess, measure the full width and height of the recess, which is the size of the window hole. The factory will make any necessary deductions to ensure a perfect fit.
Before you start, make sure you have all the supplied parts and extra tools needed:
Supplied Parts and Additional Equipment
Face Fix Installation
Position the brackets roughly 5cm from each end of the headrail. If more than two brackets are supplied, space the additional brackets evenly along the length of the blind. Make sure the fixings are suitable for the wall or surface where the brackets are being attached.
Hook the back of the headrail into the bracket and rotate it into position. Secure the headrail by tightening the small screw at the front of the bracket.
Top Fix Installation
Measure the distance and mark positions to allow for obstacles such as window handles that may protrude into the recess. Position the brackets around 10cm from each end of the headrail to clear the window handles. If more than two brackets are supplied, place the extra brackets evenly along the length of the blind. Ensure that the fixings are suitable for the surface being used.
Tilt the headrail and hook it into the bracket. Rotate it into place until it clicks. To remove the headrail, simply push the bracket at the point of attachment.