UNILUX TOPAZ – PVC WATERPROOF BLACKOUT VERTICAL BLINDS

UNILUX TOPAZ – PVC WATERPROOF BLACKOUT VERTICAL BLINDS

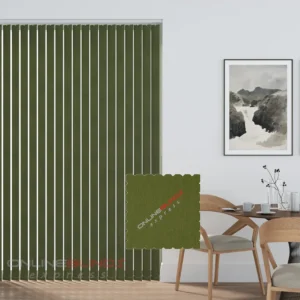
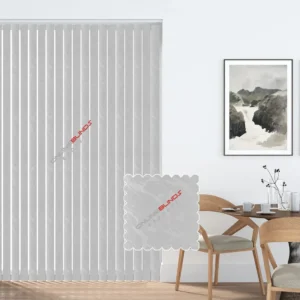
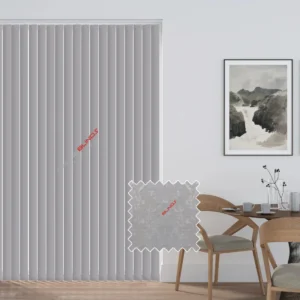
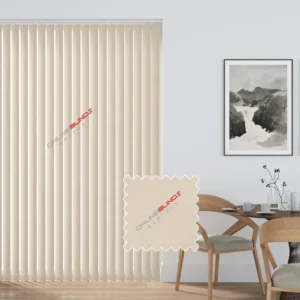
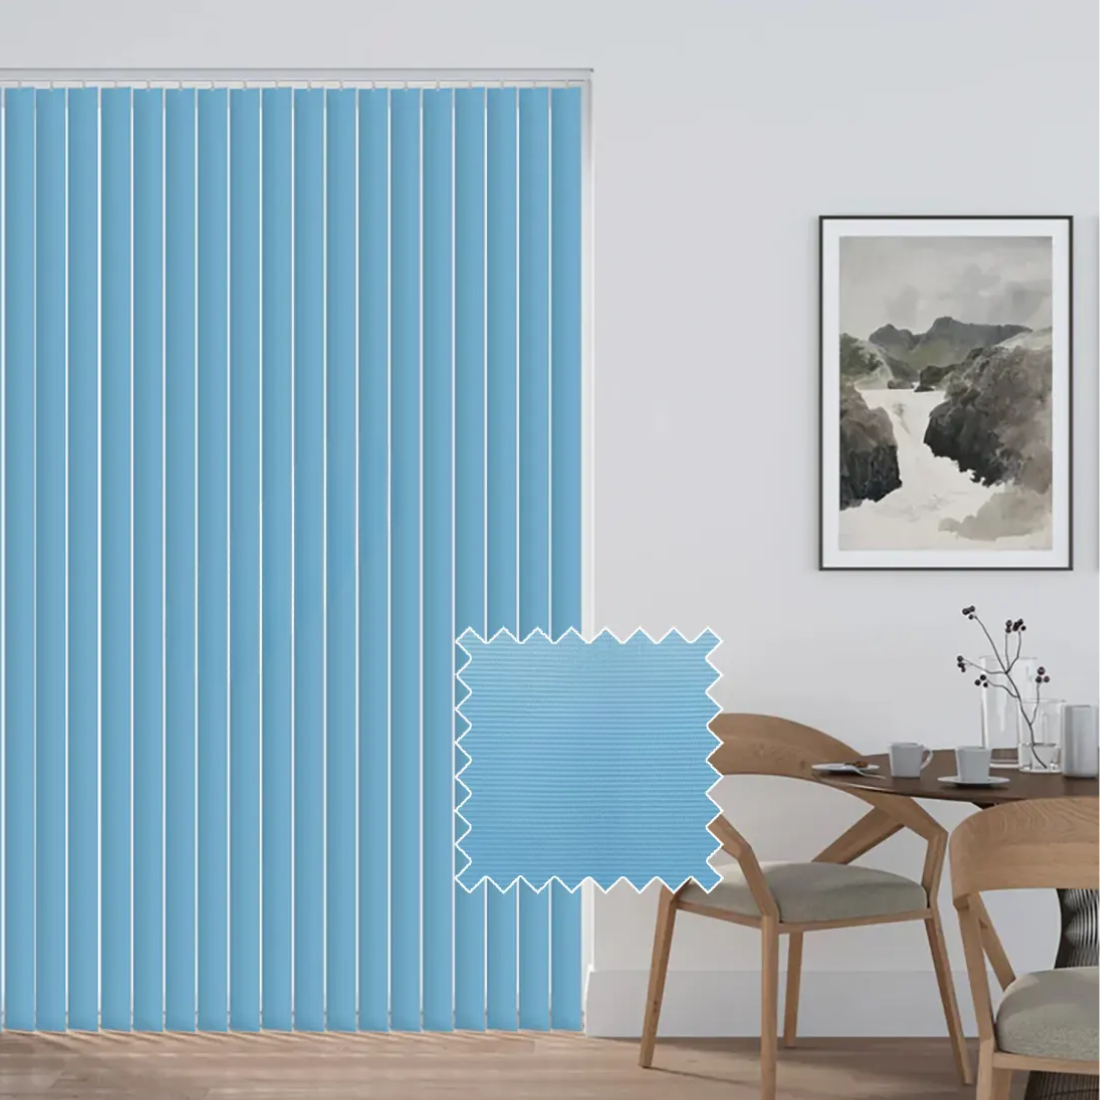
Vertical blackout blinds are an excellent choice when you want complete privacy in your home. They are available in different designs and styles, all made with high-quality blackout fabric that is durable, versatile, and built to last for many years. Each blind is carefully designed to combine strength with style.

These blinds work well for both large and small windows and can be ordered at any time. They are cost-effective and available in a wide range of colours. A colour chart is provided, showing all the options in both light-filtering and blackout fabrics, so you can choose what best suits your space. Whether you live in a large home or a smaller property, these blinds offer excellent value and long-lasting performance.

  • Made to measure according to your exact width and drop.
  • Built for long life and daily use.
  • A great option for both homes and commercial properties.
  • Perfect for large windows, patio doors, conservatories, and more.
  • Easy to operate with a smooth mechanism.
  • Comes with a child safety clip for peace of mind.
  • Top brackets are supplied as standard for simple fitting.
  • Straightforward installation (please note, instructions are not included).
  • Complete set includes rail and slats (89mm slats), made from 100% polyester.

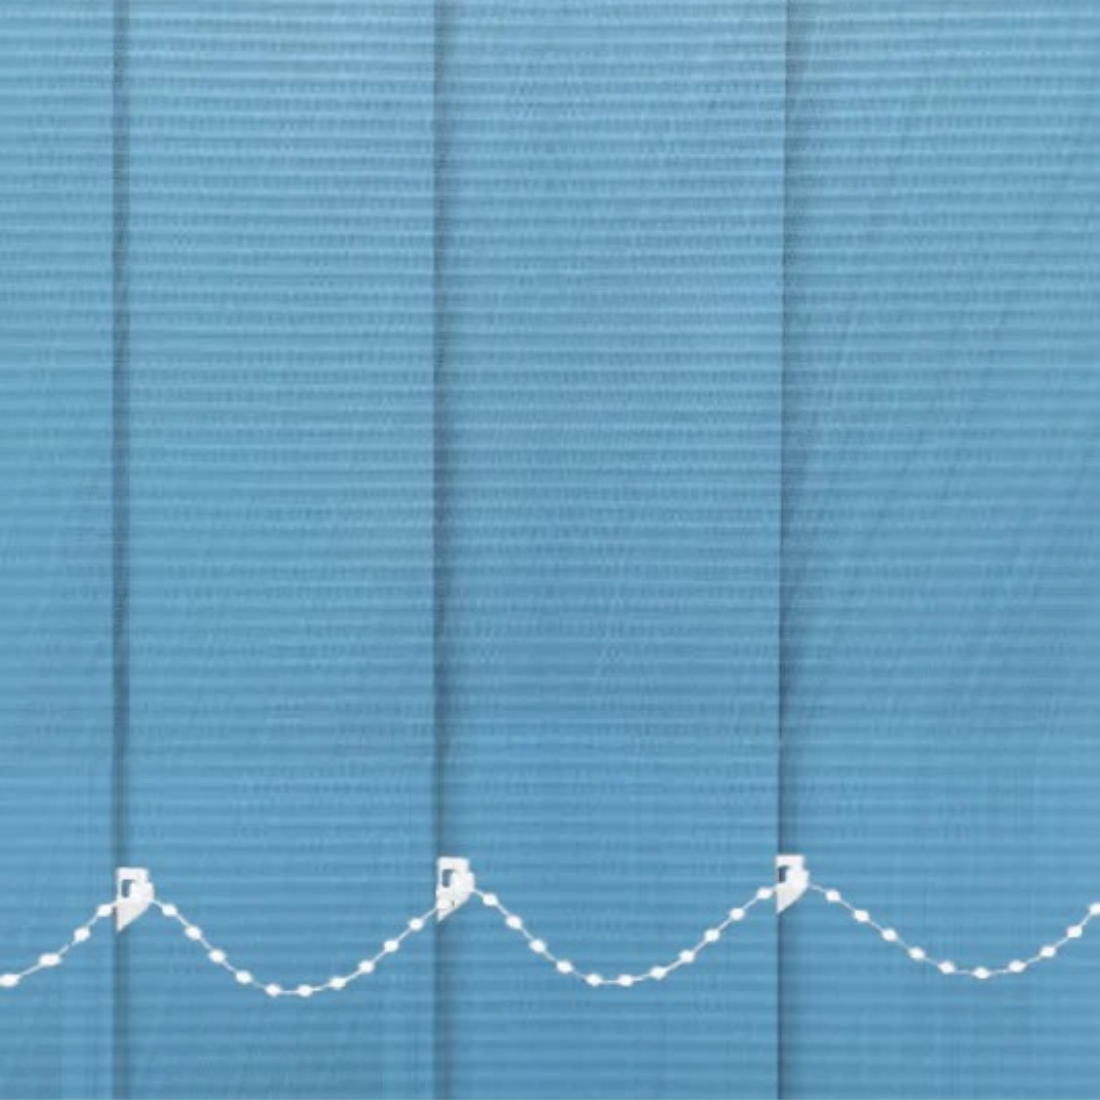
Each order is packed in two parts: one containing the slats, and the other containing the rail and brackets. Delivery is managed by our own courier service, and items may arrive separately in split deliveries.

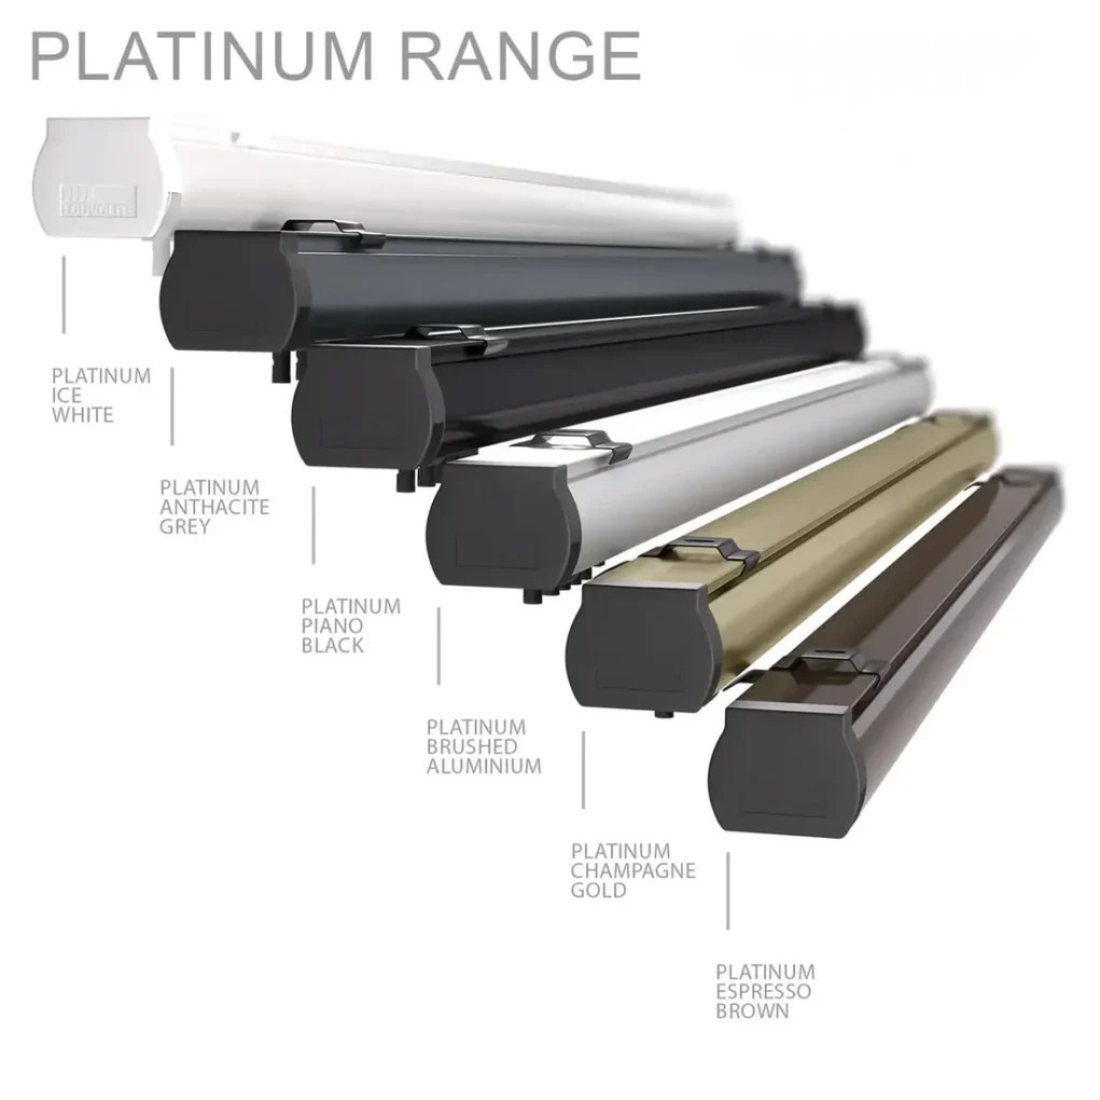
Bracket Type: Your blind is supplied with top fix brackets as standard. Face fix brackets can also be requested if you prefer fitting into the window frame or outside the recess.

 42.64


Total Price:  42.64

Tools You Will Need:

  • A steel measuring tape.
  • A pencil for marking and writing down your sizes.
  • A worksheet to note your findings.
  • A step ladder (if measuring tall windows).

Tips for Accurate Measuring:

  • Always record the width and height correctly and do not mix them up. Confusing the two can result in a blind that does not fit.
  • If you are measuring more than one window, measure each one individually. Even windows in the same room can have slight differences that will affect the fit.
  • Use a metal measuring tape for accuracy. Cloth tapes can bend or stretch, giving unreliable results.

Measuring for Outside Recess

  • Measure the exact area you want the blind to cover.
  • To reduce light leakage, we recommend overlapping the window recess by at least 70mm at the top and 50mm on each side.
  • The bottom overlap is your personal choice, but always check for obstacles such as radiators.
  • Use a metal tape measure to ensure precise results.

Measuring for Inside Recess

  • Take the full width and height of the recess where you want the blind to sit.
  • Measure in three places for both width and drop, then use the smallest measurements when ordering.
  • Do not make any size deductions yourself, as these will be handled during production to ensure a neat fit.
  • Always use a steel measuring tape for accurate results.

Each blind will be supplied with the following as standard:

Included with Your Blind:

  • Top fix brackets (x2).
  • Face fix brackets (x2).
  • Hangers (x1).
  • Allan key (x1).
  • Stabilising chain (x2).
  • Safety hook (x1).
  • Wood screws (x4).
  • Weights (x1).

Additional Tools You May Need:

  • A pencil for marking.
  • Extra screws (if required).
  • A drill with suitable bits.
  • A crosshead screwdriver.
  • A steel measuring tape.

Face Fix Fitting

  • Position the brackets around 5cm from each end of where the headrail will sit. If more than two brackets are supplied, space the extras evenly across the rail length.
  • Check that your fixings are appropriate for the surface you are attaching to.
  • Hook the back of the headrail into the bracket and rotate it into position. Tighten the short screw at the front of the bracket to secure the rail.

Top Fix Fitting

  • Before fitting, measure carefully to allow space for any obstructions such as window handles.
  • Position the brackets around 10cm from each end of where the headrail will sit to ensure clearance. If more than two brackets are supplied, fit the extras evenly across the length.
  • Check that the fixings are suitable for the ceiling or recess surface.
  • Tilt and hook the headrail into the bracket, then rotate it until you hear a click.
  • To remove the headrail, push the bracket release point to detach it safely.