


Please provide your wall-to-wall measurements for the width and drop of your blinds. The warehouse will make any necessary deductions for you. We cannot dispatch your order until the correct measurements are received.
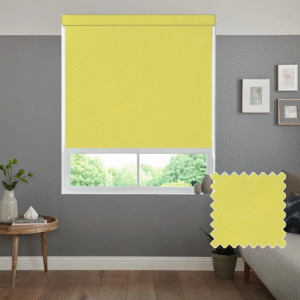
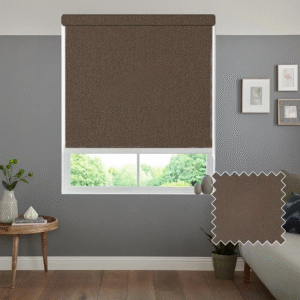
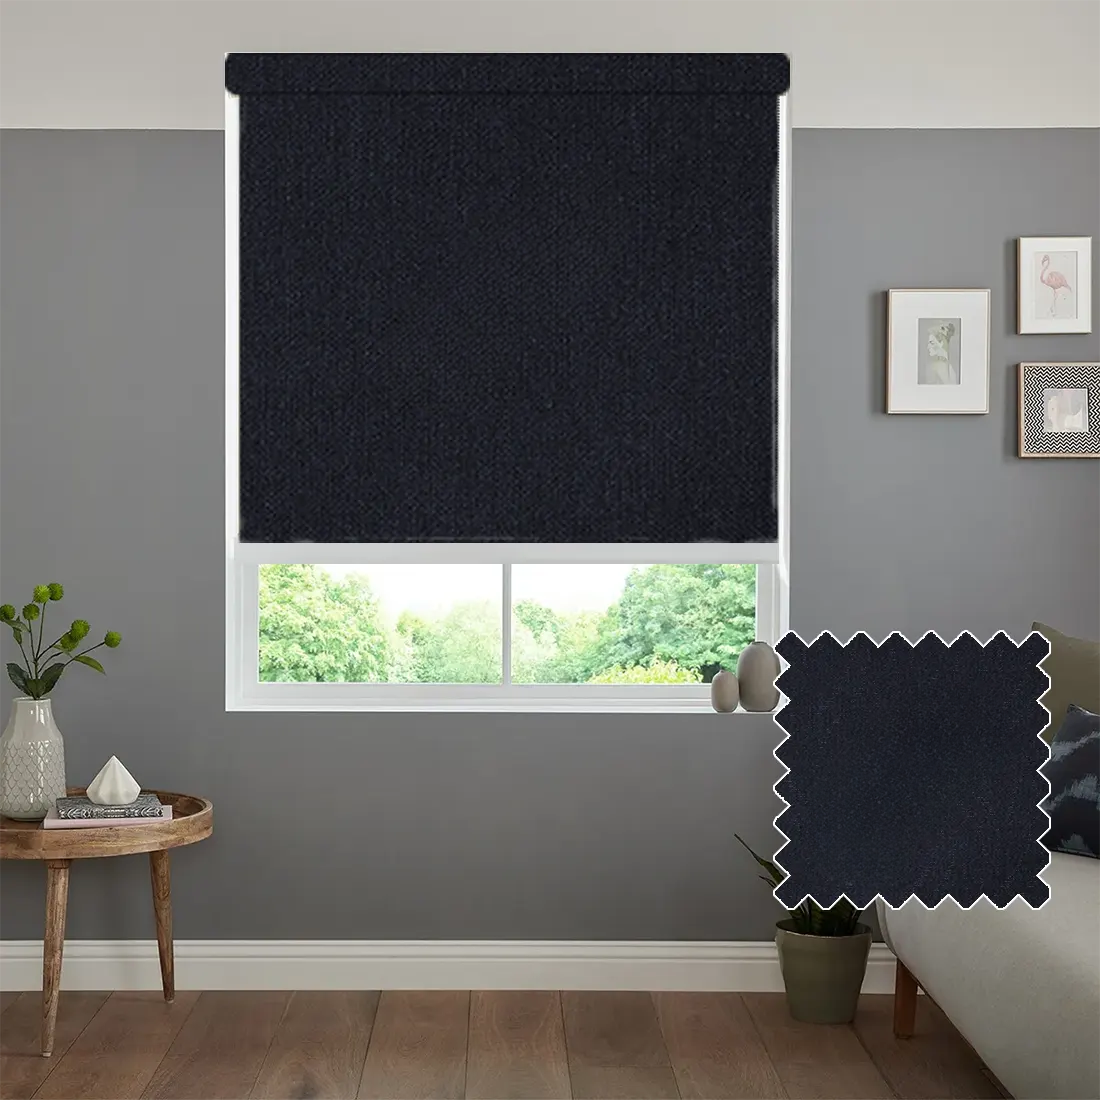
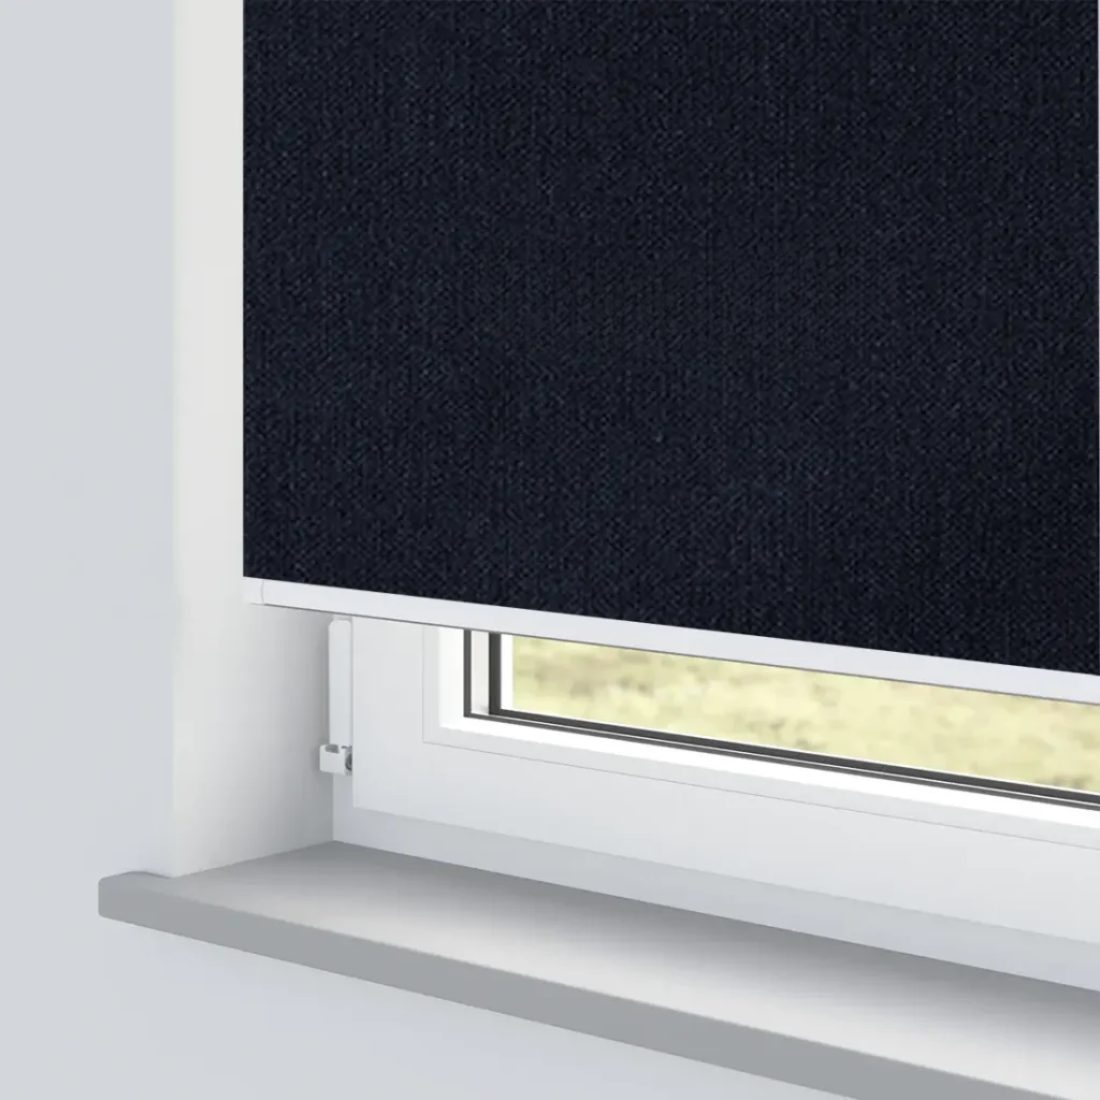
Our roller blinds feature a natural woven effect, making them a stylish choice for any room in your home.
Important: The colour of the blind may appear different on screens and devices depending on display settings.
Each blind is carefully packed with all fixtures and fittings. Inside your parcel, you will find:
€ 36.82
For Roller Blinds Only
Fitting Inside the Window Recess:
Measure the full width and height of the recessed area from wall to wall.
Inside Recess Measuring Guide:
Fitting Outside the Window Recess:
If you prefer to fit the blind outside the recess, it will be made to your exact measurements, with no deductions.
Outside Recess Measuring Guide:
Please select one of the following mounting options:
Top Mount: Fitting the blind to an overhead surface, such as the ceiling or the top of the window recess.
Face Mount: Fitting the blind to the front of the window frame.
Position the brackets so the blind can operate freely without touching door handles or other window fittings. Place both brackets loosely on the blind and position it in the window to check alignment. This will help with centring the blind correctly.
Place the control side bracket on the same side as the chain mechanism. Mark the position of the first bracket, ensuring it is level and straight. Drill holes and secure the bracket with screws, using raw plugs if fixing to a wall.
Insert one side of the blind into the mounted bracket. Then, place the other bracket on the opposite end of the blind, mark its position, and ensure it is level with the first. Drill holes and fix the second bracket, using raw plugs if required.
Insert the pin end of the blind into the pin bracket. The pin end is spring-loaded to make mounting and removal easier. Insert the control mechanism into the control side bracket. The central lug on the control side should point downwards and fit securely into the bracket.
After installation, use the side chain to raise or lower the blind.
P-Clip Safety Device: