UNITY STEEL – NON BLACKOUT ROLLER BLIND

UNITY STEEL – NON BLACKOUT ROLLER BLIND

Please provide the wall-to-wall measurements for both the width and the drop of your blinds. The warehouse will make the necessary deductions for you. Your order cannot be processed until these measurements are supplied.

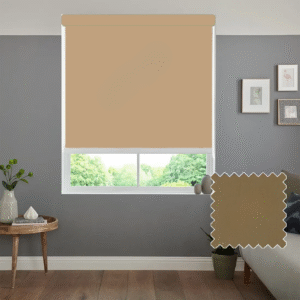
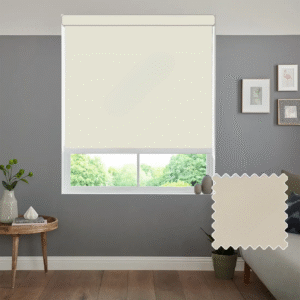
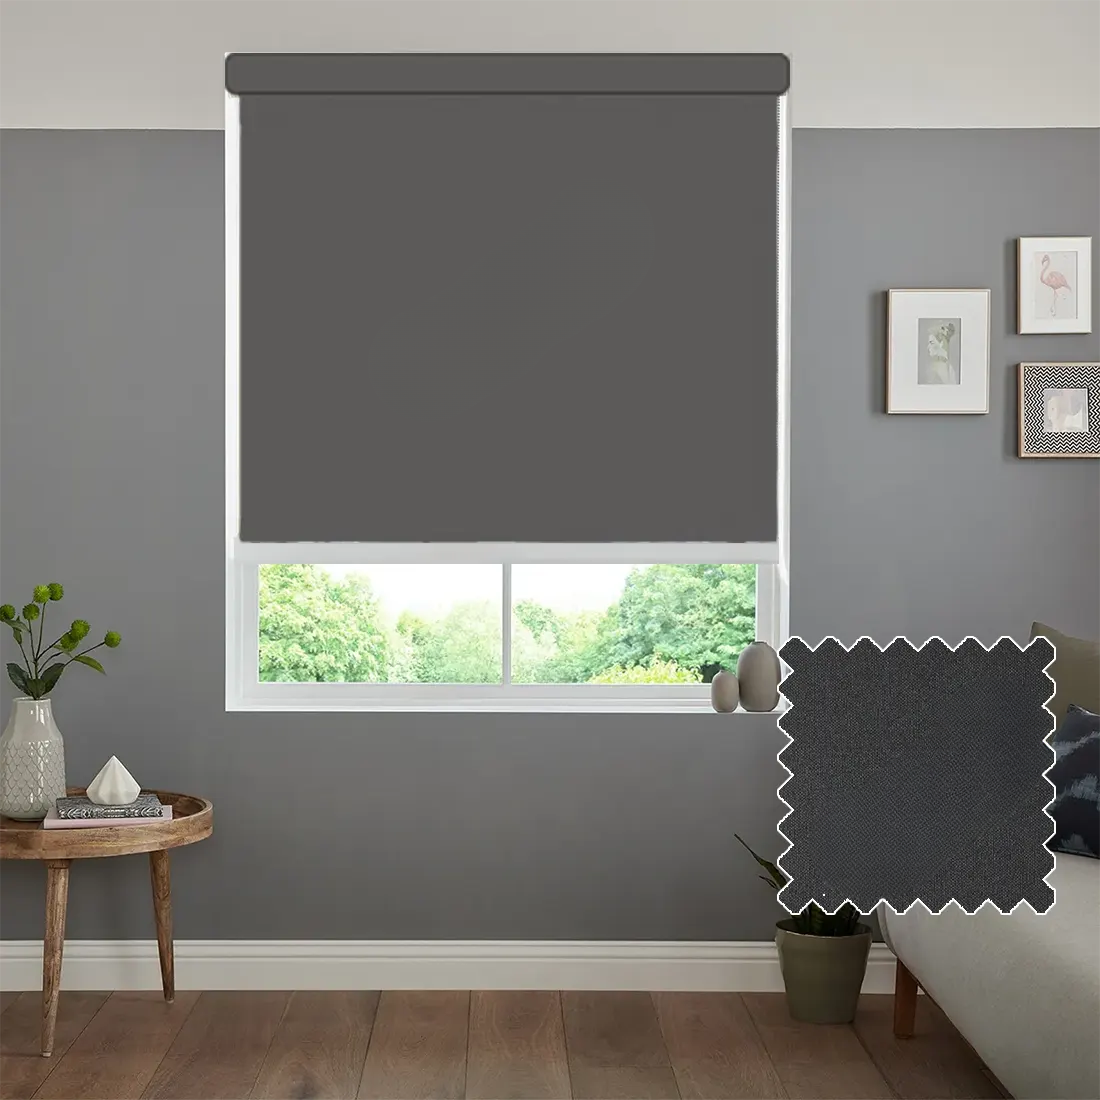
Our roller blinds feature a natural woven effect that brings a stylish touch to your home.

  • Each roller blind is handmade in our UK-based factory.
  • Fast dispatch – sent out the next working day once production is completed.
  • Manufactured using high-quality components, including an aluminium roller tube, steel brackets (painted white), and a durable white side-winder chain.
  • Reliable side-chain control for smooth operation.
  • Made with 100% polyester fabric with thermal benefits.
  • Easy to install (instructions not included).
  • Supplied with flexible universal brackets for mounting.
  • Every blind includes a child safety clip and chain connector.

Important: The colour of your blind may appear different depending on the screen or device display settings.

Your roller blinds will be carefully packed along with all necessary fixtures and fittings. Inside the parcel, you will find:

  • The roller blind with operating mechanism.
  • Universal brackets for fitting.
  • A child safety clip.

 36.82


Total Price:  36.82

36.8236.82
RECESS/EXACT
Addons Price:  0.00
Total Price:  36.82

For Roller Blinds Only

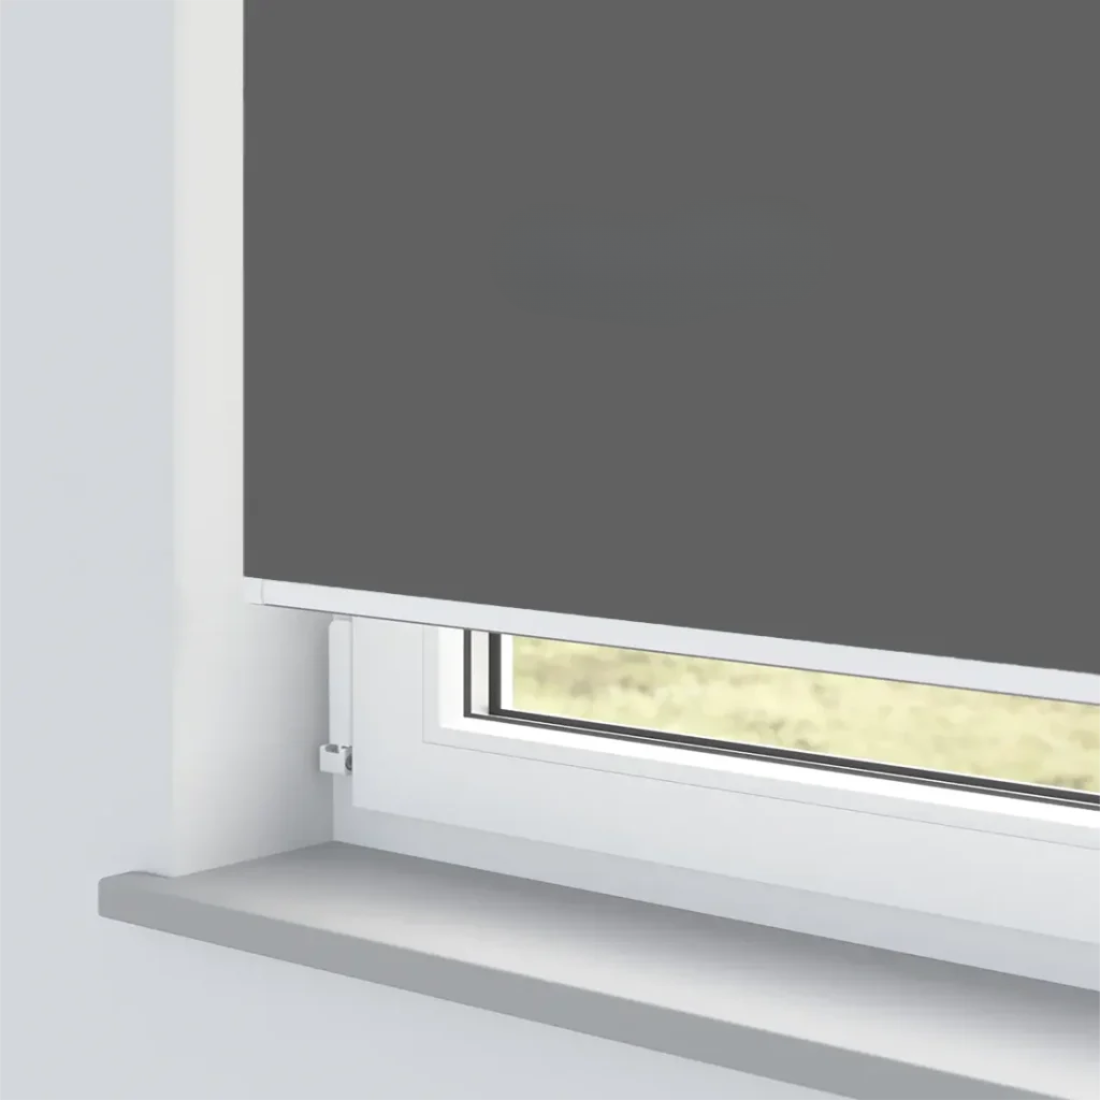
When fitting the blind inside the window recess, measure the full width and height of the recessed area from wall to wall.

Inside Recess Measurements

  1. Measure across the window recess at three points: top, middle, and bottom.
  2. Measure down the recess at three points: left, right, and centre.

Guide for Inside Recess Fitting

  • Use a steel tape measure and record measurements in centimetres to the nearest millimetre.
  • Always measure both width and height in three places and use the smallest measurement when placing your order.
  • The factory will make any necessary adjustments for blinds specified as recess fitting, ensuring they fit perfectly.
  • Be careful when measuring, taking into account obstructions such as handles, tiles, or rails to guarantee accuracy.

Outside Recess Fitting

If you want the blind fitted outside the recess, it will be made to the exact size you specify, with no deductions.

Guide for Outside Recess Fitting

  • Decide the area you want the blind to cover. To block sunlight effectively, it is recommended to allow an overlap of 6cm on each side and 7cm above the window.
  • Measure the total width of the area precisely.
  • Check carefully for obstructions such as tiles or rails.
  • You can choose whether or not to extend the blind below the bottom of the window.

You can select one of the following fitting types:

Top Mount: Attached to the ceiling or the top of the window recess.

Face Mount: Attached to the outside face of the window frame.

  • Position the brackets so that the blind can operate freely without hitting handles or windows.
  • Place both brackets loosely on the blind and position it in the window to check alignment before marking. This helps you centre the blind correctly.

Installing the Brackets and Blind

  1. Place the control side bracket on the same side as the chain mechanism. Mark the position carefully, ensuring it is straight and level.
  2. Drill holes and fix the bracket securely, using wall plugs if attaching to a wall.
  3. Insert one end of the blind into the mounted bracket.
  4. Position the second bracket at the opposite end of the blind, mark it in line with the first, drill, and secure it.

Mounting the Blind

  • Insert the pin side of the blind into the pin bracket. The pin end has a spring-loaded design to make mounting and removal easy.
  • Place the control mechanism into the control bracket. Ensure the central lug points downward and locks into the bracket securely.

Operating the Blind

  • Once fitted, use the side chain to raise or lower the blind smoothly.

P-Clip Safety Device

  • Install the safety clip as far as possible from the control mechanism to prevent the chain from becoming loose.
  • Ensure the control chain runs through the clip, keeping it tight and secure.
  • Position the clip at the bottom of the loop so the chain moves correctly.
  • Screw the safety device firmly to the wall to keep the chain under constant tension at all times.