UNITY WILLOW – NON BLACKOUT ROLLER BLIND

UNITY WILLOW – NON BLACKOUT ROLLER BLIND

Please provide your wall-to-wall measurements for both the width and the drop of your blinds. The warehouse will then make the necessary deductions for you. Your order cannot be dispatched until these measurements are received.

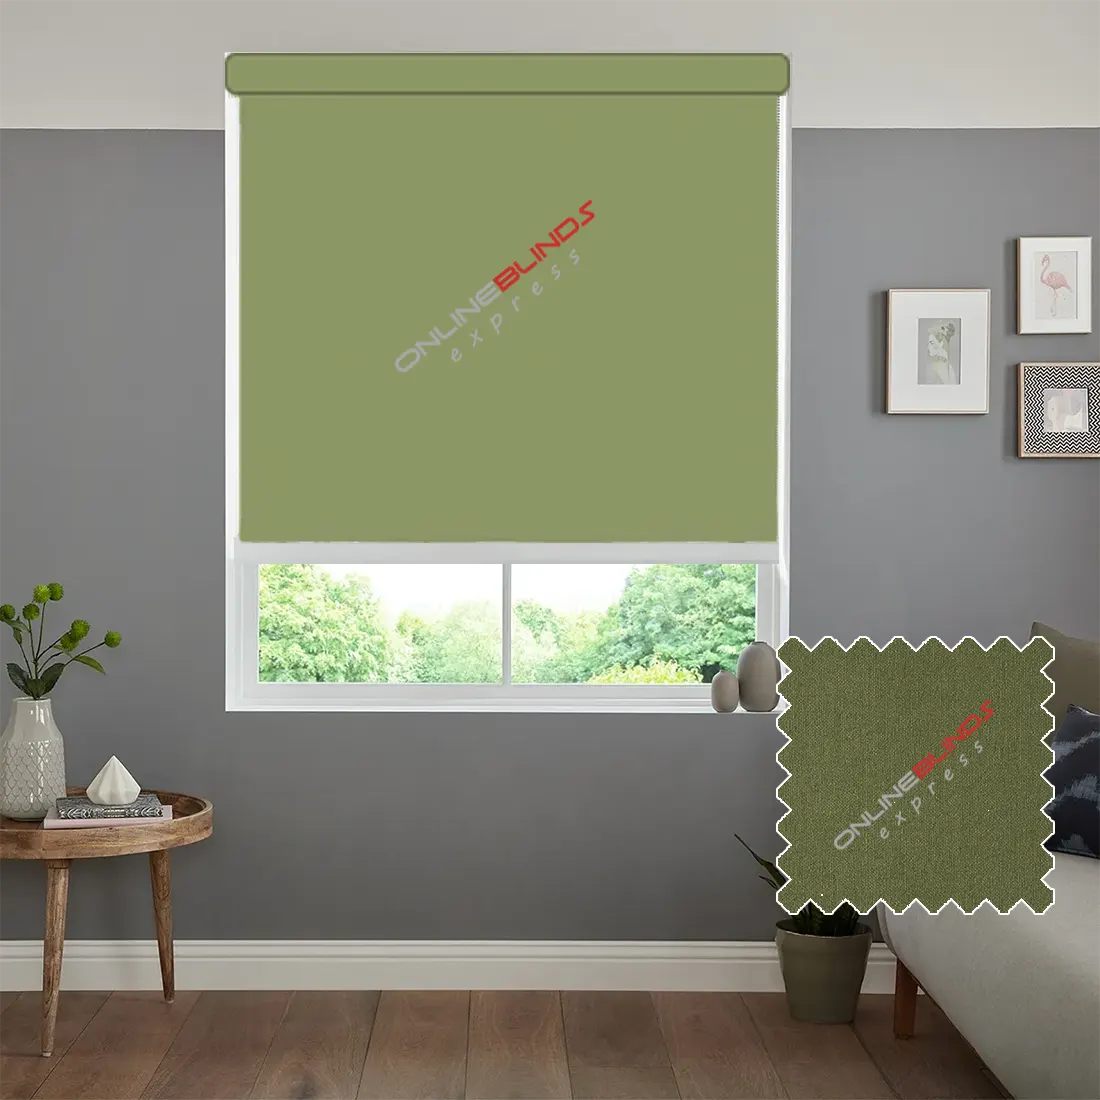
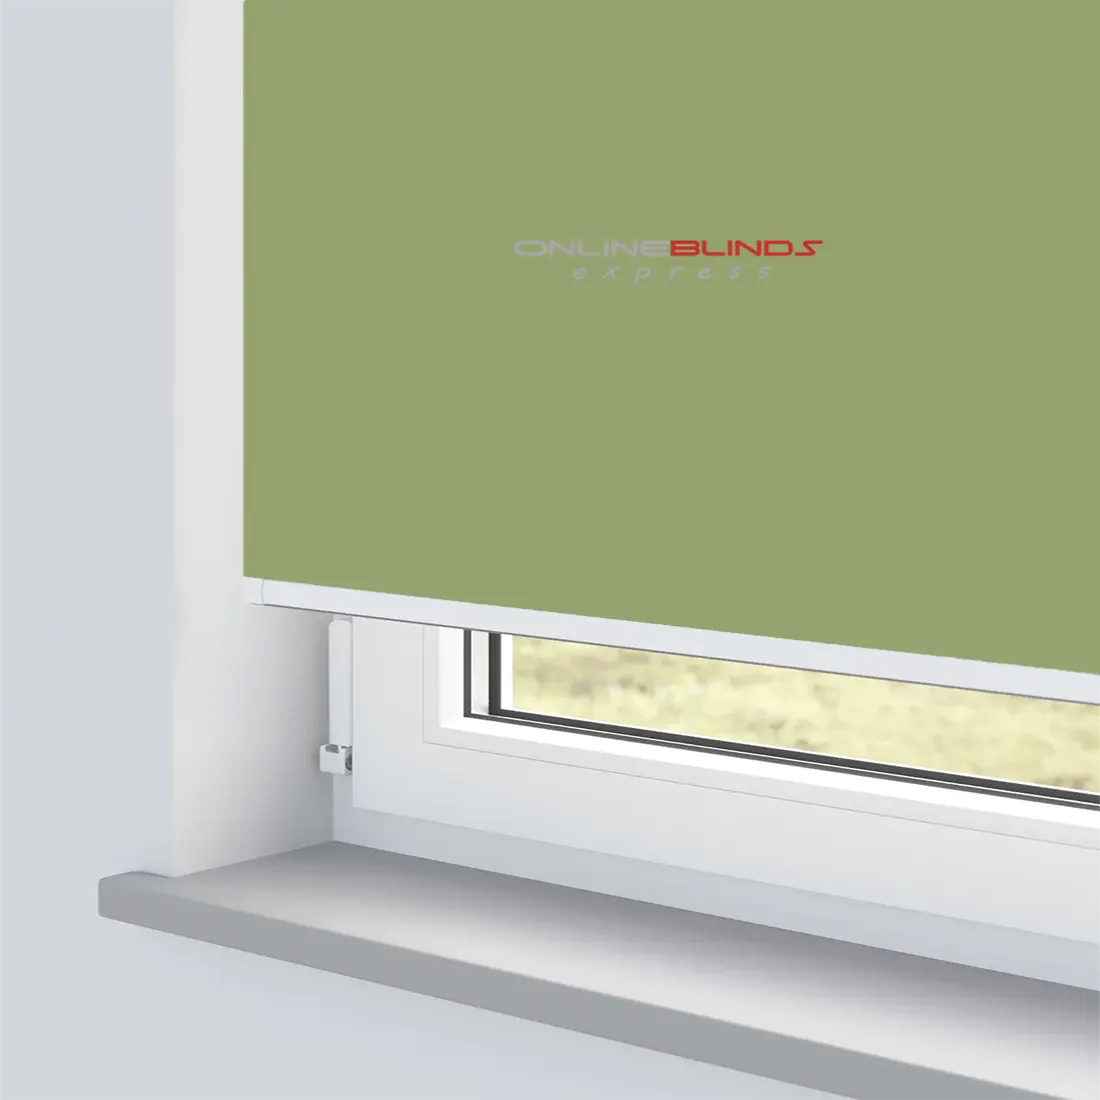
Our roller blind range comes with a natural woven finish, making it a stylish addition to any home.

  • Handmade in our UK factory
  • Fast delivery, with dispatch the next working day once manufactured
  • Produced from high-quality materials and fittings, including an aluminium roller tube, steel brackets (painted white), and a strong white side-winder chain
  • Reliable side chain control system for smooth operation
  • 100% polyester fabric with thermal benefits
  • Simple to install (instructions not included)
  • Universal mounting brackets for flexible fitting options
  • Supplied with a child safety clip and chain connector for every blind

Important: Colours may vary depending on the screen or device you are viewing them on, as display settings can change their appearance.

What You Will Receive

Each roller blind is carefully packaged with all the required fixtures and fittings. Inside your parcel you will find:

  • Roller blind complete with operating system
  • Universal fitting brackets
  • Child safety clip

 36.82


Total Price:  36.82

For Roller Blinds Only

Inside Recess Measurement

To fit your blind inside the window recess, measure the full width and height of the recessed area, wall to wall.

  1. Take three measurements across the recess at the top, middle, and bottom.
  2. Take three measurements down the window at the left, right, and centre.

Guide for Inside Recess Fitting

  • Use a steel tape measure for accuracy, recording in centimetres to the nearest millimetre.
  • Measure both the width and the height in three places, then use the smallest measurement for ordering.
  • The factory will make any deductions needed for recess blinds so they fit neatly.
  • Take care when measuring around obstructions like tiles, handles, or rails to make sure your measurements are correct.

Outside Recess Measurement

If the blind will be fitted outside the recess, it will be made exactly to the sizes you provide, with no deductions applied.

Guide for Outside Recess Fitting

  • To block sunlight effectively, it is recommended to overlap the blind by 6cm on each side and 7cm at the top of the window.
  • Measure the exact width of the area you wish to cover.
  • Be cautious when measuring around obstructions such as tiles or rails.
  • You can choose whether or not to overlap the blind at the bottom of the window.

Please choose your preferred method:

Top Mount: Installed to the ceiling or the top of the window recess.

Face Mount: Installed to the outside face of the window frame.

Brackets must be positioned to allow the blind to move freely without hitting handles or parts of the window. Place both brackets loosely on the blind, then position them in the window to check alignment. This will make it easier to centre the blind correctly.

  1. Fix the control-side bracket on the same side as the chain mechanism. Mark its position carefully, ensuring it is level and straight. Drill holes and secure the bracket with raw plugs if needed.
  2. Insert one end of the blind into the mounted bracket. Position the second bracket on the other end of the blind, mark its placement level with the first, then drill and fix it into place.

Mounting the Blind

  • Insert the pin side of the blind into the pin-side bracket. The pin end has a spring action to make mounting and removal simple.
  • Insert the control mechanism into the control-side bracket, with the central lug pointing downward and hooking securely into the cross-section of the bracket.

Operating the Blind

Once installed, use the side chain to raise and lower the blind smoothly.

P-Clip Safety Device

  • Install the P-clip as far away from the control mechanism as possible to stop the chain from becoming slack.
  • Ensure the chain runs through the P-clip and sits tightly at the bottom of the loop.
  • Fix the tensioning device securely to the wall from one end to the other, keeping the chain tight at all times. This ensures the blind operates safely and under constant tension.